Was this article helpful?
Thanks for your feedback
The Extension SDK allows you to extend the functionality of Contentstack by enabling you to create a Custom Fields, Custom Sidebar Extensions, and Dashboard Extensions.
While creating an extension in Contentstack, you can select File for the Field data type field. This ensures that the input data of the field to be saved in Contentstack is of type file.
In this document, we will learn how to use File as the Field data type while creating an Extension, custom field.
Follow the steps given below to create a custom field extension:
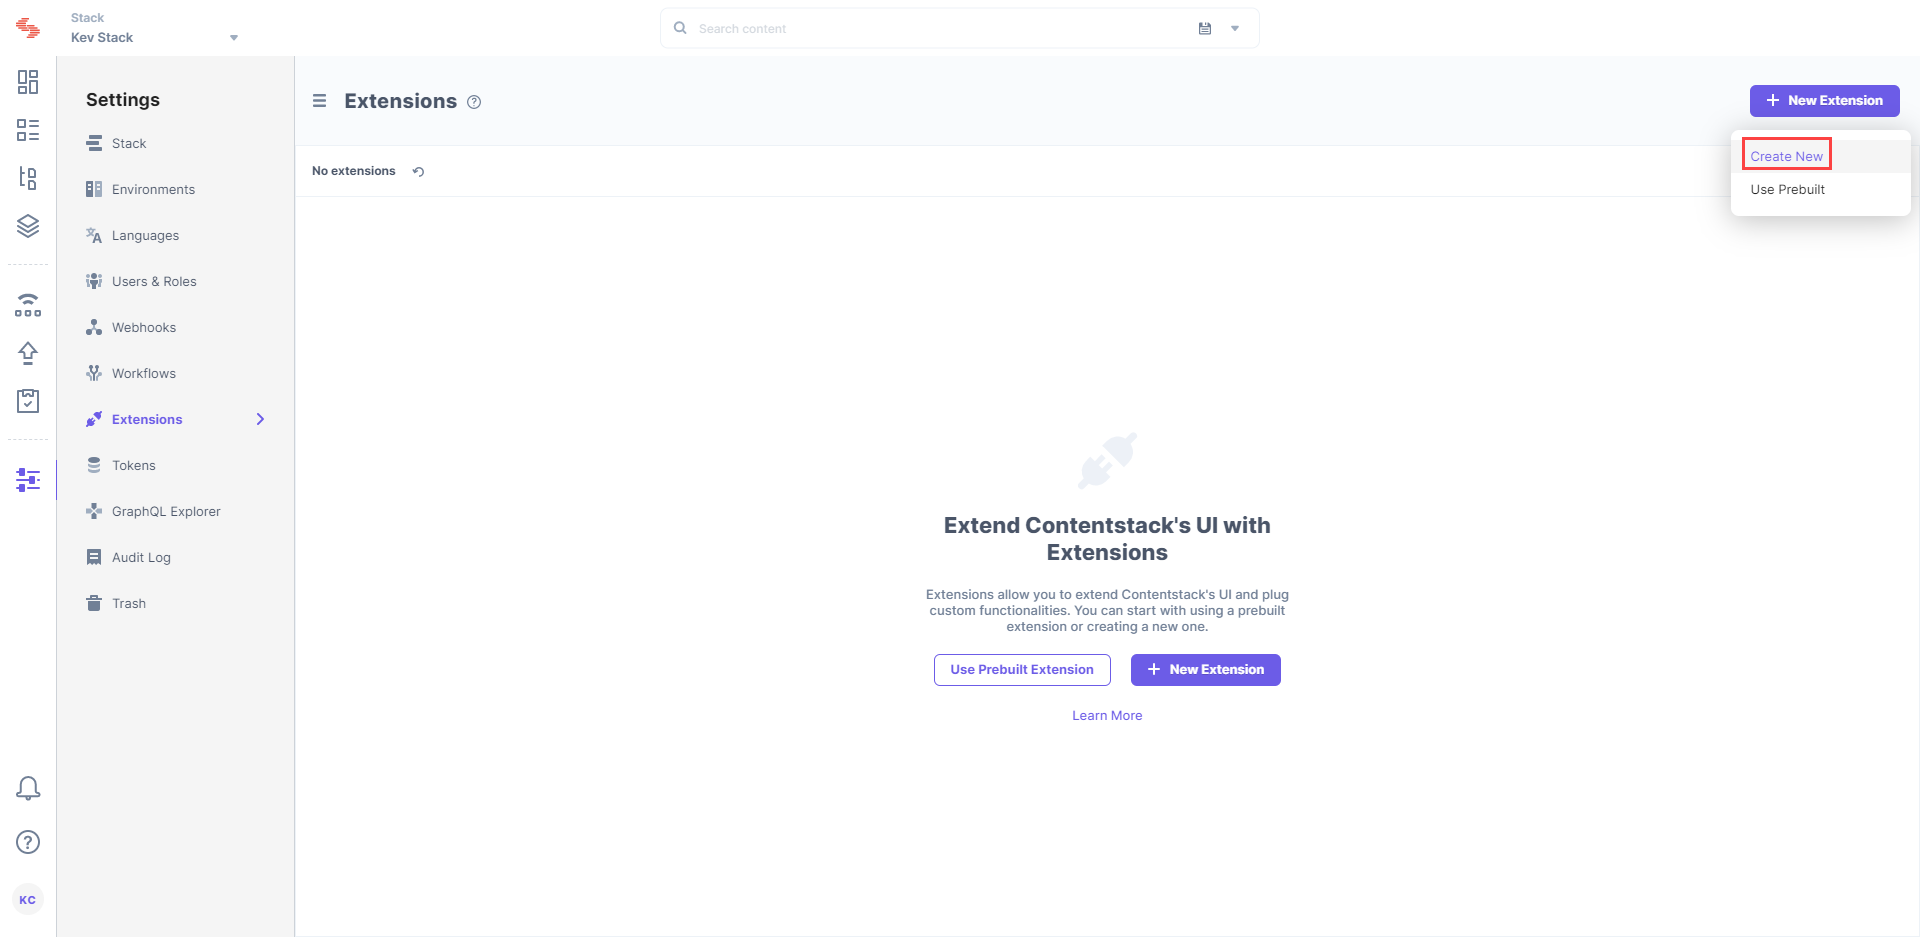
On the Extensions page, click on the + New Extension button, and select Create new.

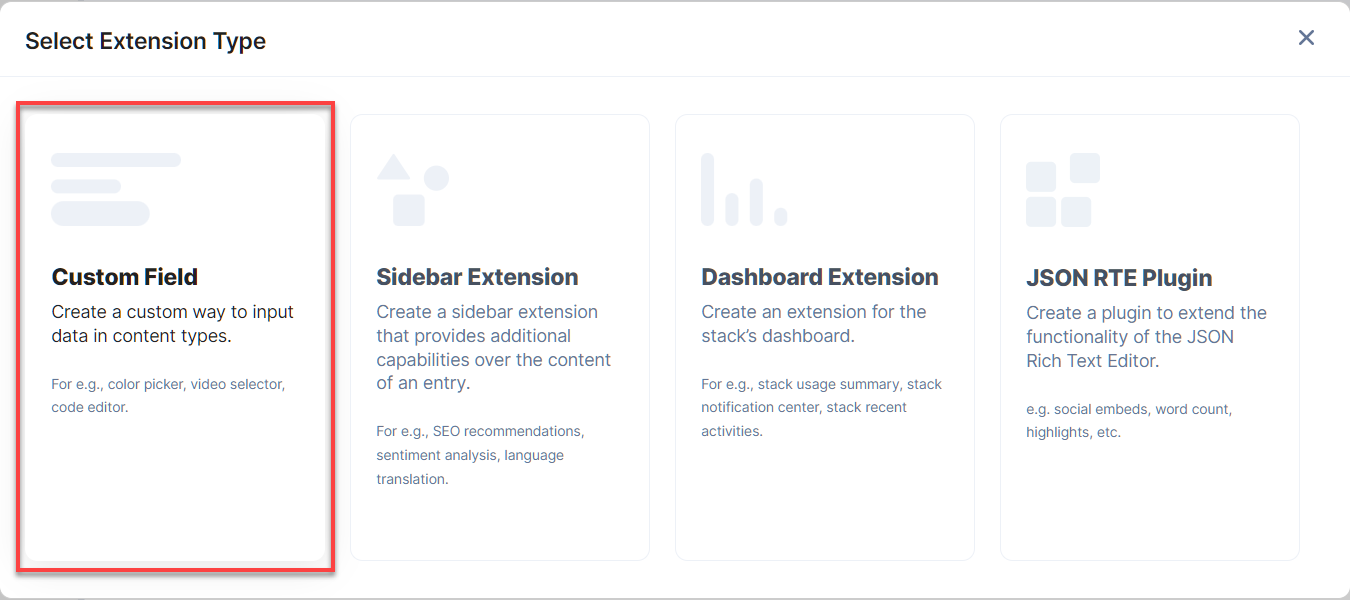
In the Select Extension Type window, select Custom Field.

On the Create New Extension page, enter values in the fields as given below:
In order to save data using file type, you need to pass the asset uid of your uploaded asset into the setData() method. The setData() method sets the data for the current field.
Let's see how we can use this method when we are dealing with only a single file.
When you write the extension code for your custom field, you can specify the method by using the following format: extension.field.setData(“asset-uid”);
In the above line of code, you need to specify the UID of the asset, an example is shown below:
extension.field.setData(“blt7d89318d346***”);
To set the data when you are using multiple files, you need to specify the UIDs of the assets by using the following format: extension.field.setData([“asset-uid1”, “asset-uid2”, “asset-uid3”]);
An example is shown below:
extension.field.setData(["bltd7618c9cba201***", "blt4edda9a4d9605***", "bltecb320669fefb***"]);
Note: You can use the management token for uploading assets through extensions. For example, you can upload the asset through the management token, get a reference to asset UID, and then call the setData() method.
This is how you can set the value of the files (assets) by using the setData() method while using the Extensions SDK.
Was this article helpful?
Thanks for your feedback