Was this article helpful?
Thanks for your feedback
Optimizely helps you with personalization to optimize the customer experience across your digital products, e-commerce, and product marketing campaigns.
Through personalization, marketing and product development teams can innovate and come up with designs and variations that are engaging for your customers. You can then gauge which variations work best so that the overall customer experience can be enhanced.
In this guide, we will learn how to implement personalization using Optimizely on your Contentstack-powered websites.
Process Overview: To understand the process, we have already created an app using React. The code for the same can be downloaded from our GitHub page. The downloaded project has sample content types which you need to import into your stack and add entries to it. We will create variations and implement them on our Home page through Feature Testing to see what works best.
Note: Free trial account will not work for this exercise. You'll need a full-stack Optimizely account. We assume that you already have one before starting with the exercise. If not, create a new Optimizely account.
First, clone or download the code from the GitHub repository. Once you have the code, you’ll find a zip containing the content types needed for this example. Unzip content-type.zip and import them into your stack, as discussed in our Import a Content Type documentation.
.png)
Before adding and publishing your entries, you need to create an environment.
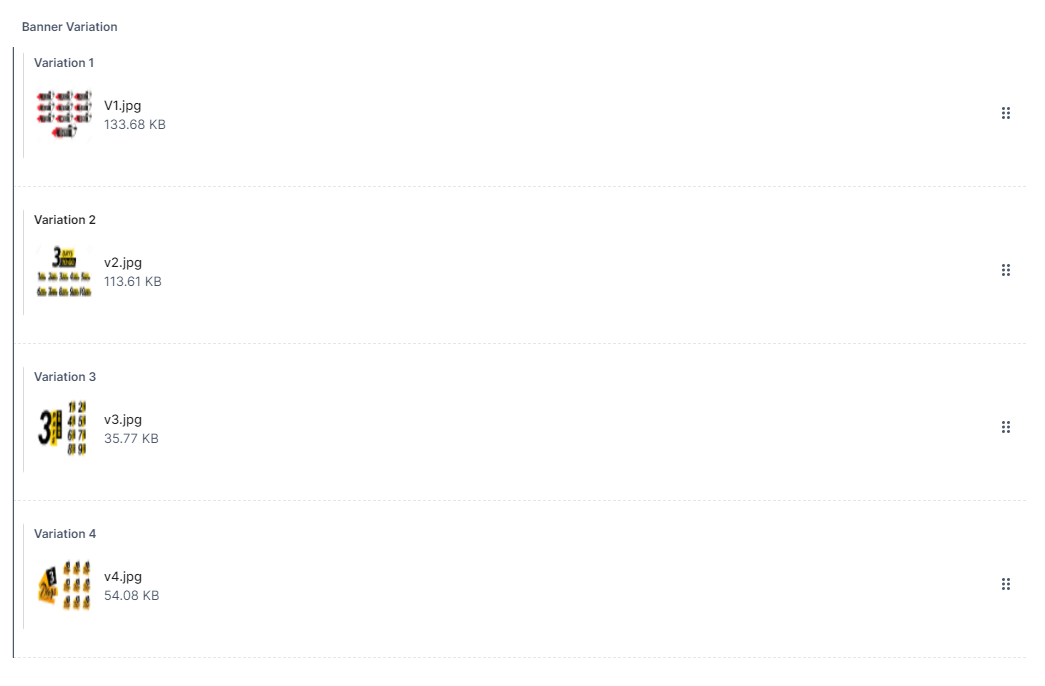
We have created 3 content types for the exercise. The most important one is the home_variation content type. Create an entry inside this content type, the structure is already there, you just need to add data in the fields. You will find a group name Banner Variation. In this group, add different images.
The Banner group will look somewhat like this:

Add data in the header and footer content types and publish them in your environment. We have used the "development" environment for this exercise.
Now that we are done with adding and publishing entries in Contentstack, let's move ahead and work with Optimizely. Follow the steps given below:
After creating or assigning a feature for your experiment, click on the feature that you just created and proceed to add the variations as shown below for your feature test. You can also assign traffic distribution and toggle the variation between on and off to enable or disable them as shown below:

Then, save the event. After saving the event, navigate to the
Metrics
section within your experiments. There will be a block from where you can select your created event as a metric for your experiment.

To get the SDK key, click on the
Settings
option located on the left panel. You will find the required SDK key as shown below:

Once all this is done, we are ready to run our downloaded code and the app.
Open the downloaded code in any code editor of your choice and then follow the steps give below:
npm install
Note: Usually, the above command will install the Optimizely SDK. But you can get it installed otherwise by using the following command: npm install @optimizely/react-sdk
Now staying in your project's root directory start the app on port 4000 using the following command:
npm start
So whenever a new user opens the home page in a new tab, a new cookie is assigned to the user based on which banner image may vary.
You can open the Home route or page in multiple tabs to see the difference in the banner image. This is how you can perform personalization through feature test variation using Optimizely.
Additional Resource: To implement A/B Testing for your Contentstack-powered websites, refer to our A/B Testing reference guide.
Was this article helpful?
Thanks for your feedback