Was this article helpful?
Thanks for your feedback
A/B testing is a digital marketing practice that helps businesses to evaluate their conversion funnel and marketing campaign by getting data directly from the customer behavior.
In A/B testing, two versions of a particular web page and other digital assets are compared and then measured to gauge the difference in their performance.
Once you have created your variations, you can have one set of the group, let's say group A, try out the first version and the other group, let's say group B, try out the second one. Through this, you can gauge if there are any changes in the behavior between group A and B.
Note: Free trial account will not work for this exercise. You'll need a full-stack Optimizely account. We assume that you already have one before starting with the exercise. If not, create a new Optimizely account.
First, clone or download the GitHub repository. Once you have the code, you'll find a zip containing the content types needed for this example. Unzip content-type.zip and import them into your stack, as discussed in our Import a Content Type documentation.

Before adding and publishing your entries, you need to create an environment.
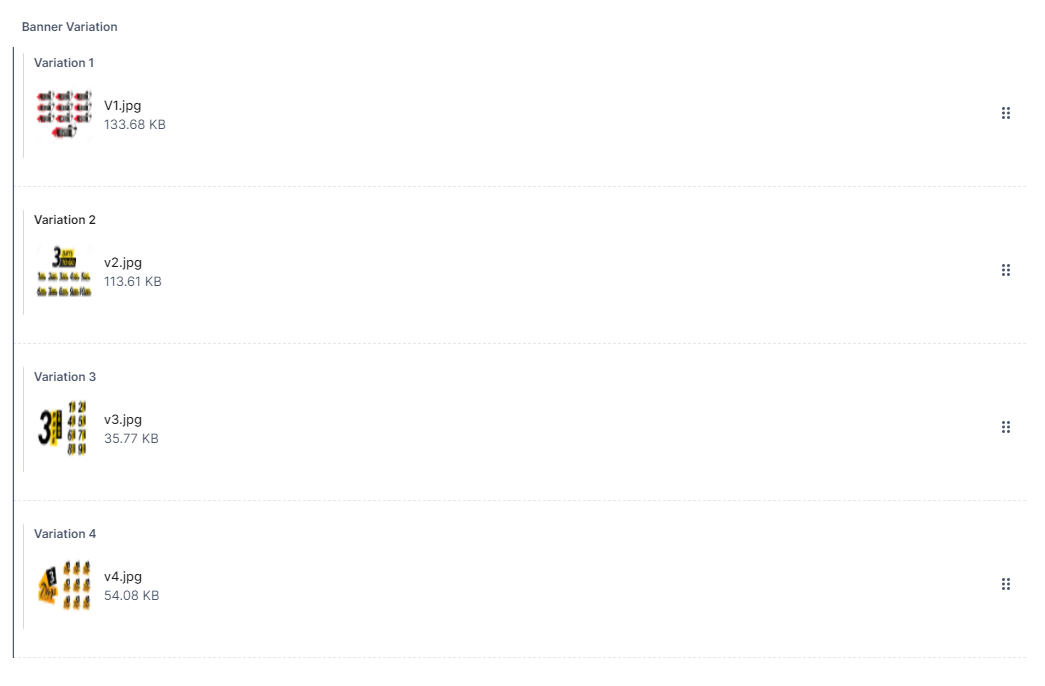
We have created 3 content types for the exercise. The most important one is the Home content type. Add data Now while adding data in the entry, you'll find a group name Home Variation. In this group, add different images.
The Banner group will look somewhat like this:

Add data in all other content types and publish them to your environment. We have used the "development" environment for this exercise.
Follow the steps given below to implement the A/B testing for your website:
You'll get two default variations, that is,
variation_1
and
variation_2
with traffic distribution 50% each as shown below:

Select the event and save the metric. Now your metric is set with the specified event.

npm install
Note: Usually, the above command will install the Optimizely SDK. But you can get it installed otherwise using the following command: npm install @optimizely/react-sdk
Now staying in your project's root directory start the app on port 4000 using the following command:
npm start
Open the browser and hit the localhost at port 3000, you'll see a banner image based on the userID from the cookie.
So whenever a new user opens the home page in a new tab, a new cookie is assigned to the user based on which the banner image may vary.
You can open the Home route or page in multiple tabs to see the difference in banner images. Now you can click on the Buy option to know which user is clicking more on that Buy button based on the variation displayed to the user.
Based on the click, the result can be determined which variation is better and on which variation the user will more likely click on the Buy option as shown below:
.png)
Additional Resource: To implement personalization for your Contentstack-powered websites using Feature Test, refer to our Implementing Personalization Using Optimizely reference guide.
Was this article helpful?
Thanks for your feedback