Was this article helpful?
Thanks for your feedback
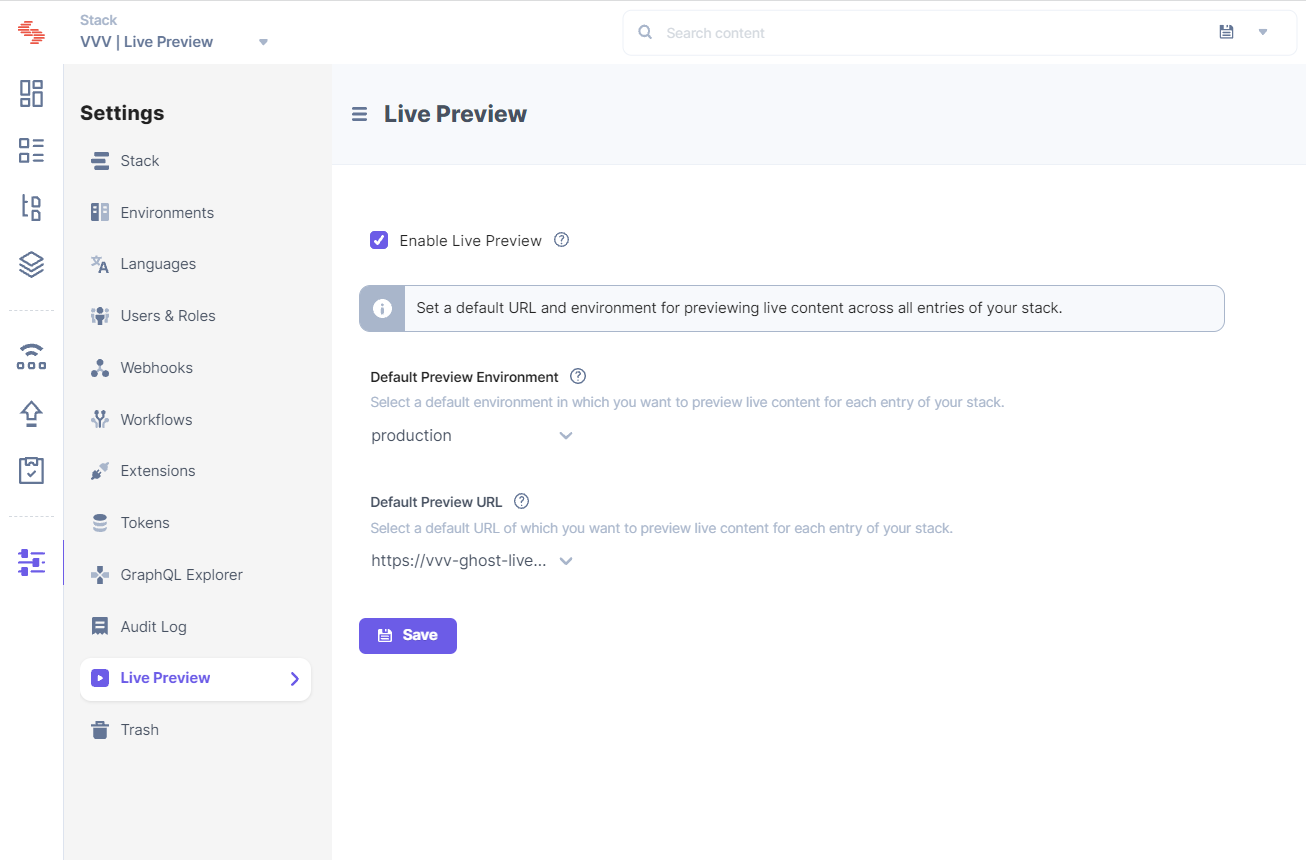
To set up Live Preview for the entries of your stack, you need to perform the following steps:

You will now be able to see the Live Preview icon in the right-hand side panel of all your entries. You can start previewing content on the environment and URL specified in the settings.
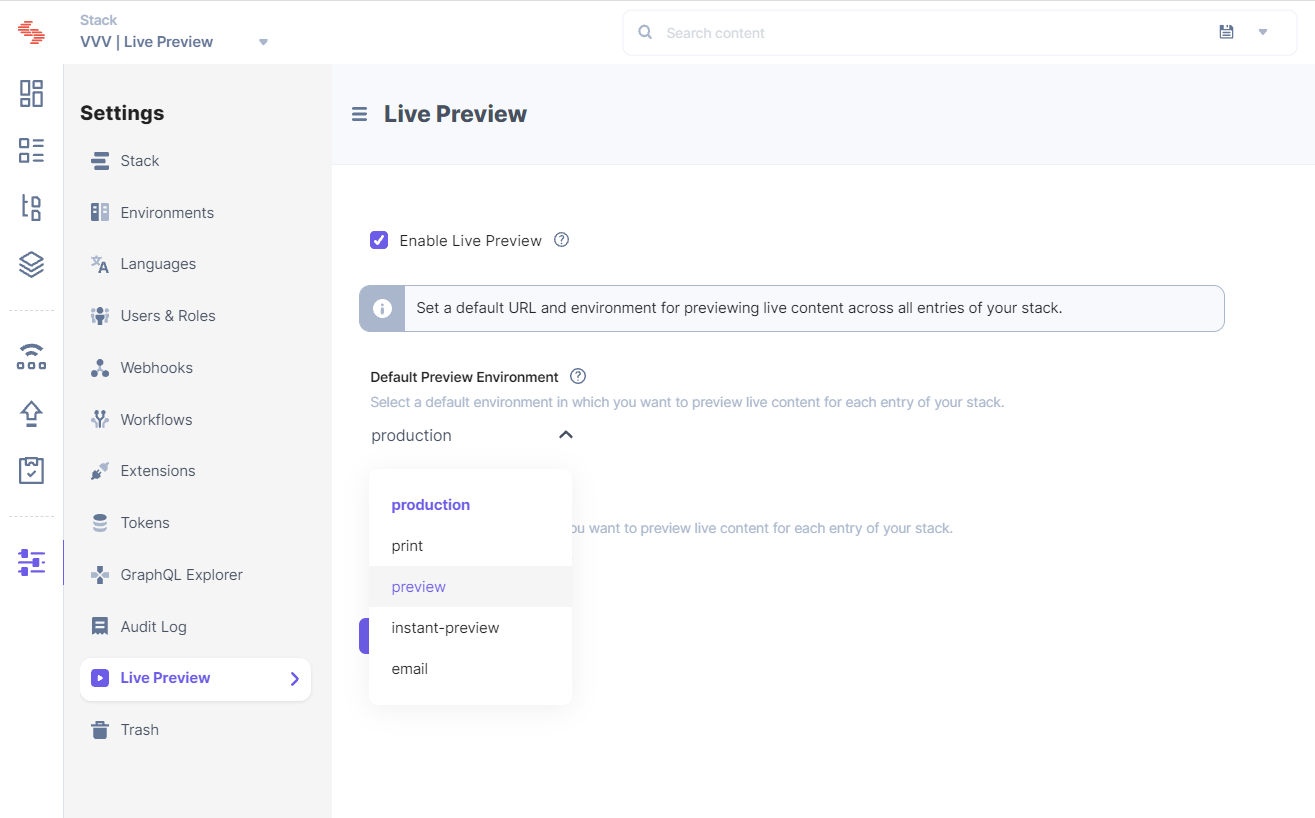
To allow content managers to test the content changes across different environments, you can also select a different environment from the Default Preview Environment dropdown.

Was this article helpful?
Thanks for your feedback