Was this article helpful?
Thanks for your feedback
Smartling is one of the most widely used cloud-based language translation platforms. It helps you to localize content across different digital properties. Through the APIs provided by Contentstack and Smartling, it is possible to integrate these two powerful applications.
In this guide, we will go through the steps required to set up a language translation system for your Contentstack-powered website by using Contentstack Webhooks, AWS Lambda, and Smartling that uses Machine Translation.
Additional resource: This guide discusses the steps required to translate content using the Machine Translation feature in Smartling. We have another guide that details out the steps required to set up a content translation system using the human translator feature in Smartling.
Process overview: We will first set up the essentials, such as creating a stack and one additional language, in Contentstack. We will create a workflow and add 4 stages in it namely Draft, Send for Translation, Review, and Completed. We will then create lambda functions that will help us create the bridge between Contenstack and Smartling for translation.
We will also set up a webhook such that when the workflow stage in an entry changes from Draft to Send for Translation, the webhook will issue a trigger to our first lambda function to initiate the translation process with Smartling. Once the content is translated by Smartling, it will invoke the second lambda function and update the content of the entry in the required language along with changing its workflow stage to “Review.”
Here are the steps required to set up this translation system:
Let's get started!
To set up the essentials, log in to your Contentstack account and follow the steps given below:
Note: In our example, we have used “title,” “url,” “single_line,” and “rich_text_editor,” fields. We will translate the content of these fields. Content of special fields such as File, Boolean, Reference, Select will not be translated.
Note: Ensure that the languages you add are supported by Smartling.
With these steps, we have set up the essentials in Contentstack. Let's now move ahead with creating a workflow.
To set up workflows for the translation process, perform the following steps:
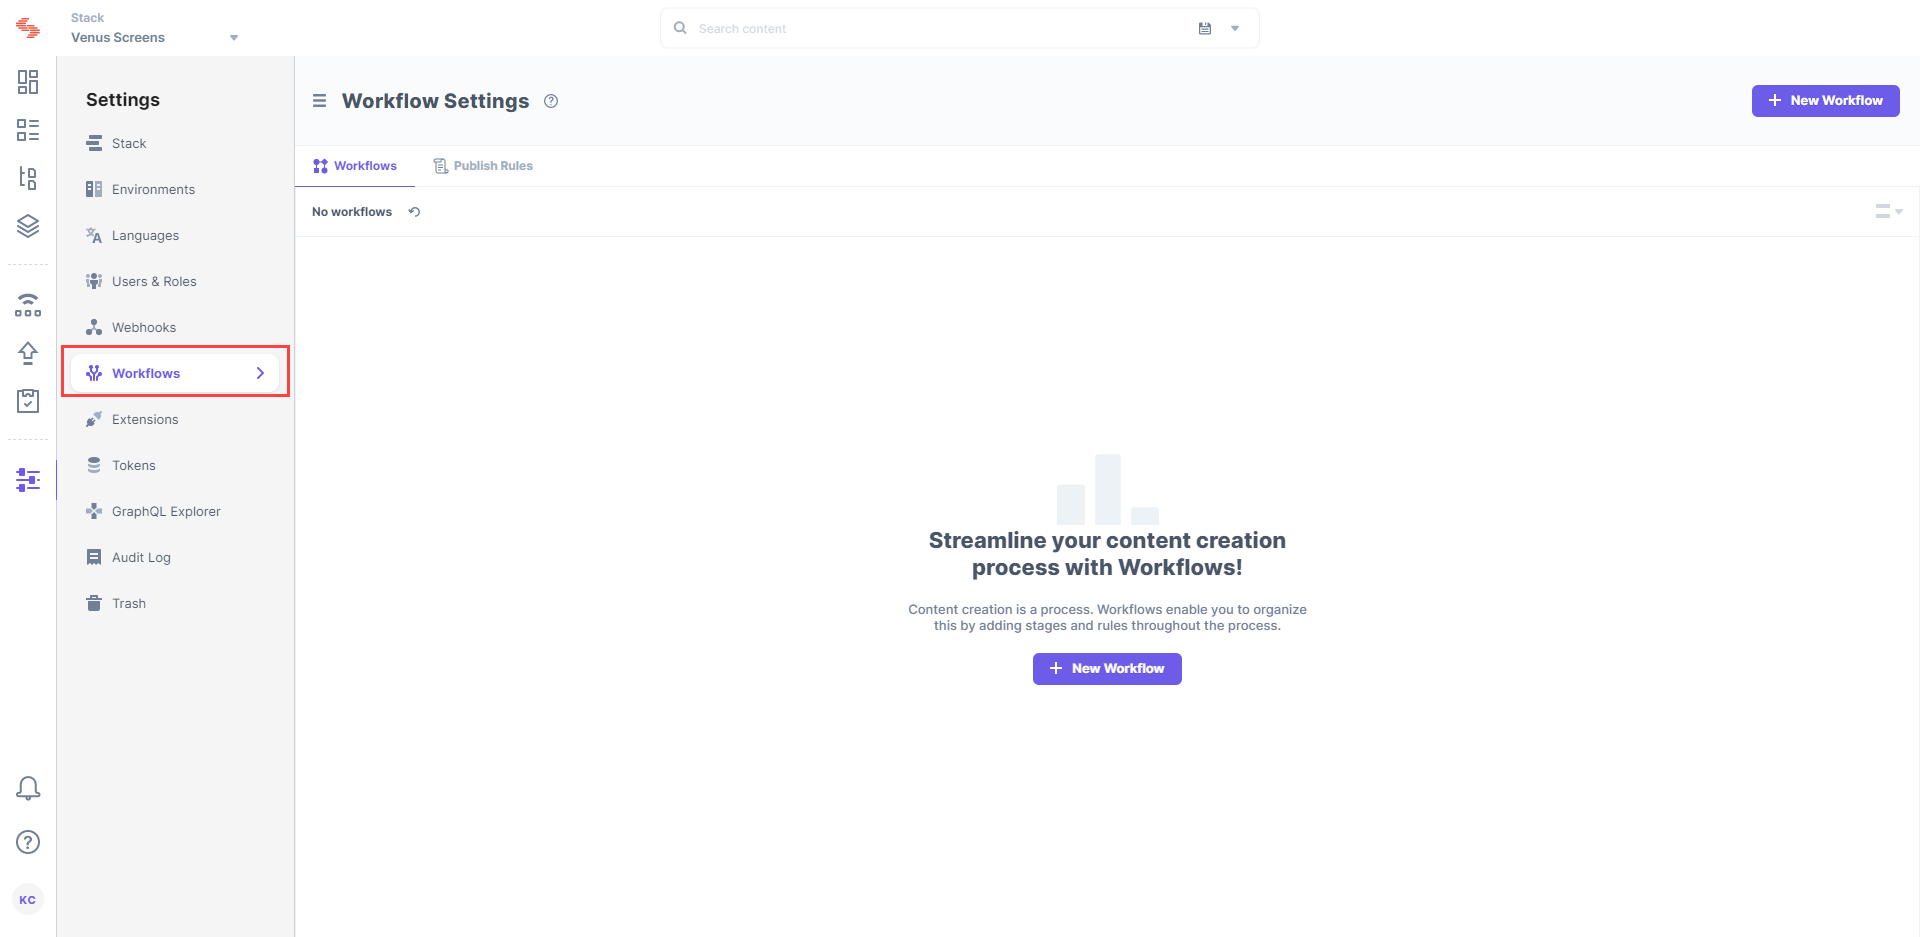
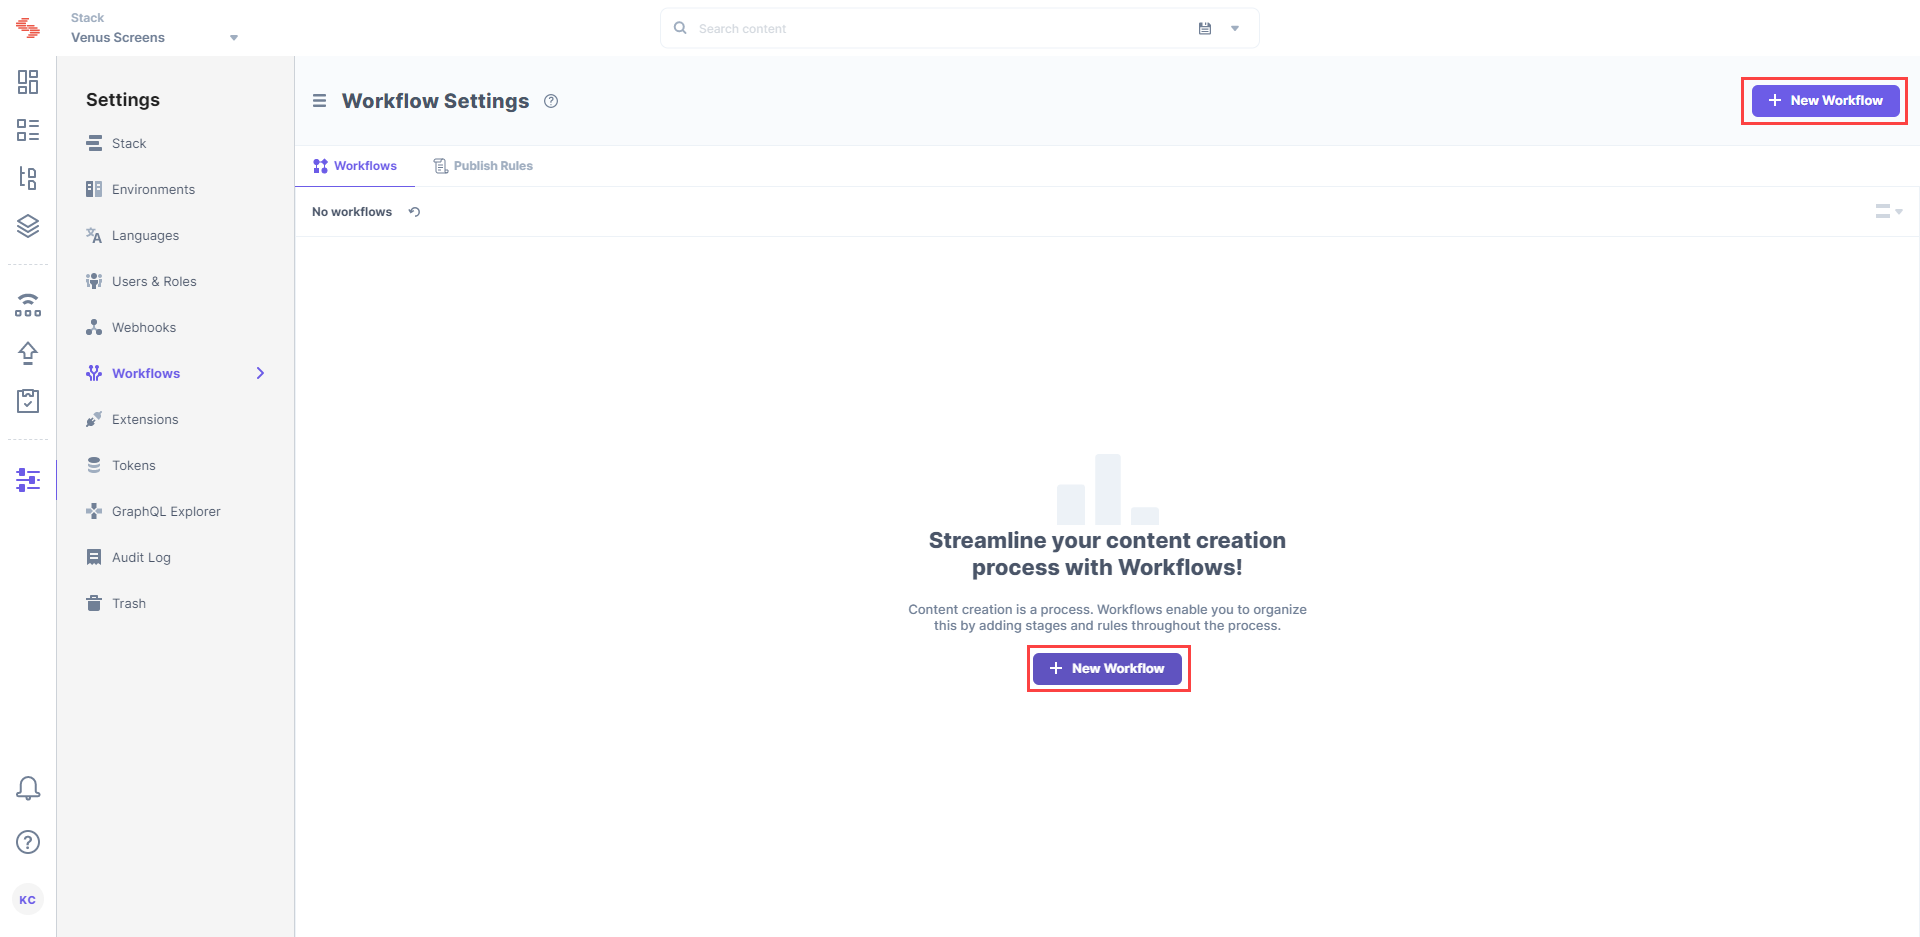
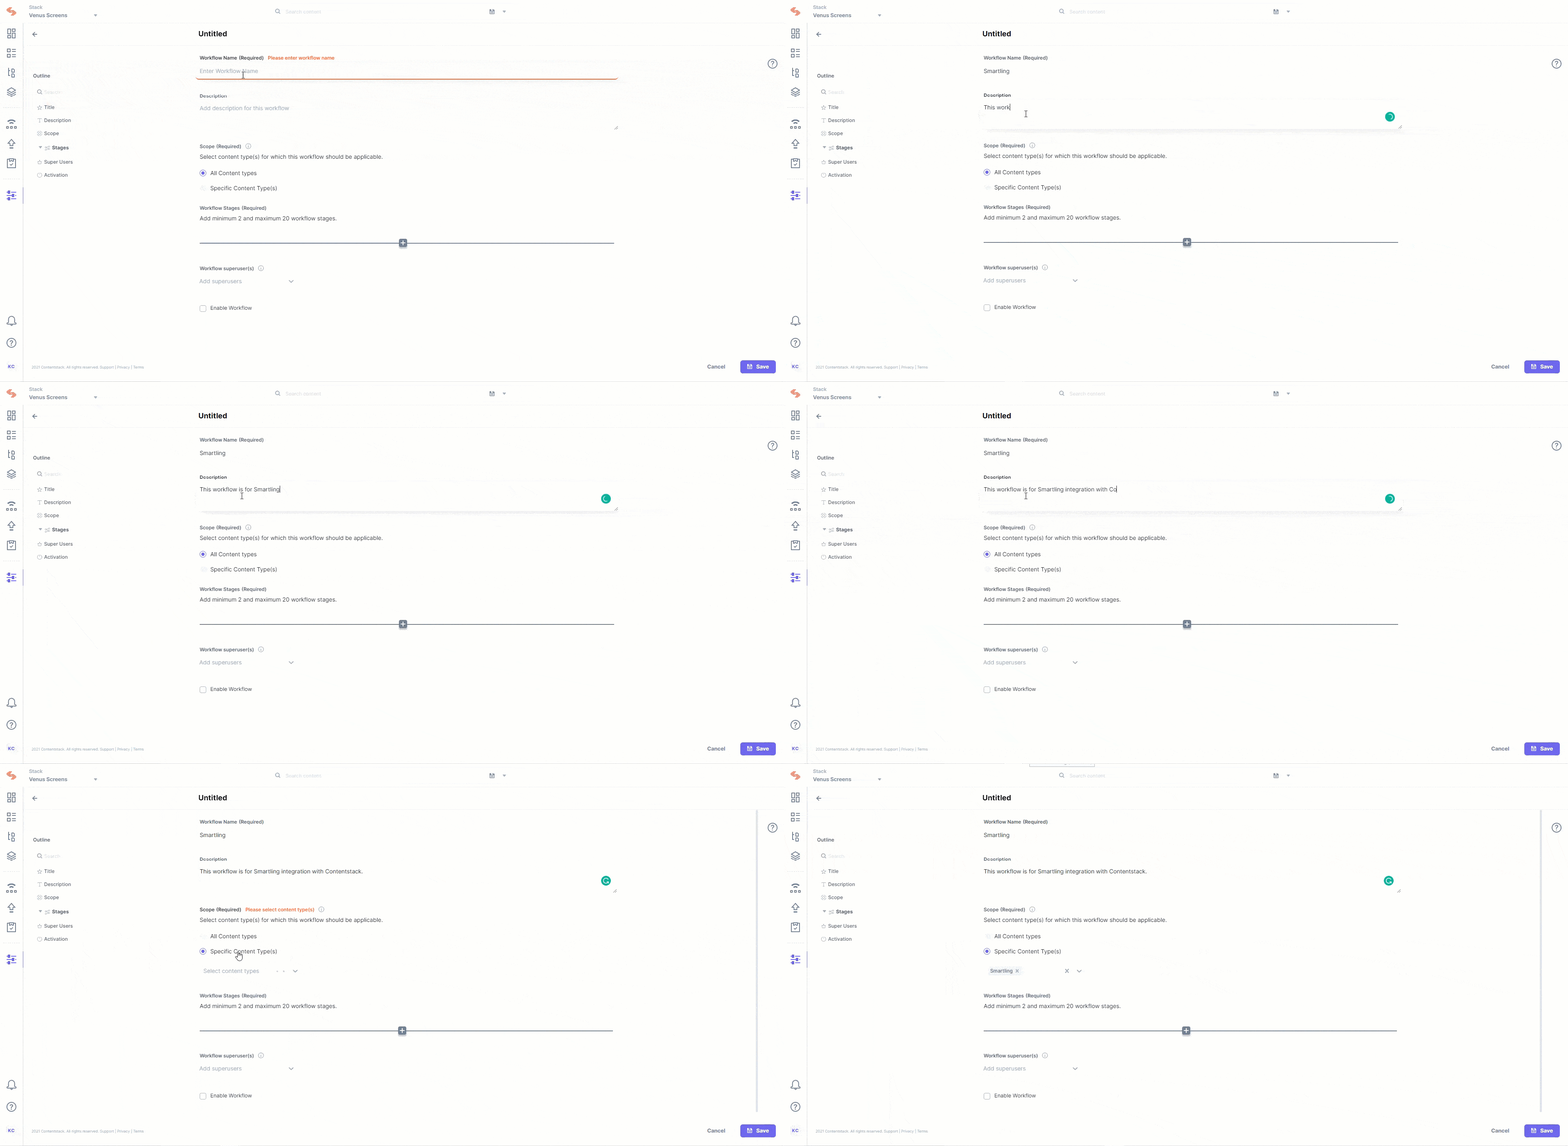
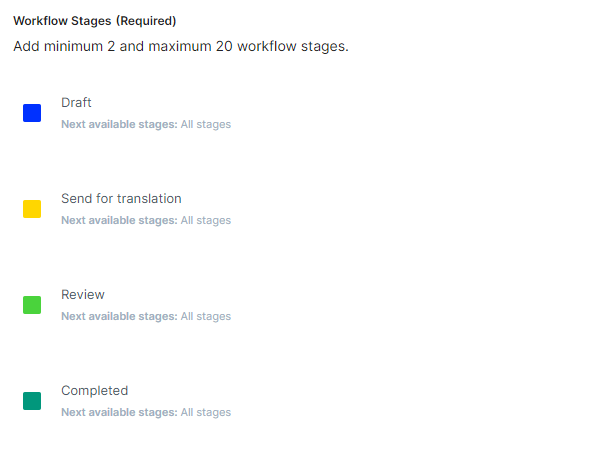
Additional resource: Learn more about workflow and its stages, refer to the set up workflows guide.
With these steps, our workflow is ready. Now when the editor changes the workflow stage from “Draft” to “Send for Translation,” the webhook will be triggered (we will set it up later in the guide) and call the first lambda function.
Now go back to the Workflow Settings page and note down the WORKFLOW ID that we just created as shown below:

We will need the UID of the Review stage which we will add as an environment variable while setting up our lambda function. To get the UID of the “Review” stage, open Postman or any other API collaboration & development platform and make a GET request on the following URL, enter the Workflow ID (highlighted above) at the end of the URL:
https://api.contentstack.io/v3/workflows/{YOUR WORKFLOW UID}
Note: Refer to our workflow API documentation to learn more about the required headers to make an API call.
You will get the following response:
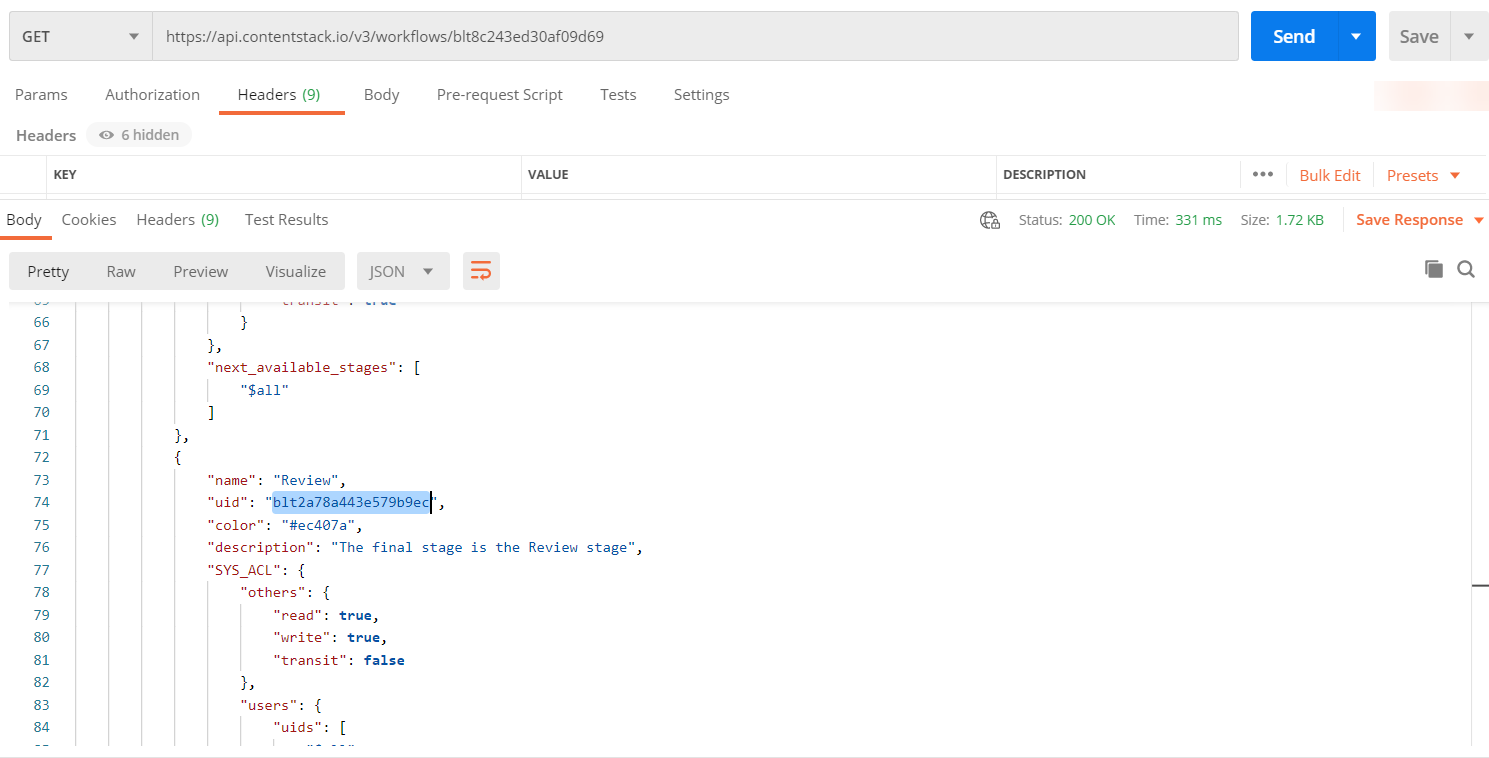
The highlighted UID in the above screenshot will be used in the lambda function's environment variable, so make note of it.
Let's now move ahead and configure the project in Smartling.
For this exercise, you need a full stack account with Smartling. You can sign up with one of their plans and get started with setting up your account. You may read through their getting started article.
The first part of setting up your project in Smartling is to create an MT Profile. To do this, and once you have the account set up, let's follow the steps given below:


Note: For our exercise, we have used Amazon Translate as the MT provider. You can choose the one that you have access to, or have an account with, for example, Google Translate, Microsoft Translator, and so on. If you select Amazon Translate, then provide the Access Key ID, Secret Key ID, and other values (AWS credentials). Similarly for other MT providers, provide the necessary details as required and proceed further.
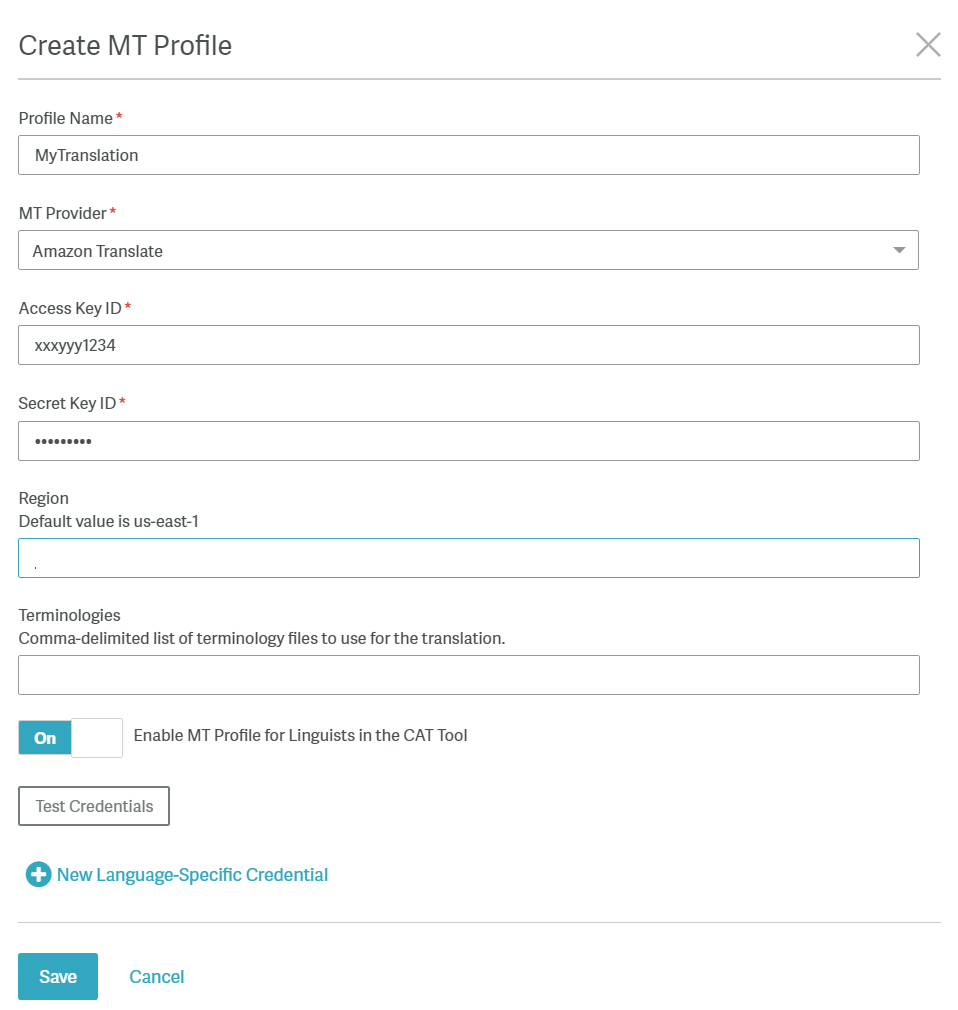
Note: If you have multiple MT profiles, only the latest profile that you turned on will be enabled and other profiles (even if you turned them on before) will be disabled automatically.
Your MT Profile is now created. You can test if the credentials are working by clicking on the Test Credentials button. If the credentials are working, you can move ahead with the next step which is creating a new project in Smartling.
To create a new project in Smartling, log in to your Smartling account and follow the steps given below:

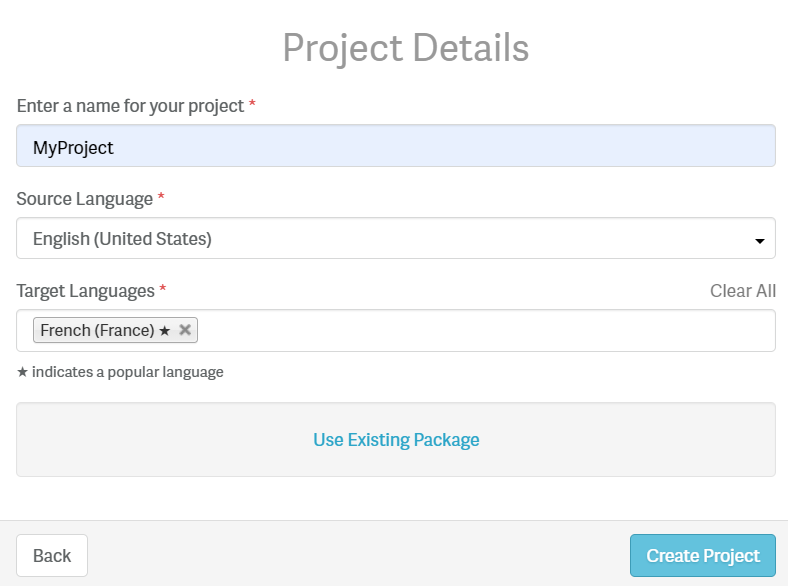
Note: You can add more languages as your target language but French-France is selected as it is the requirement of this exercise.
Your project is now created. Let's move ahead and create a workflow in Smartling.
To do this, follow the steps given below:

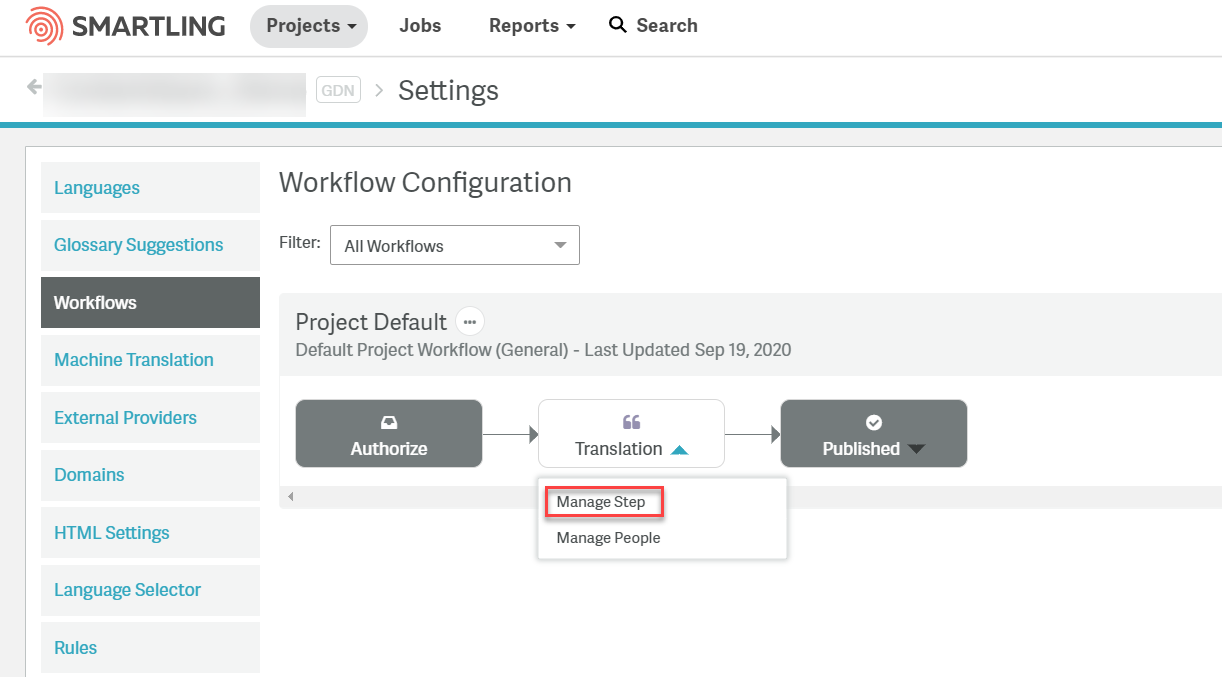
On the Manage Step: Translation screen, let the Step Name be Translation, select your MT profile you created earlier from the Translation Provider dropdown, leave the remaining options as it is, and click on Save as shown below:
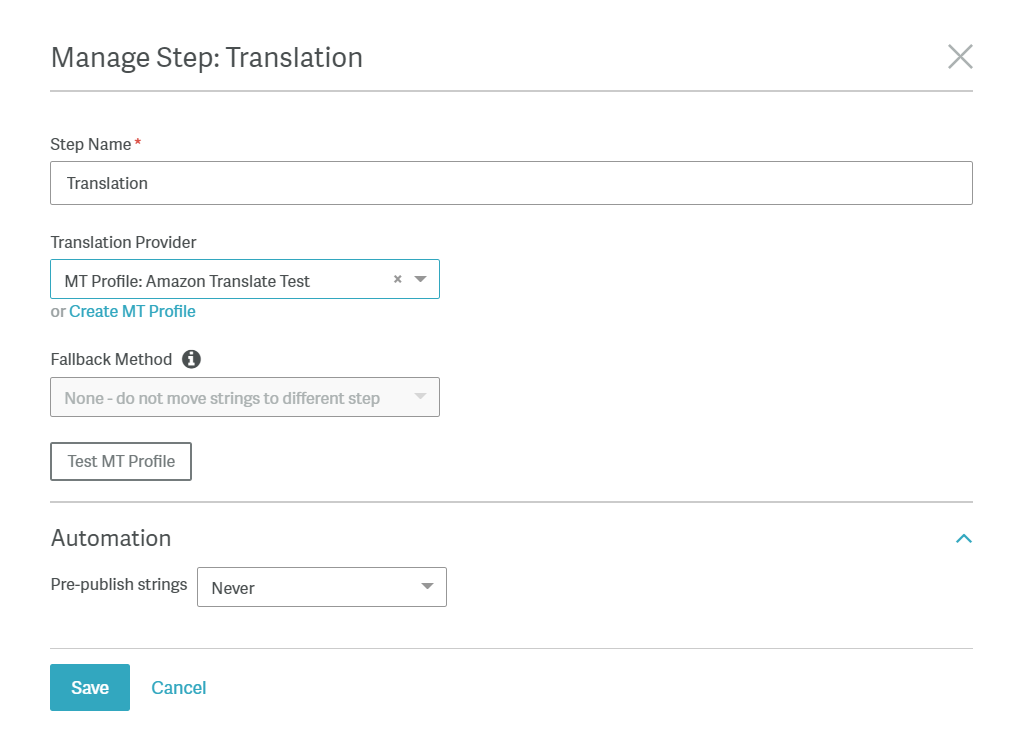
The Smartling Workflow is now ready.
Note: If you want to add more target languages to your project, click on the Project Settings option, and select Languages (similar to how you selected Workflows above). Then, click on the Add Language button. Then, in the Add Languages modal, add languages in the Select Language dropdown. Select Project Default from the Default Translation Workflow dropdown, Authorize all active strings from the Translation Authorization dropdown, and click on Add.
Let's move ahead and create user and secret keys.
To do this, carry out the following steps:
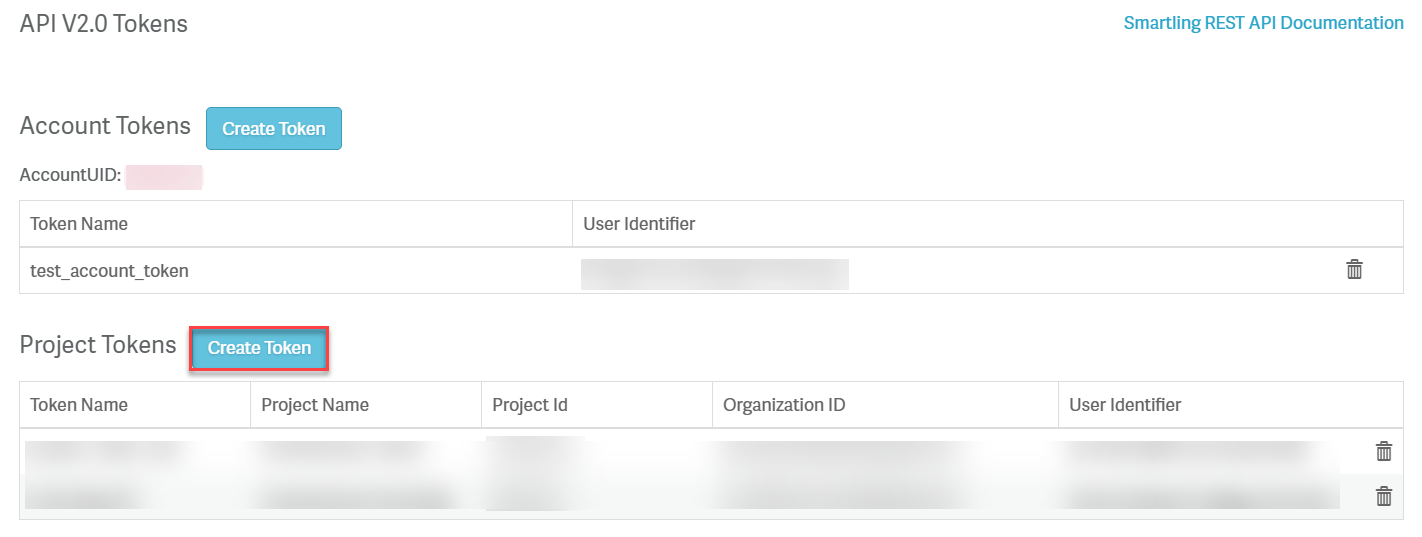
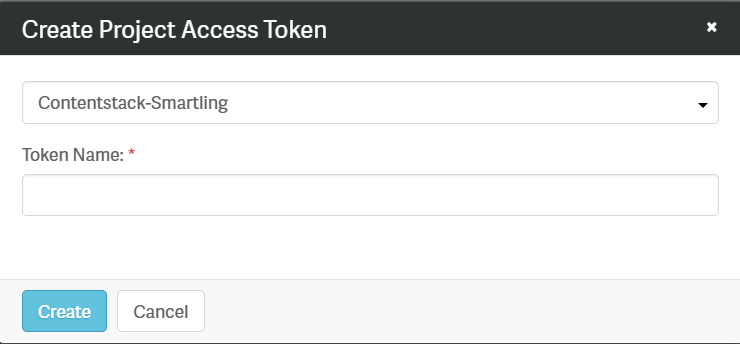
With these steps we have now configured our Smartling account. Let's move ahead and create the lambda functions.
For this exercise, we will be creating two lambda functions. The first lambda function (once invoked) will take the content of the entry, write it into a file, and place it in the Smartling app for translation.
The second lambda function gets invoked once the file (placed by the first lambda function) has been translated and then it updates the entry with the translated content along with changing the workflow stage of that entry to "Review."
Let's now create the first lambda function by using the steps given below:
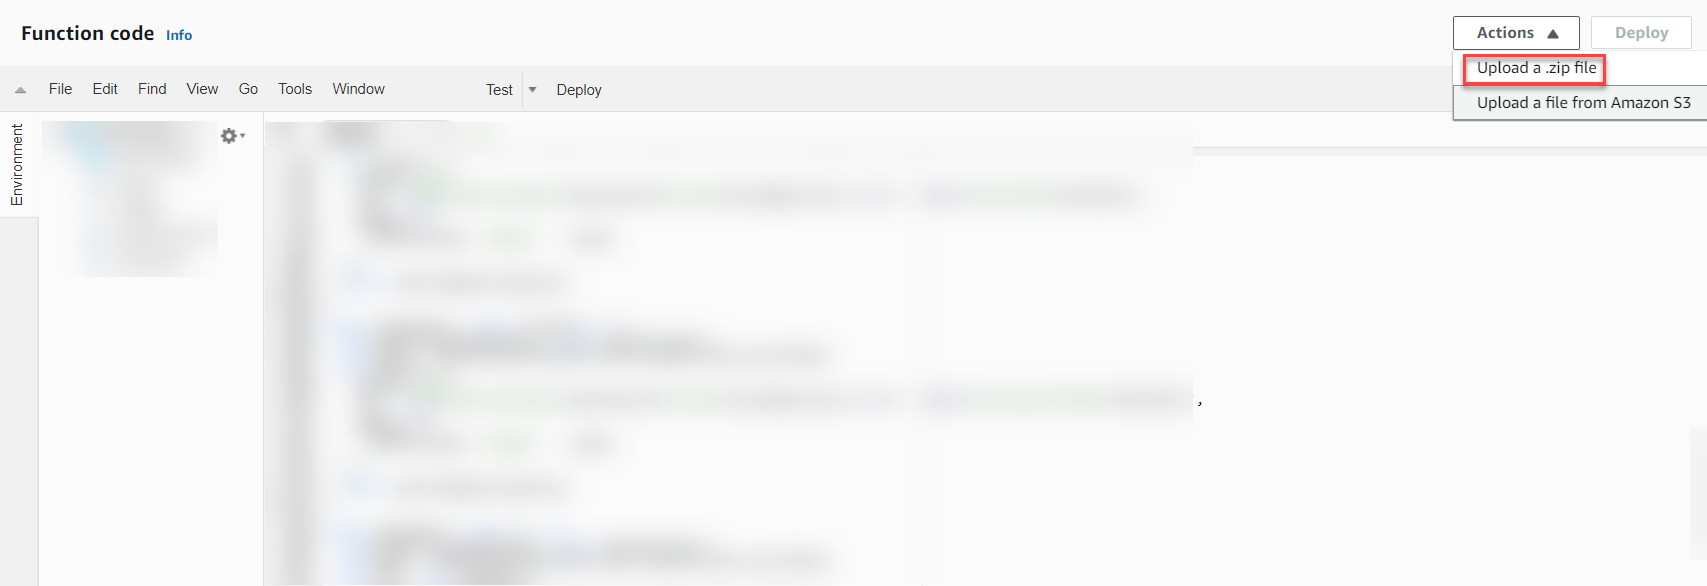
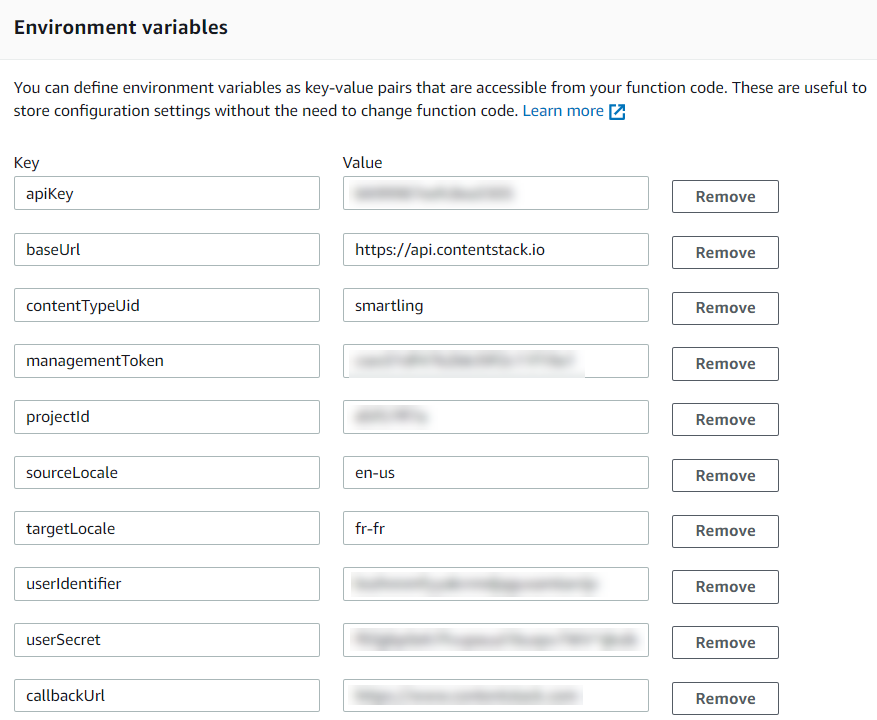
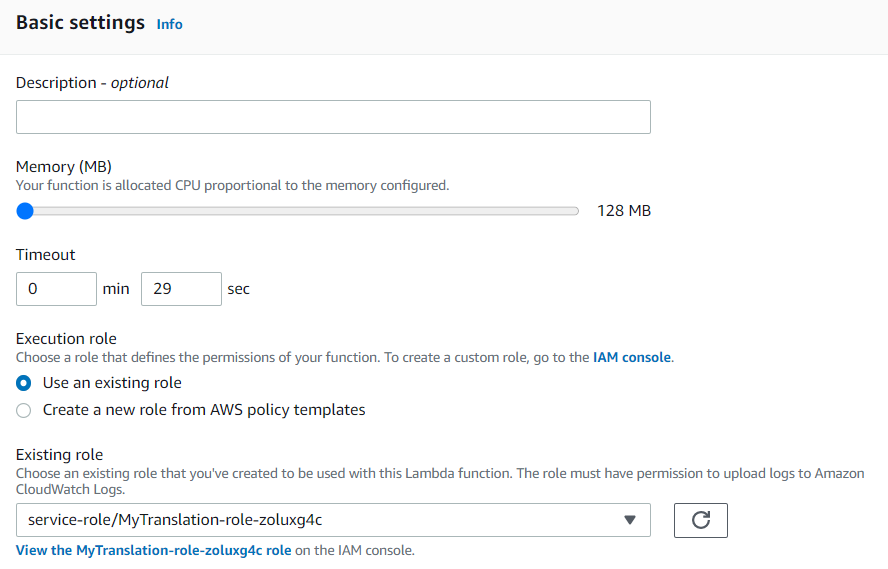
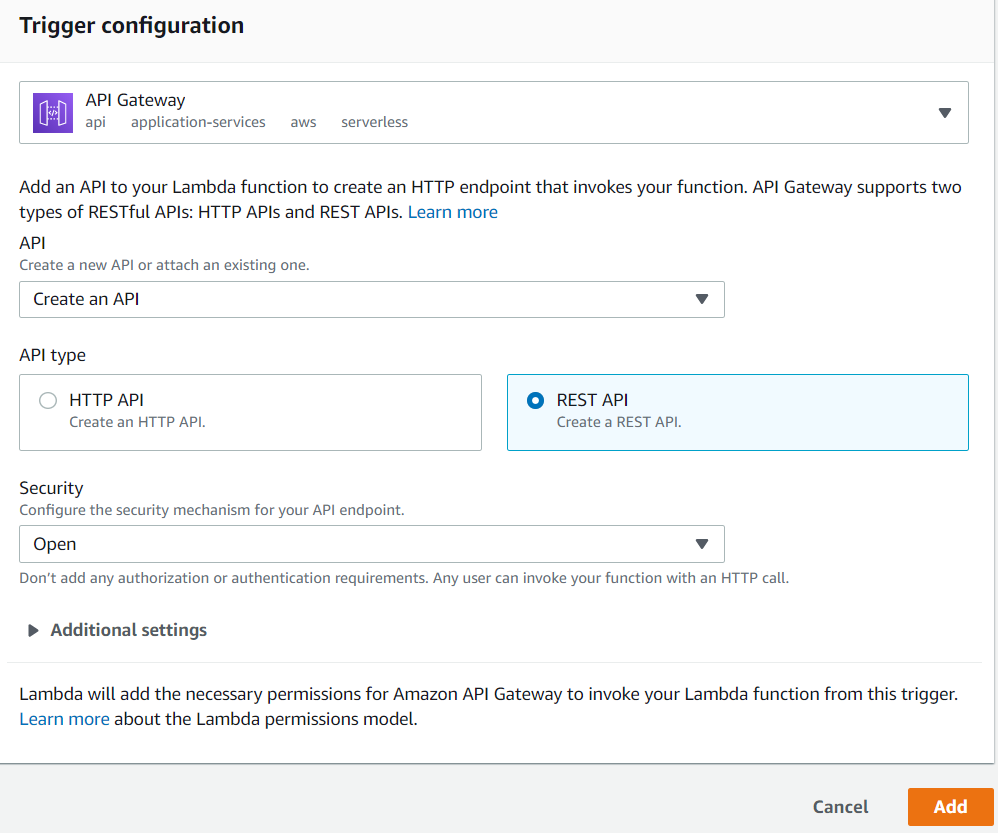
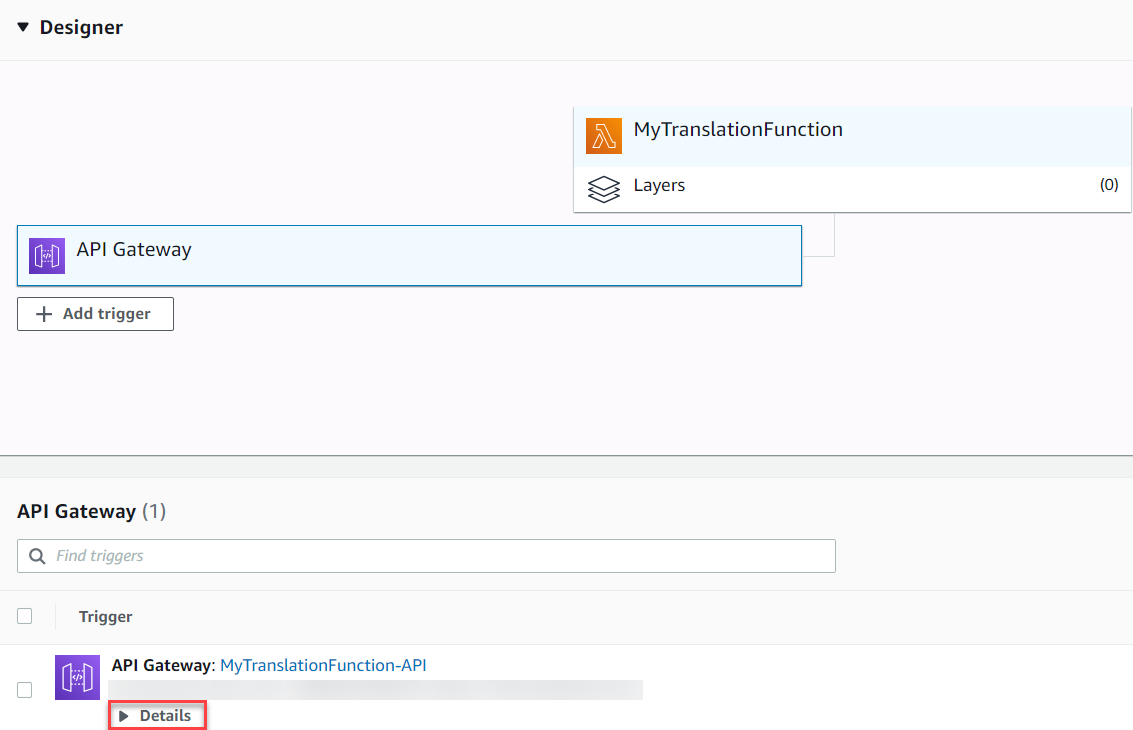
Let's move ahead and create our second lambda function.
Let's set up the second lambda function which will be invoked once the translation gets completed. Follow the same steps, as mentioned above. But this time, use the file named after-translation and upload it as a zip file in your lambda function. Also, use the following environment variables while setting up the function:
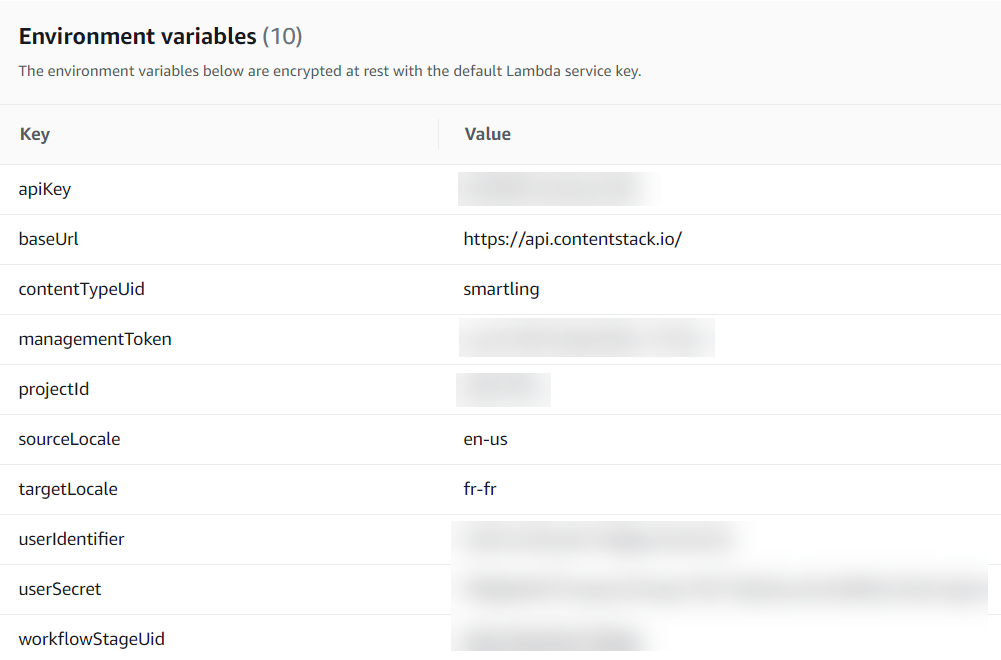
In the above screenshot, workflowStageUid is the UID of the Review stage that we retrieved using Postman. So enter the UID of the Review stage as the value for this environment variable.
Follow similar steps to create an API trigger for this lambda function as well and use its API endpoint as the value of the callbackUrl environment variable in your first lambda function.
To create and set up a webhook in Contentstack, log in to your Contentstack account and perform the following steps:

With these steps, we have completed the entire set up and now we are ready to try it out.
To do this, follow these steps:
Now select French - France from the locale drop-down and you should see your entry translated in the target language, French and the workflow stage changed to Review.
Additional resource: We have created similar guides that use AWS Translate and Memsource for content translation for Contentstack-powered websites. If you use any other platform besides the ones mentioned, you can still create the integration by following the steps mentioned in our Manage Content Translation in Contentstack guide.
Was this article helpful?
Thanks for your feedback