Was this article helpful?
Thanks for your feedback
Personalization is the process of tailoring a product or a service based on your audiences’ preferences. You can implement personalization by customizing your website or its content (text or images) based on your users' behavior and interactions.
Dynamic Yield is a popular AI-powered personalization platform that helps businesses to enhance the digital customer experience through machine learning, predictive algorithms, auto-optimization, and recommendations.
This guide will go through the steps required to implement Dynamic Yield on a Contentstack-powered website.
To implement Dynamic Yield on a Contentstack-powered website, you need to create multiple variations. For example, create multiple banners for a website to display different content.
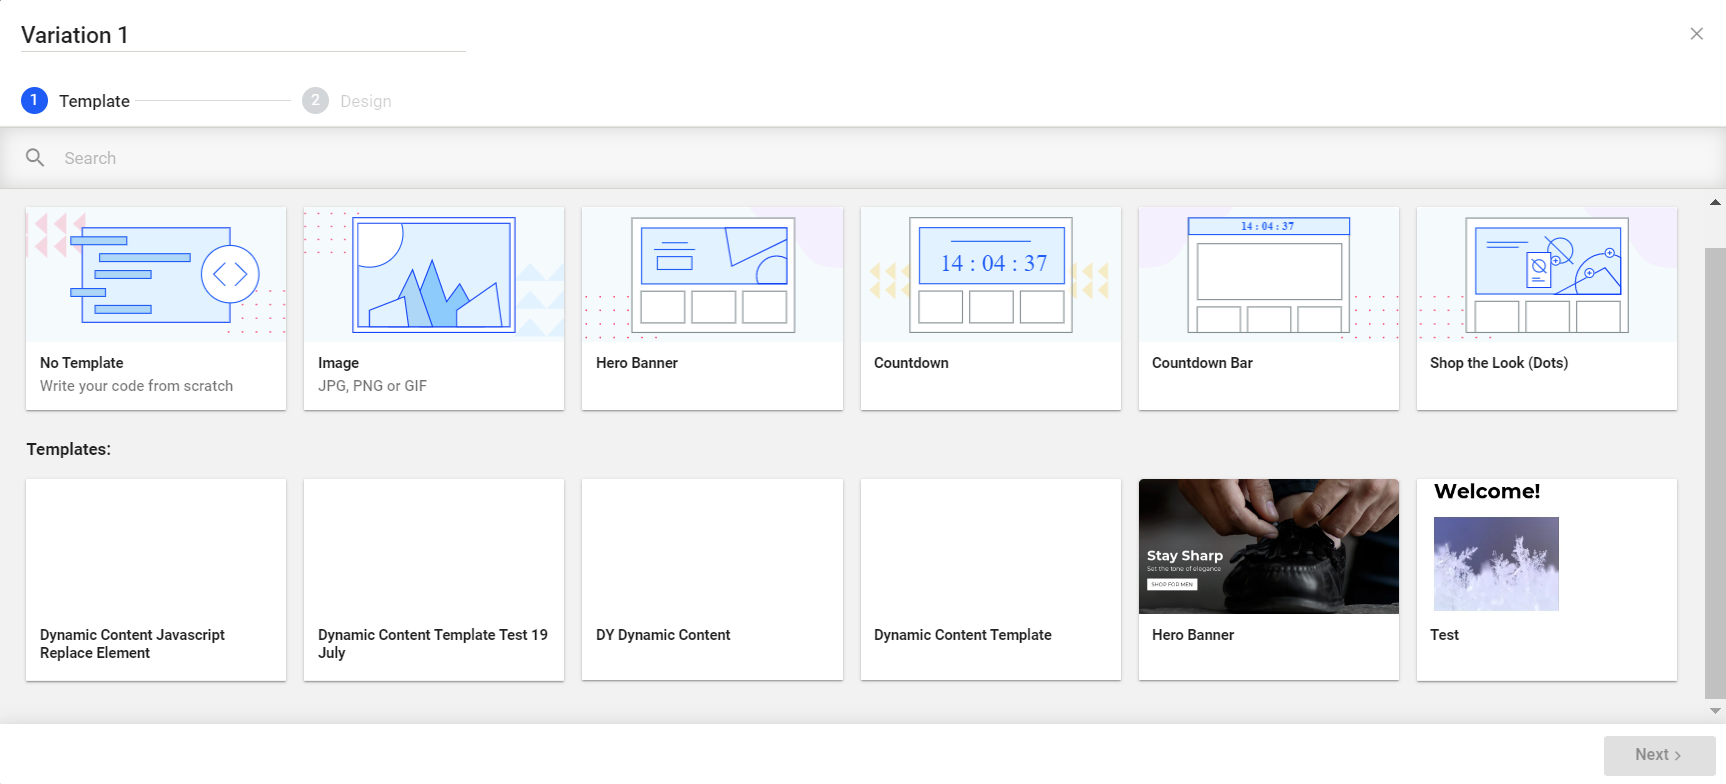
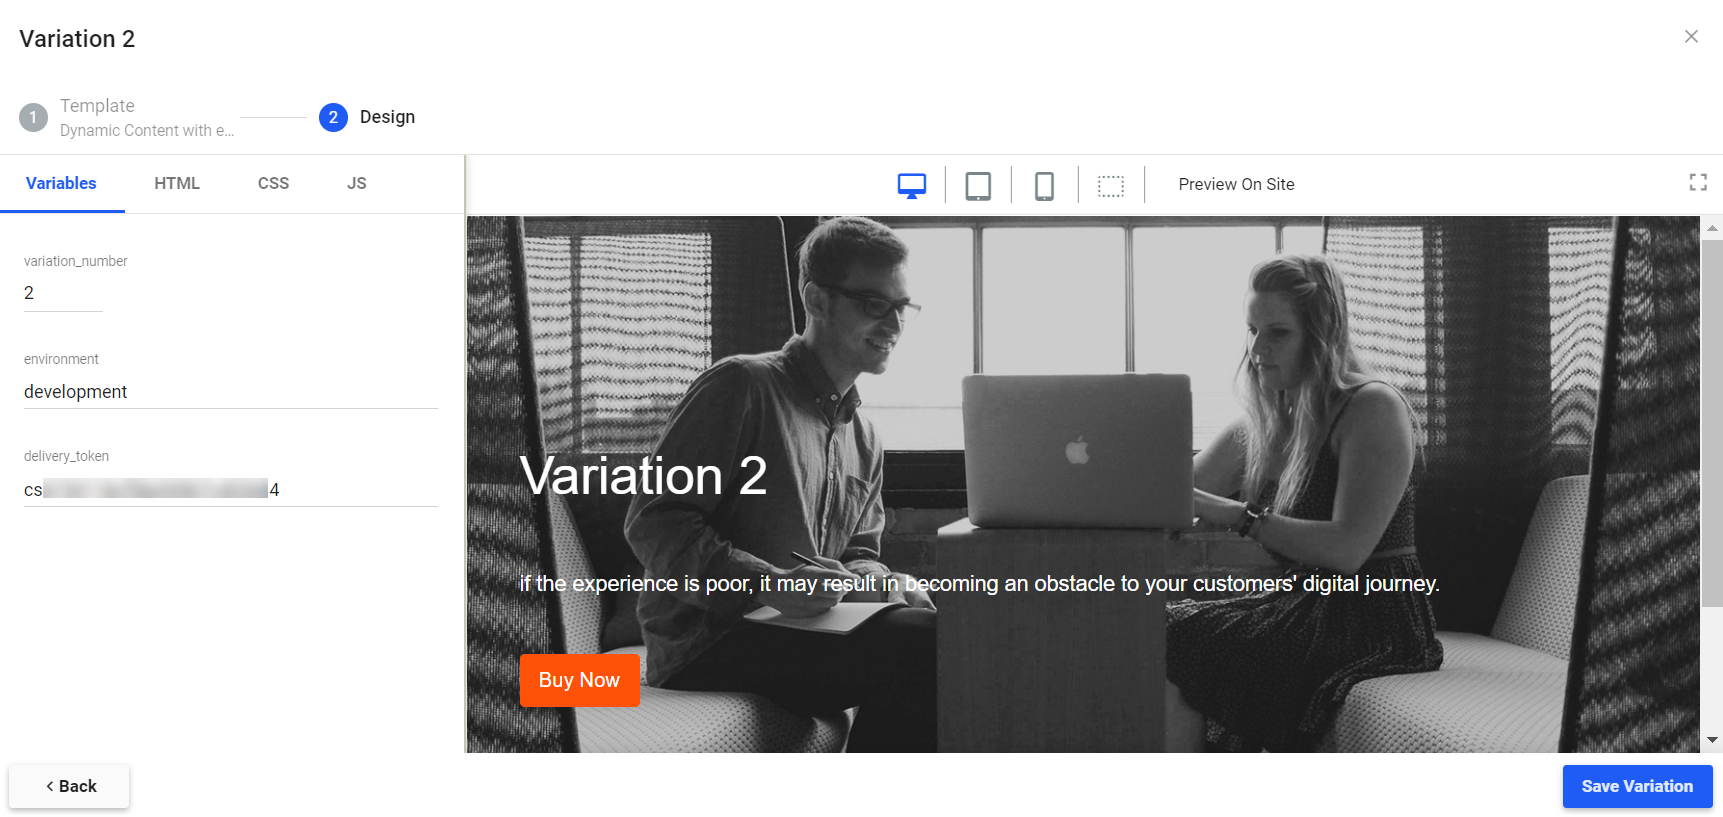
To create variations, create a template in Dynamic Yield. In this case, we have selected Dynamic Content as our template type. Once done, you will see multiple sections such as Variables, HTML, CSS, and JavaScript. In the HTML section, add the code for displaying the banner. In the JS section, write an API call to fetch the entry’s content from Contentstack in a JSON format. By using this content, you can create variations in Dynamic Yield and implement them on the website.
Note: With this approach, you do not need to write HTML code in the website source code.
To create a content type and entry in Contentstack, follow the steps below:
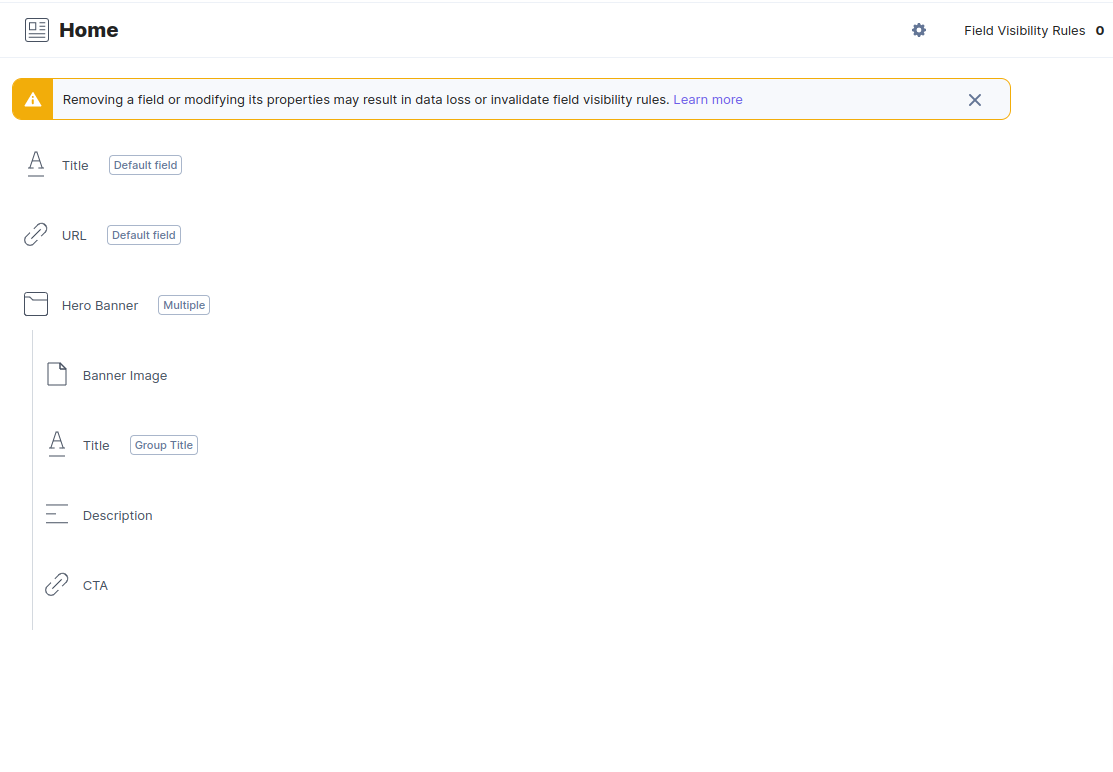
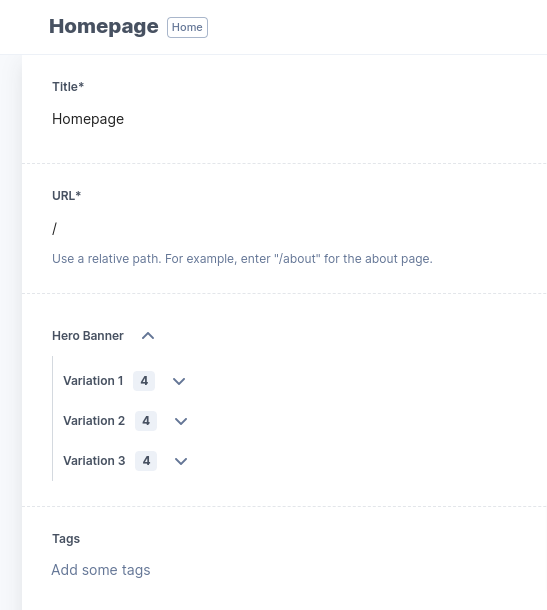
To fetch the content of the entry from Contentstack via Dynamic Yield, you need to generate a delivery token. With this, you can call the Contentstack API directly via your Dynamic Yield account.
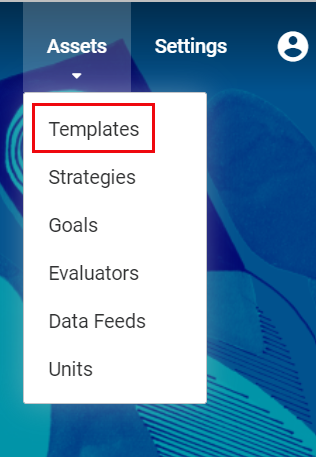
To create a template for each of the variations, follow the steps below:
Note: You need to add the HTML code manually as per your banner structure.
Here’s a sample code:
<div class="wrapper"> <div class="main-container">
<div class="home-hero-bg hero-bg" id="home">
<div class="background-overlay"> </div>
<div class="aligned-container typed-container">
<div class="container">
<div class="typing-block">
<div class="typing-block" id='mainText'>
</div> </div>
<p id='secondaryText'></p>
<a href="/" class="btn btn-primary mrm" id='buttonText'> </a>
</div>
</div>
</div>
</div>
</div>
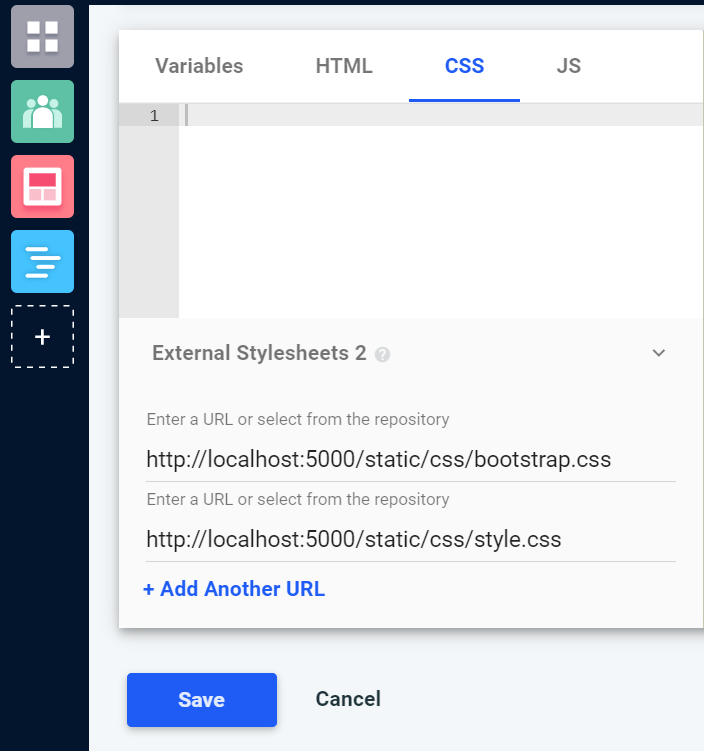
Note: You need to add the data based on your Content Type and Entry, such as Content Type UID, Stack API Key,Delivery Token, Entry UID and Environment. Provide the Content Type fields’ name accurately to fetch the corresponding data.
Here’s a sample code :
async function getData(){
  let response = await fetch('https://cdn.contentstack.io/v3/content_types/add_content_type_uid_here/entries/add_entry_uid_here?environment=${environment}',{
    headers:{api_key:'add_api_key_here',access_token:'${delivery_token}'}
  })
  let data = response.json();
  return data;
}

getData().then(data=> {
  const variationIndex = parseInt('${variation_number}') - 1
  const variationData = data.entry.hero_banner[variationIndex];
  document.getElementById("buttonText").innerText = variationData.cta.title
  document.getElementById("mainText").innerText = variationData.title
  document.getElementById("secondaryText").innerText = variationData.description
  document.getElementById("home").style.backgroundImage = "url("+variationData.banner_image.url+")"
}).catch(error=> console.error("error :: ",error))
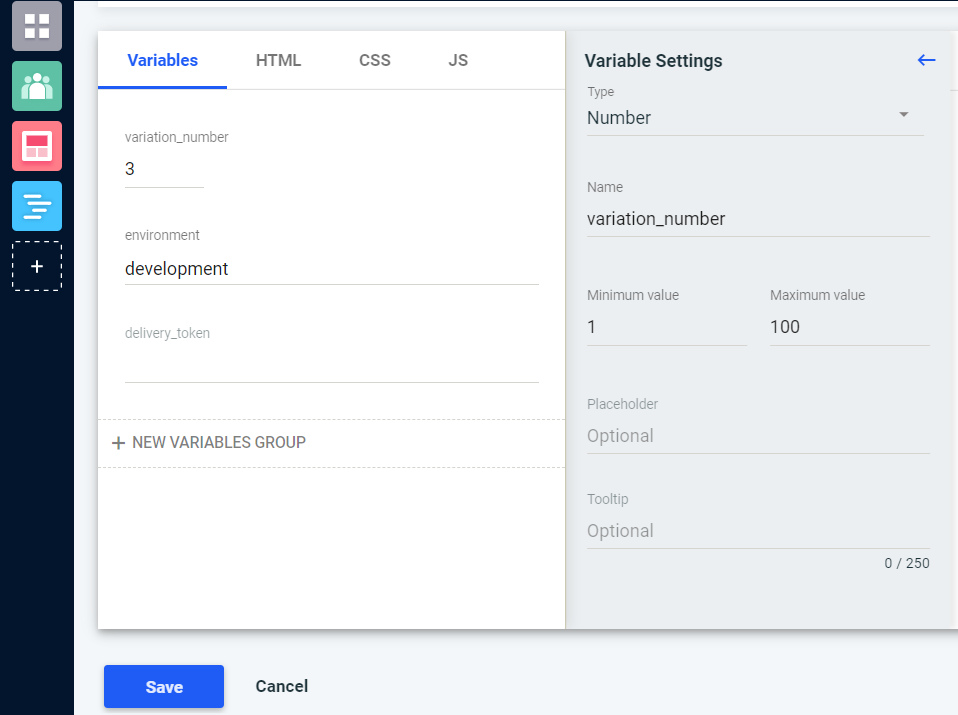
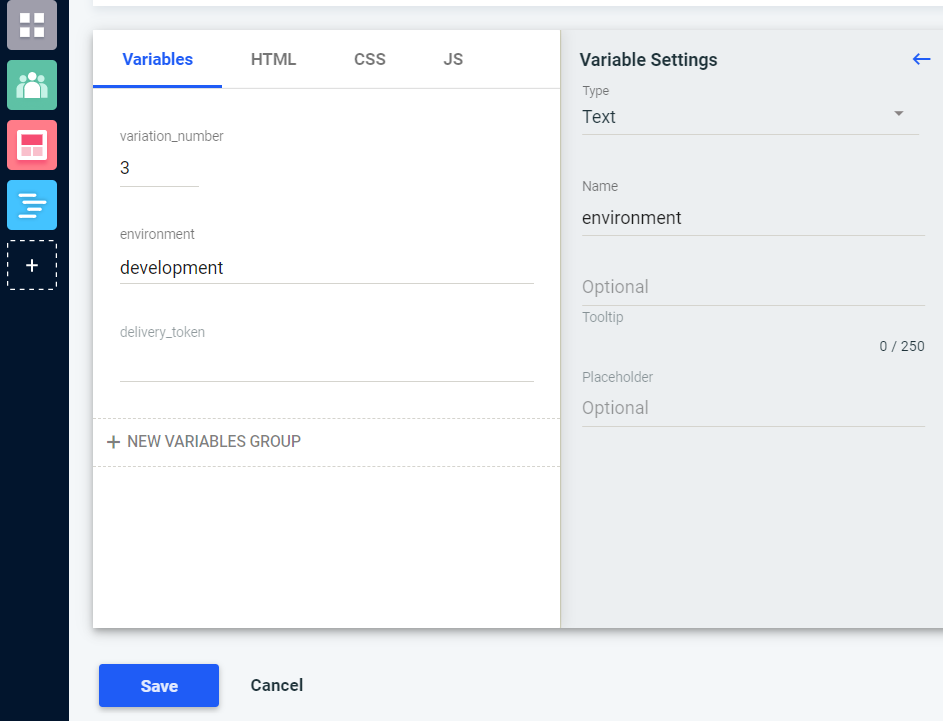
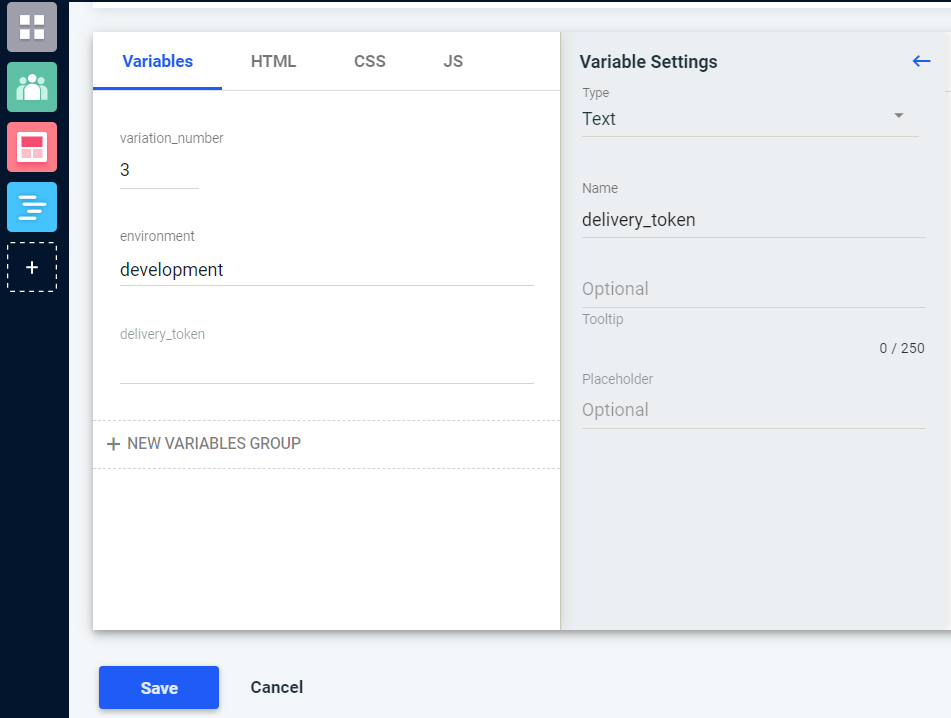
Note: With variation_number, you can identify and preview the different versions of your banner website. With environment and delivery_token, you can fetch entries published in that particular environment. There is no particular criteria to define the variables in Dynamic Yield.
Let’s look at the steps to define the variables:
Let’s look at the steps to define the environment:
Let’s look at the steps to define the delivery_token:
To create a campaign, follow the steps below:
Note: If you select any other campaign type, then the steps for that campaign will be different.
Note: You need to implement Dynamic Yield scripts in the <head>section of every page. To get the Dynamic Yield scripts, go to Settings → General Settings.
For example, you want to replace the below element with the HTML code added in the Dynamic Content Template. To do so, follow the steps:
<div class="replaceDiv"></div>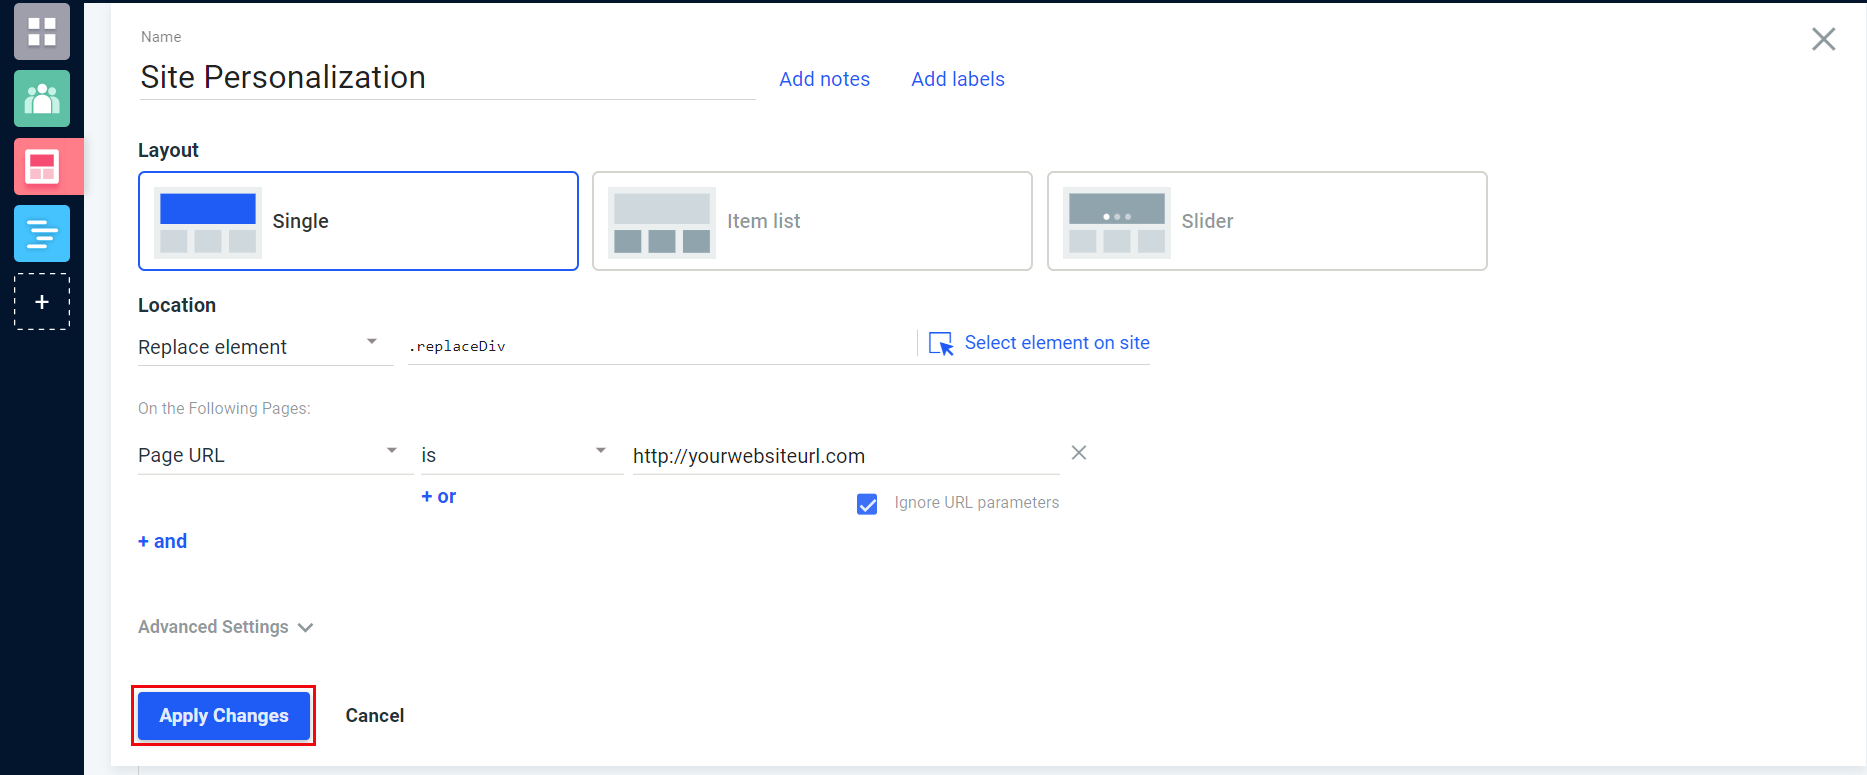
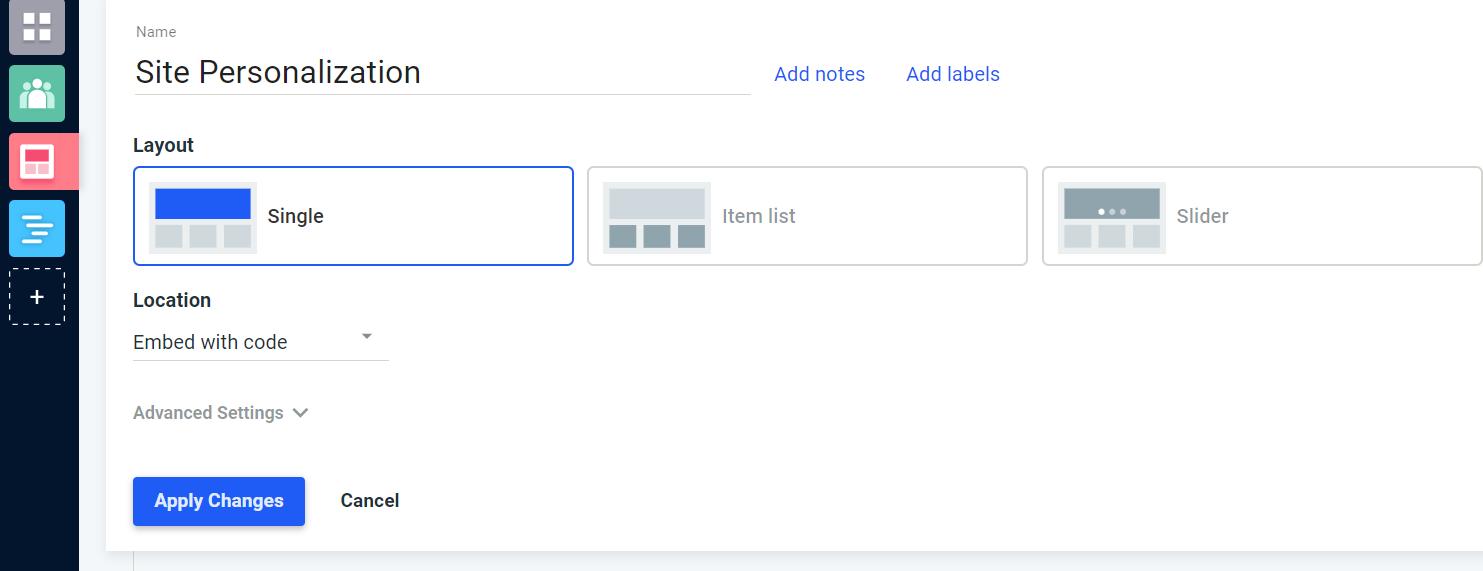
Note: The above process applies only to the Single Layout option.

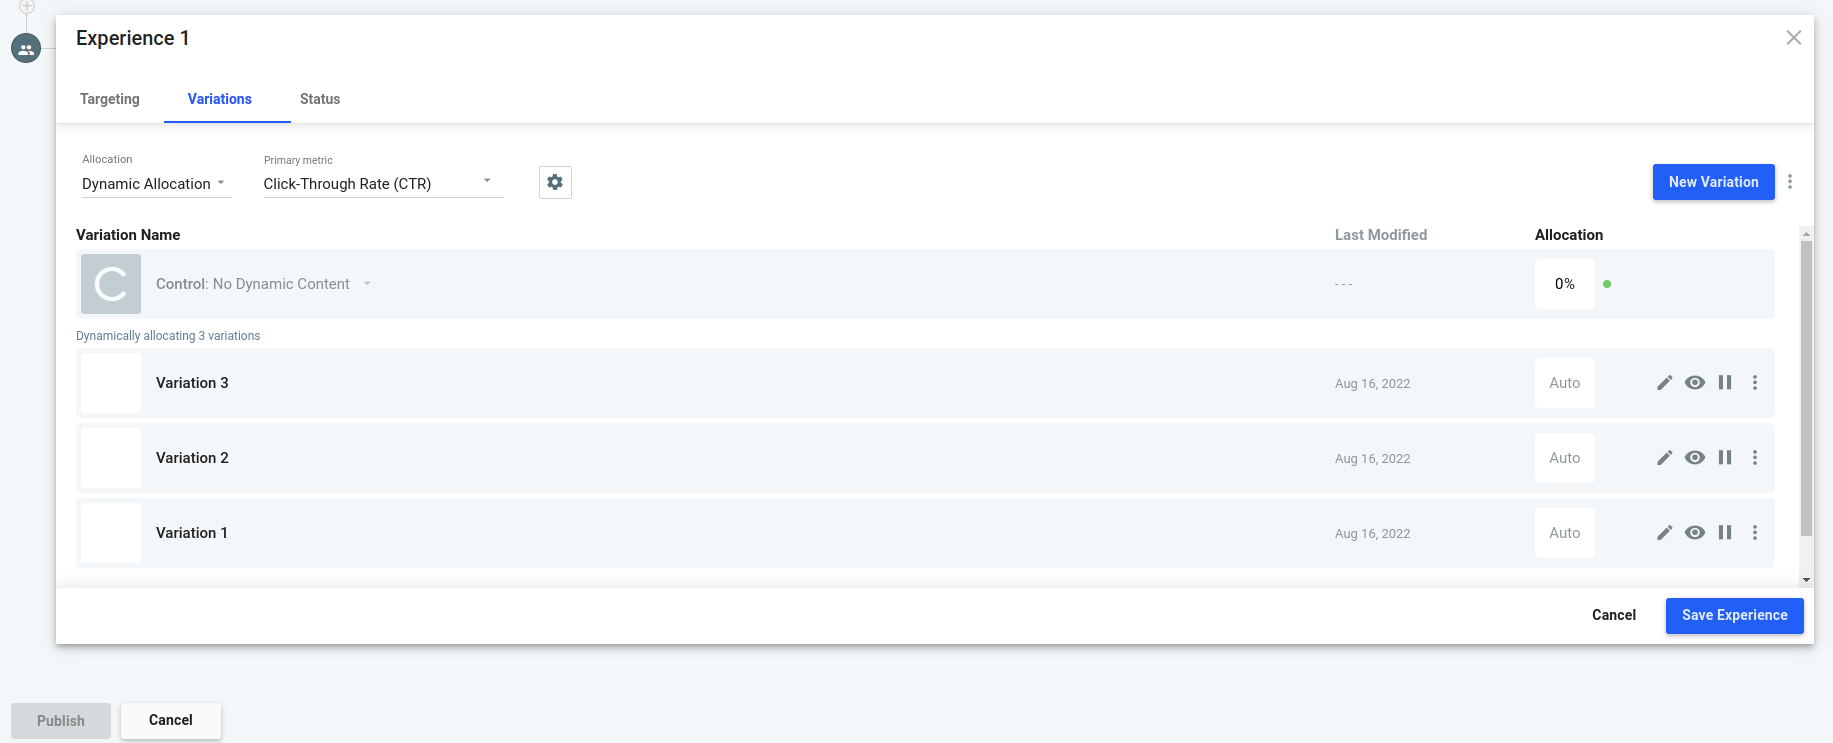

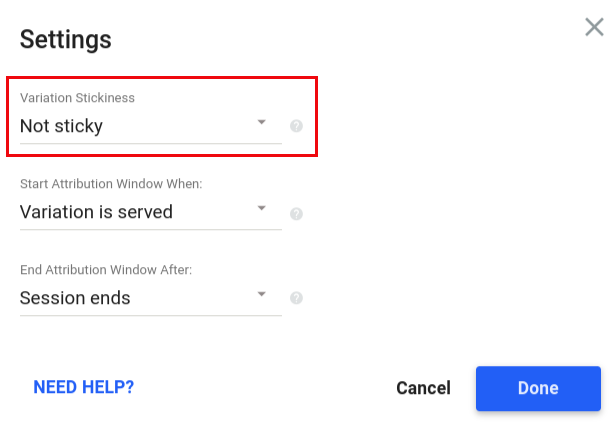

Note: It may take a few minutes for the newly published campaign to be available on your live site.
Note: To use dynamic content in different environments , you need to create separate campaigns for each environment.
After successfully configuring your campaign, you will get the Embed Code on the campaigns’ list page.
Note: This step is applicable only if you are using Location as Embed with Code. To use it in different environments, you need to create separate site personalization for each environment. You will receive different embed code for different site campaigns.

Refresh the page; to view the variations.
Additional Resource:
Dynamic Content Campaigns ,
Experience Advanced Settings,
Creating Templates
Was this article helpful?
Thanks for your feedback