Cloudinary is an assets management tool for websites and mobile applications covering everything from uploading, storage, optimization, and delivery.
Contentstack Marketplace lets you install the Cloudinary application and use it within your stack to refer media files from Cloudinary.
Prerequisites
This step-by-step guide explains how to install and configure Cloudinary within your stack.
Steps for Execution
- Get your credentials from Cloudinary
- Install and Configure Cloudinary in Contentstack Marketplace
- Use Cloudinary within your Stack
Get your credentials from Cloudinary
To get your Cloud Name and API Key from Cloudinary, follow the steps given below:
- Log in to your Cloudinary account.
- On the resulting Dashboard page, under Account Details, you should see your Cloudinary Cloud Name and API Key.
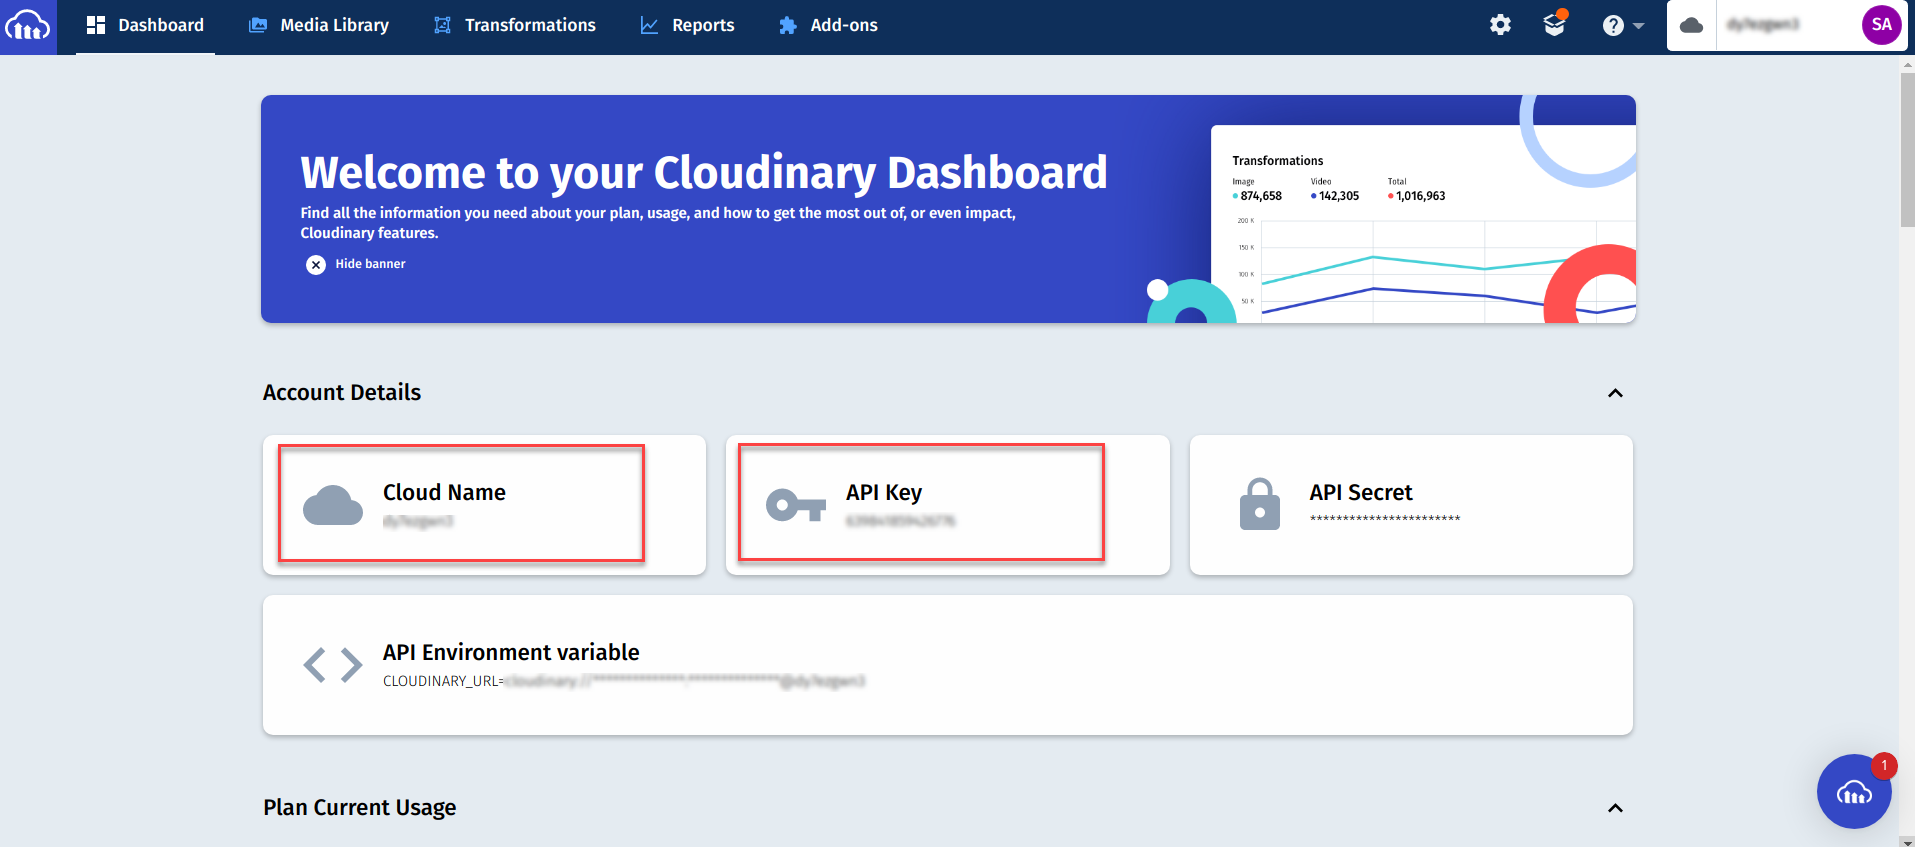
- Save the Cloud Name and API Key; you will need it while configuring your Cloudinary app in Contentstack.
Install and Configure Cloudinary in Contentstack Marketplace
Follow the steps to install the application in Contentstack.
- Log in to your Contentstack account.
- In the left-hand side primary navigation, click the Marketplace icon to go to the Marketplace.
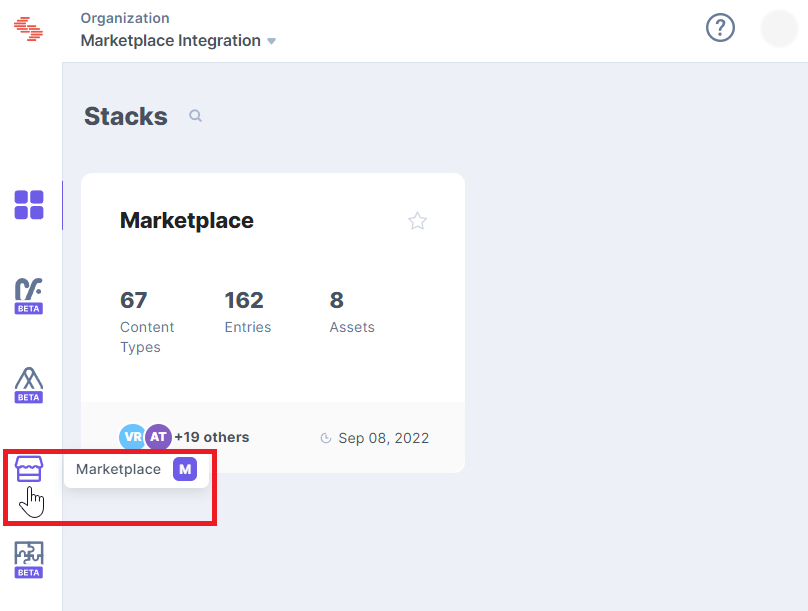
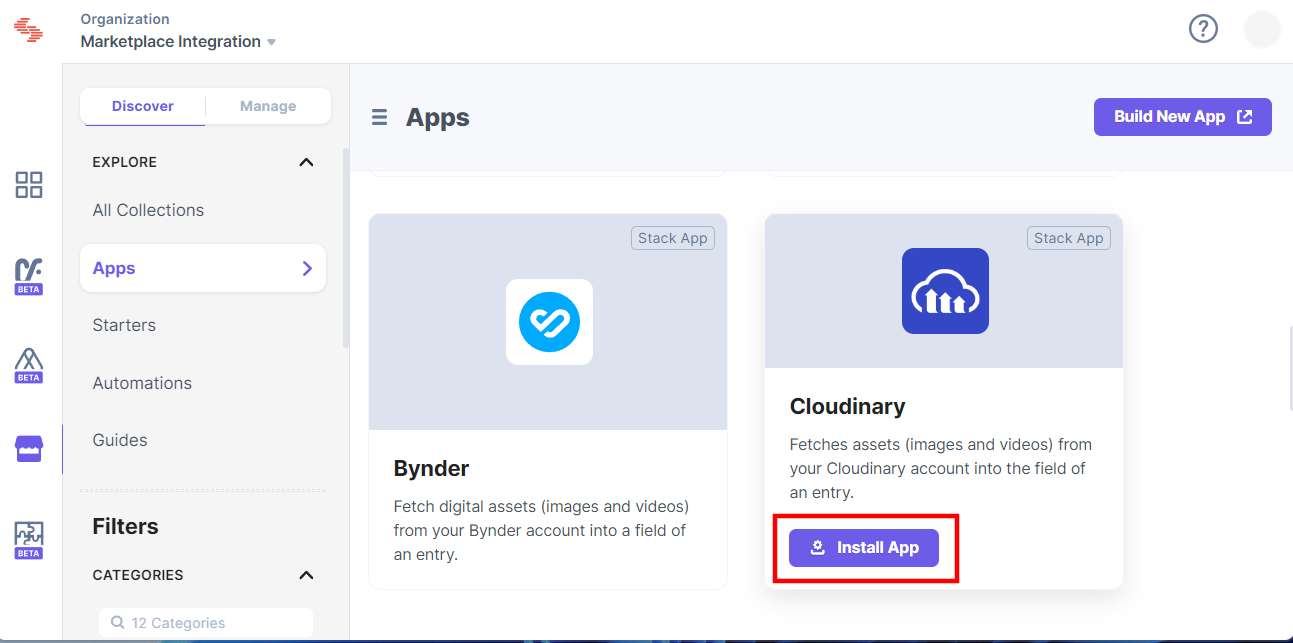
- Within the Marketplace, you will be able to see all the apps available; hover over the Cloudinary app and click the Install App button.
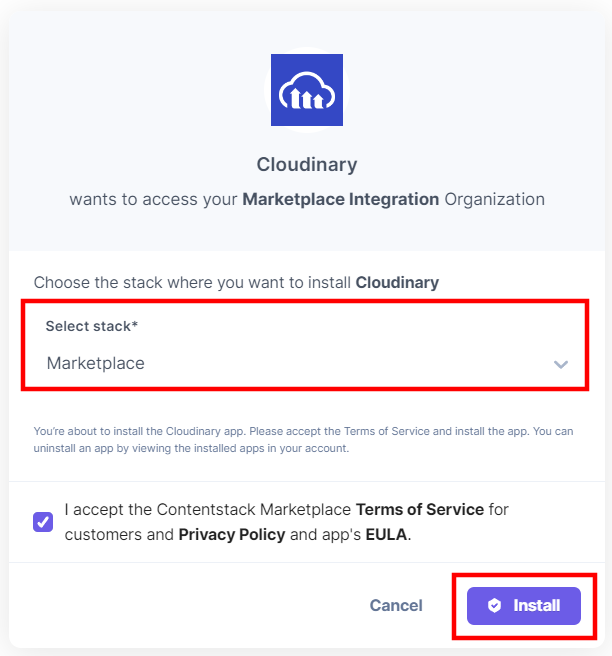
- Select the stack for which you want to install the Cloudinary app, accept the Terms of Service and Privacy Policy, and click the Install button.
- Enter the Cloudinary Cloud Name and the API Key on the resulting Configuration page and click the Save button.
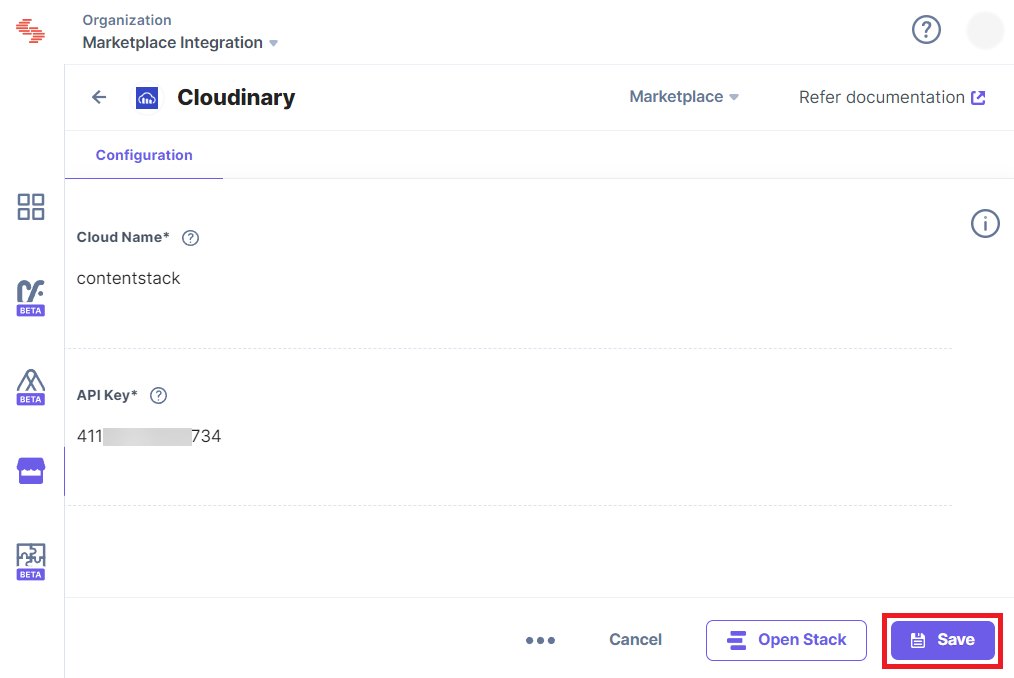
- Click the Open Stack button to start using the Cloudinary application.
Use Cloudinary within your Stack
To use the Cloudinary application within an entry of your stack, you can either use a Custom field or a JSON RTE field.
Follow the steps given below to use the Cloudinary application using the Custom field:
- Go to your stack and click the Content Models icon in the left navigation panel, and click the + New Content Type button.
- Create a content type by adding relevant details as displayed below:
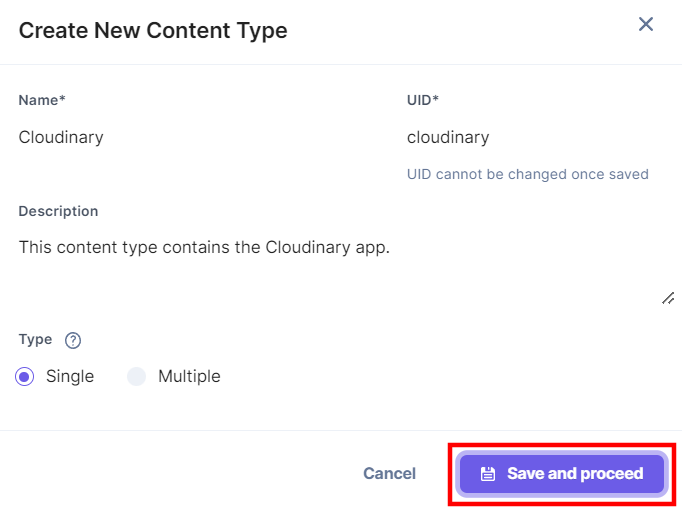
- In the Content Type Builder page, add a Custom field in your content type by clicking the Insert a field link represented by a + sign.
- Under Select Extension/App, select Cloudinary and click the Proceed button.
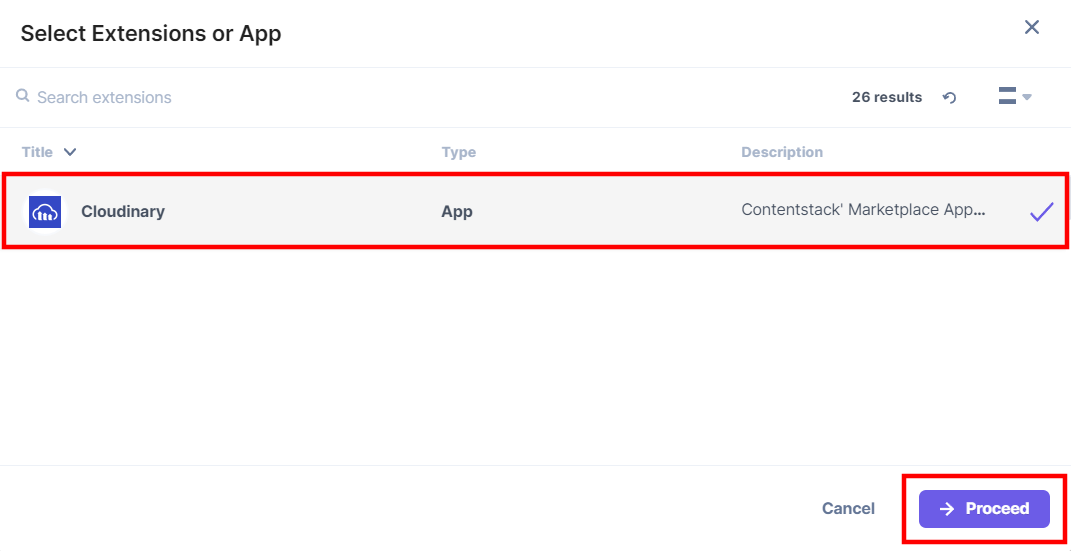
- After adding the app, click Save or Save and Close to save your changes.
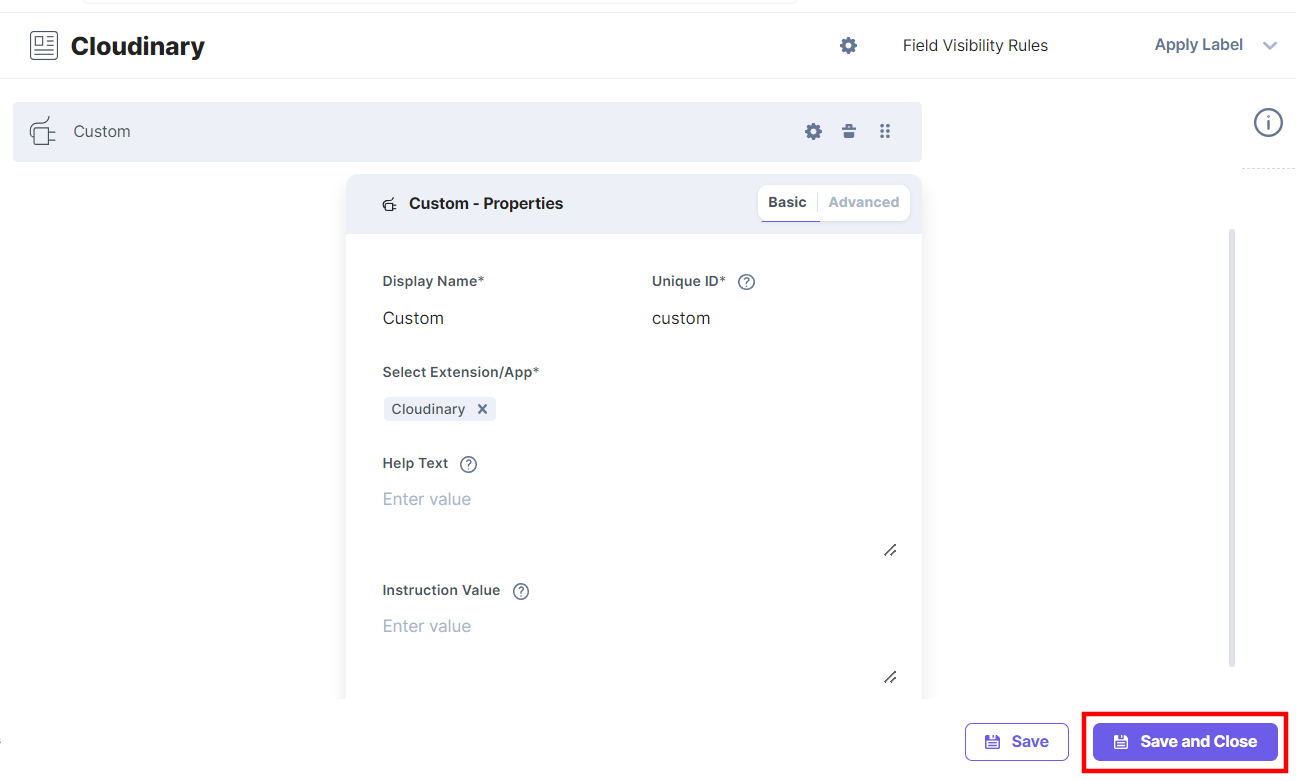
- To use the Cloudinary app, create an entry for this content type, and you will see the Cloudinary custom field on your entry page as shown below:
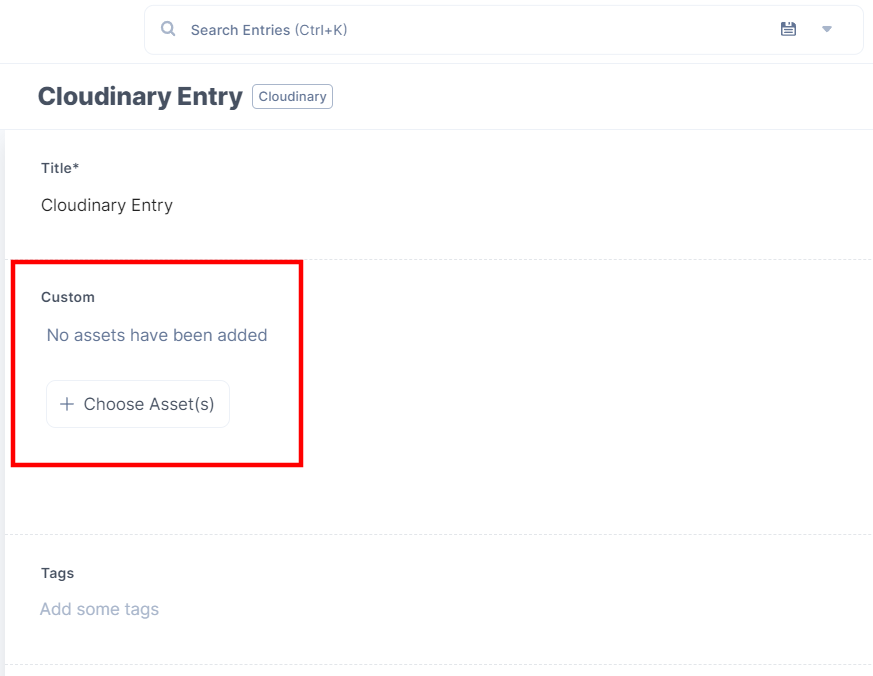
- Click the + Choose Asset(s) button to select assets from your Cloudinary account and then click the Insert button to add them to your entry.
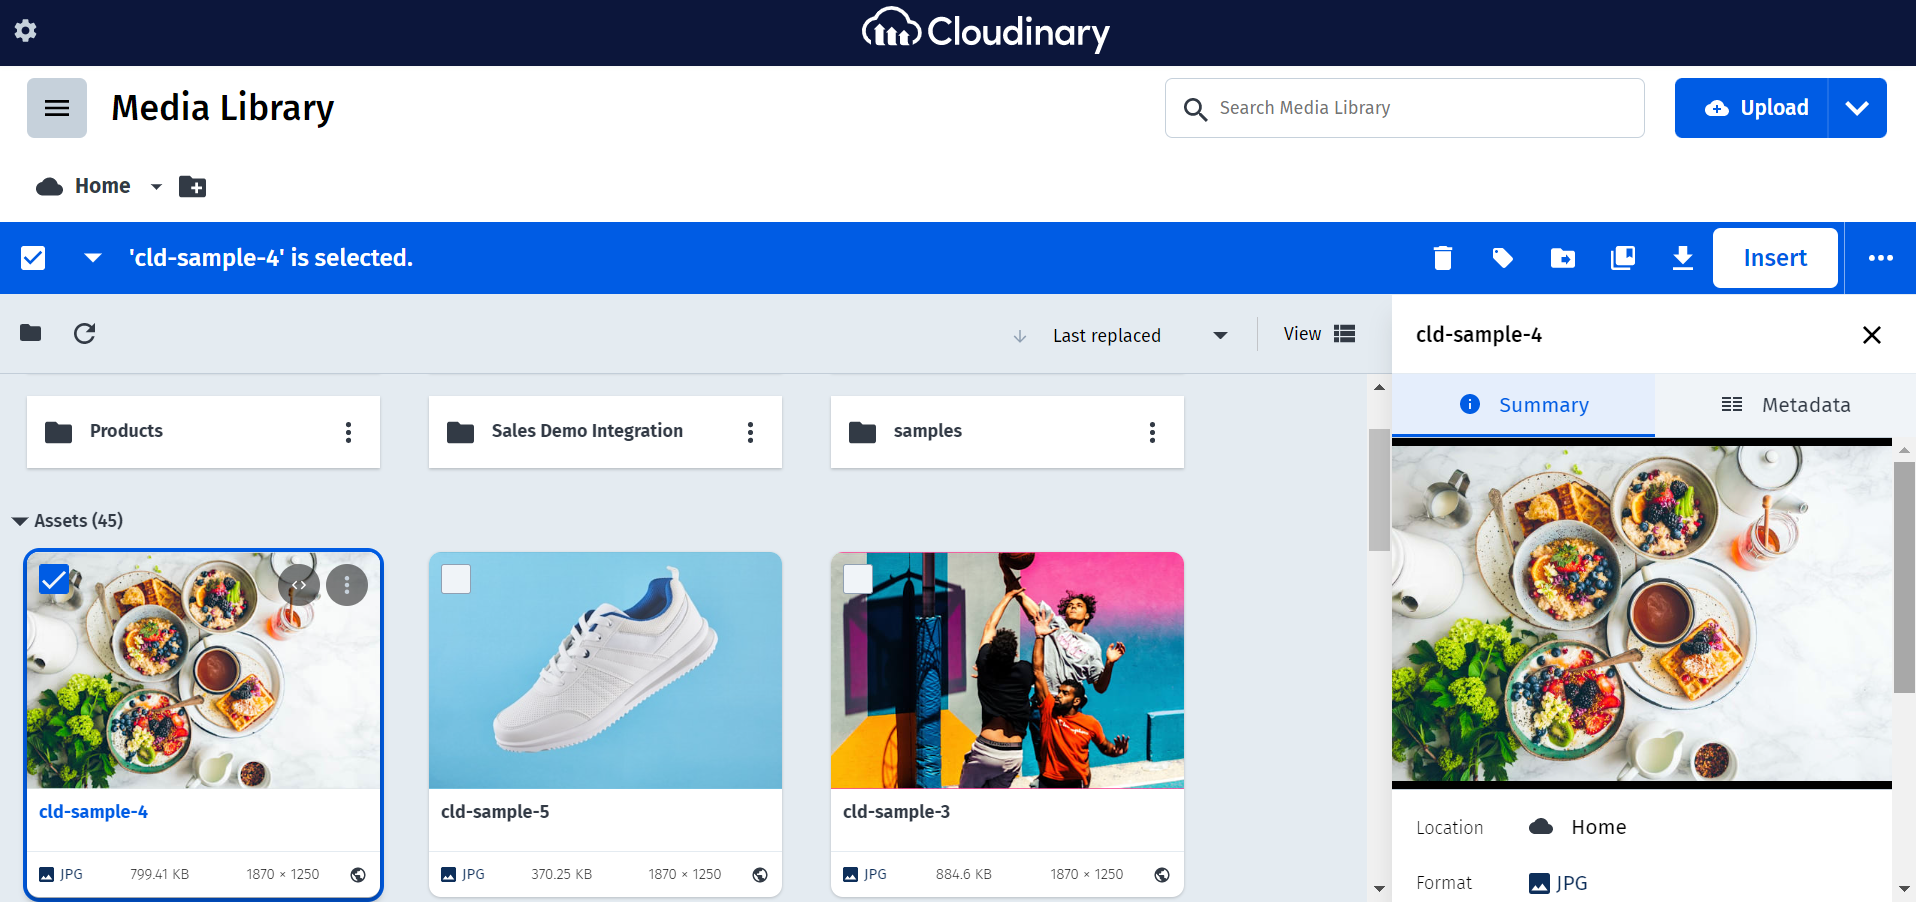
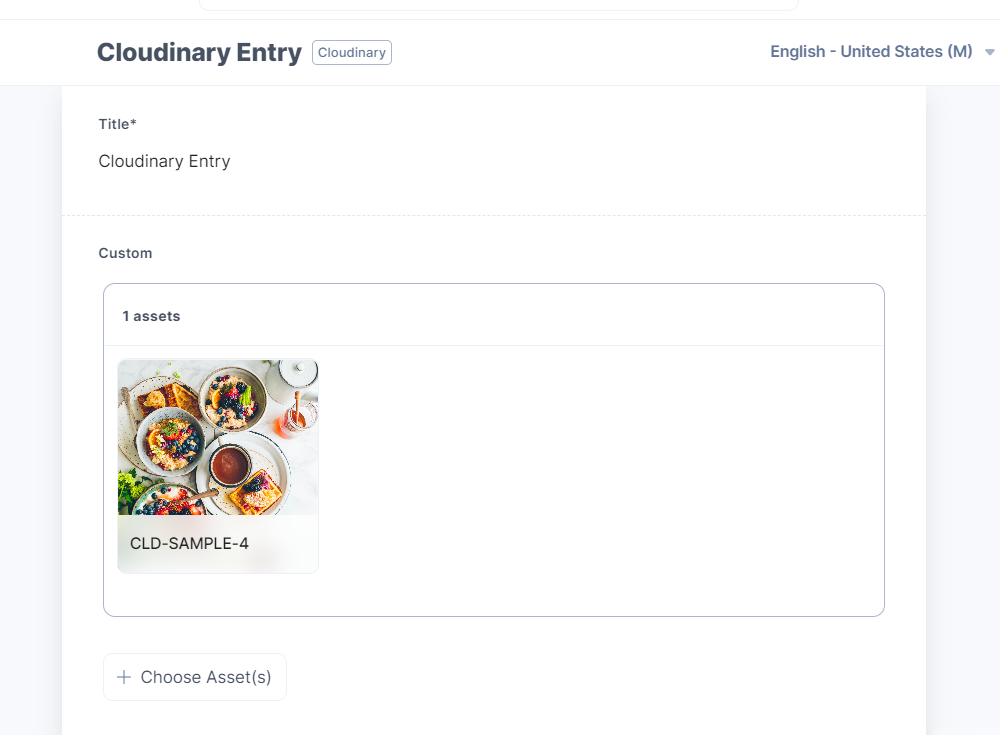
The selected asset(s) gets displayed in the custom field:
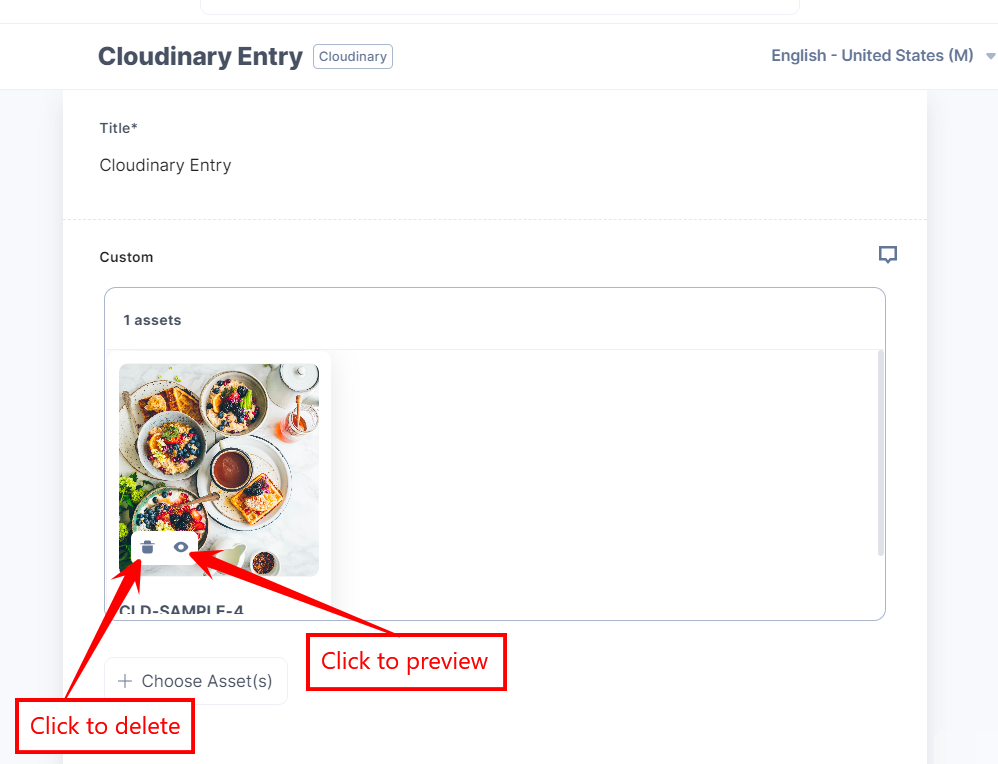
- Hover over the image to delete or preview it.
- Click the Delete icon to delete the image.
- Click the Preview icon to view the image in a new tab.
The assets you select are referenced within your entry. You can add more assets or simply save and publish your entry as it is.
Follow the steps given below to use the Cloudinary application using the JSON RTE field:
- Go to your stack and click the Content Models icon in the left navigation panel, and click the + New Content Type button.
- Create a content type by adding relevant details as displayed below:

- In the Content Type Builder page, add JSON Rich Text Editor in your content type by clicking the Insert a field link represented by a + sign.
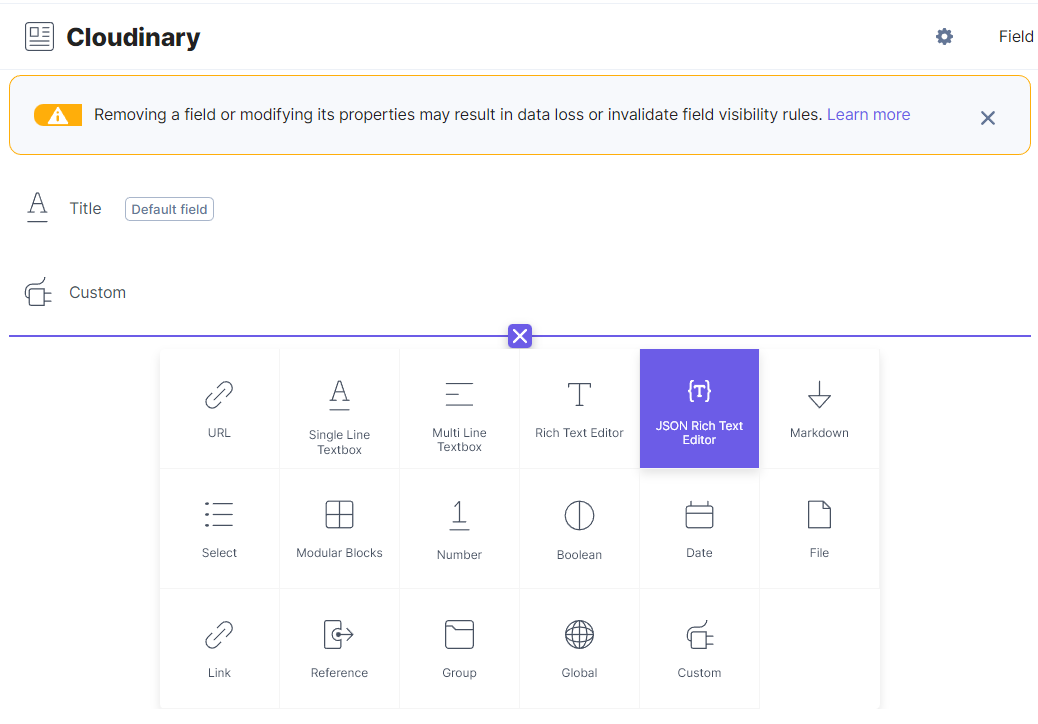
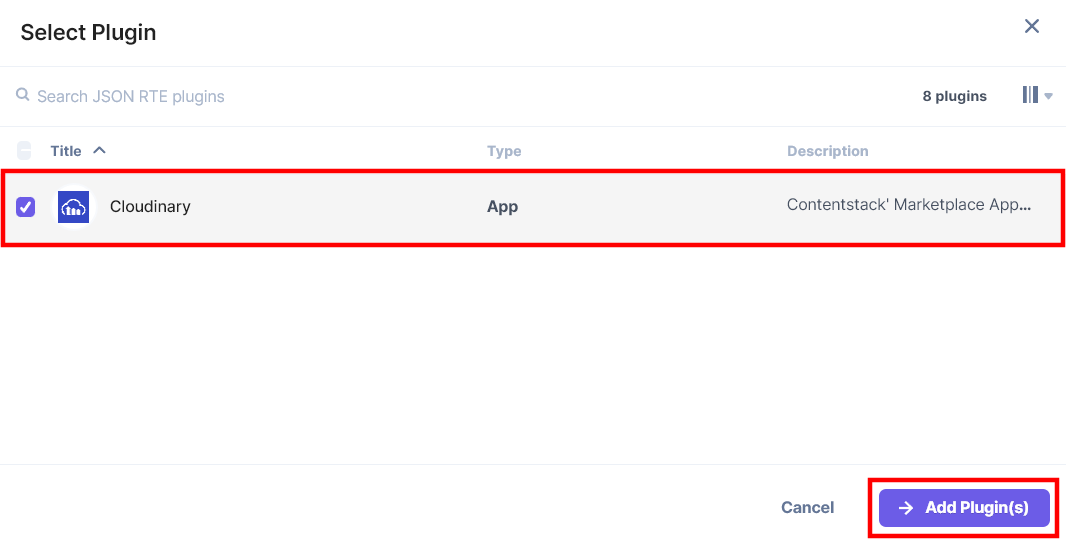
- To add the Cloudinary plugin in JSON RTE, click the Properties icon of JSON RTE, and under Select JSON RTE Plugin(s), choose the Cloudinary app, and then click the Add Plugin(s) button.
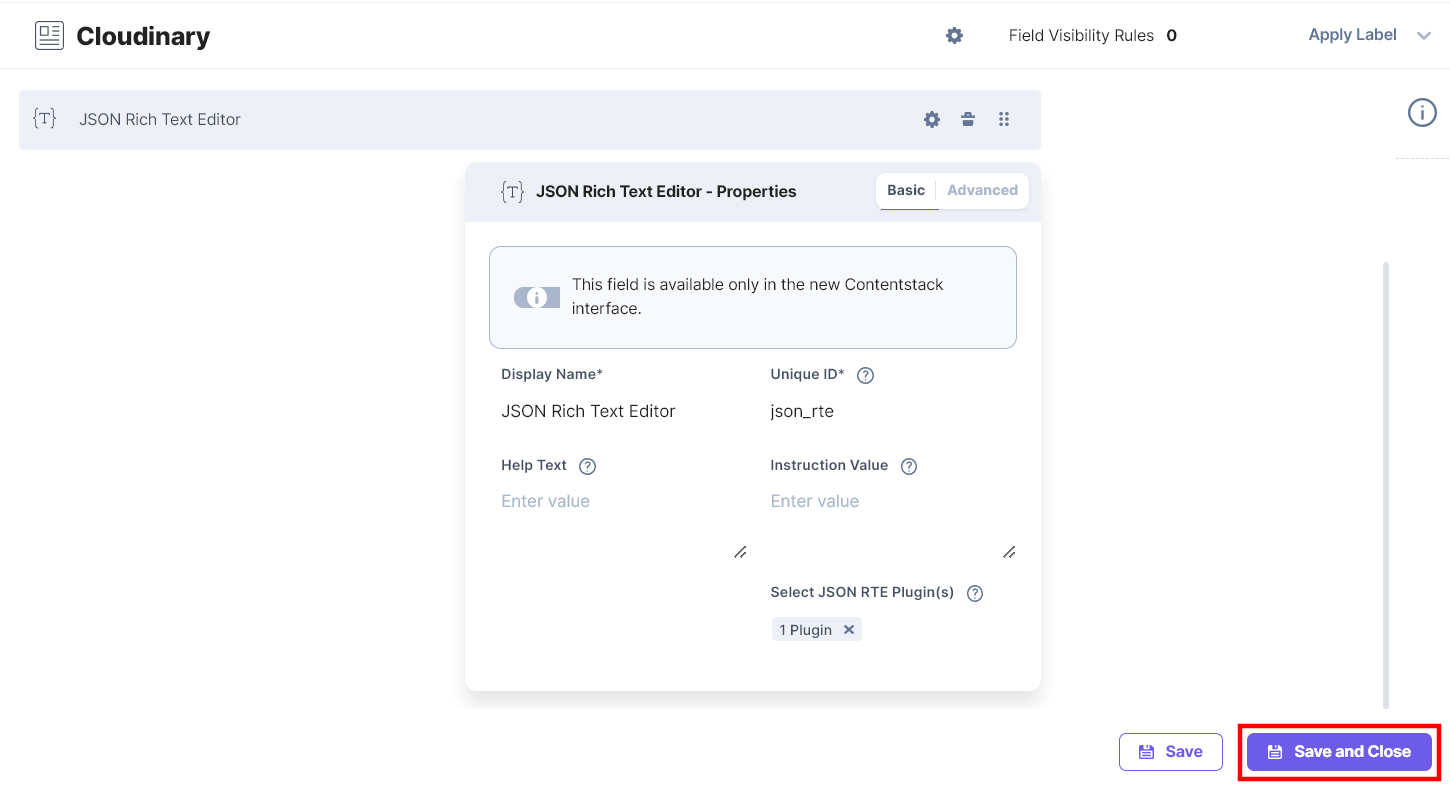
- After adding the plugin, click Save or Save and Close to save your changes.
- To use the Cloudinary app as JSON RTE plugin, create an entry for this content type, and you will see the Cloudinary app icon in the JSON RTE field on your entry page as shown below:
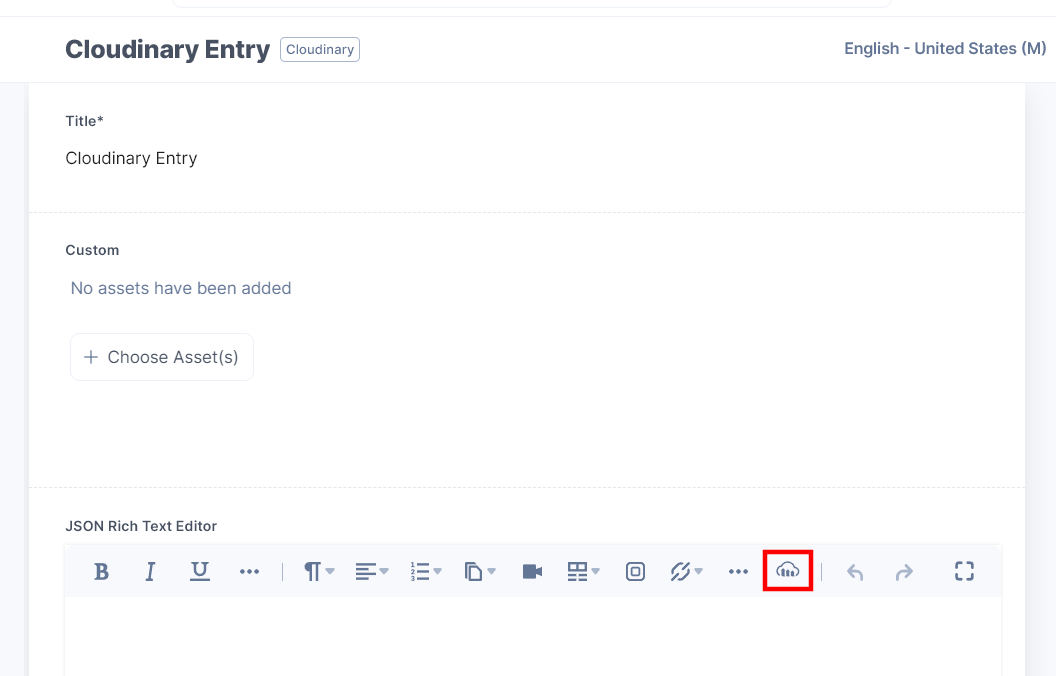
- Click the Cloudinary app icon to open the selector page or Media Library.
- Choose one or more media files from the Media Library and then click the Insert button.

The selected asset(s) gets displayed in the JSON RTE editor:
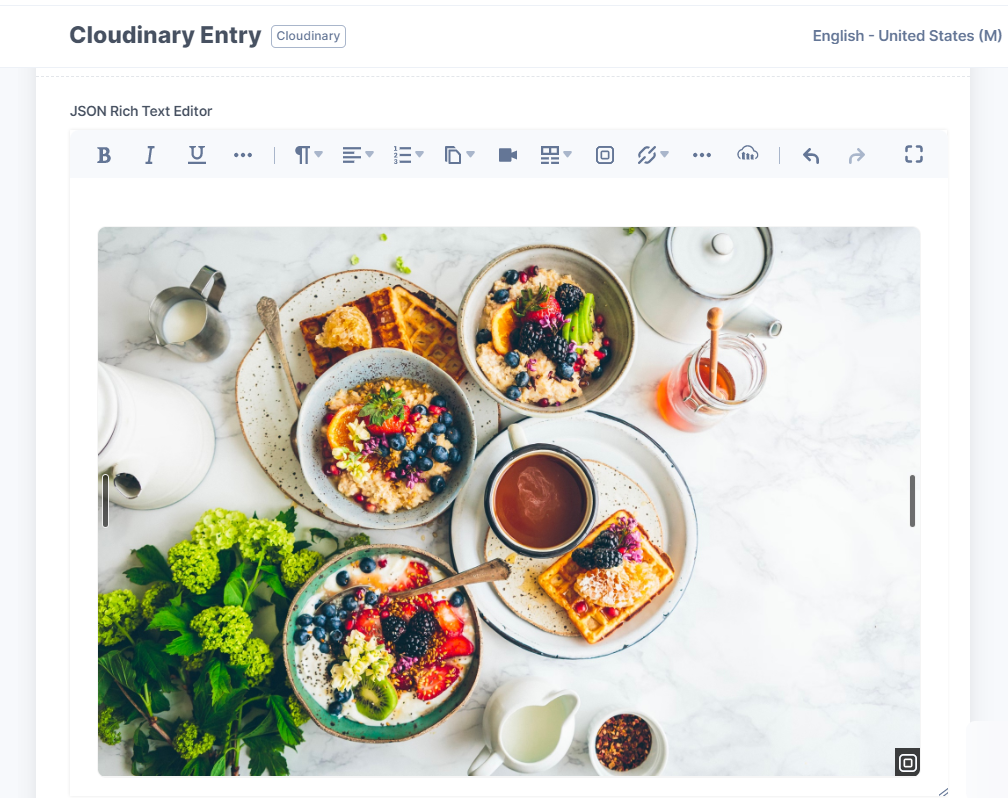
- You can resize the image by adjusting the size from the corners.
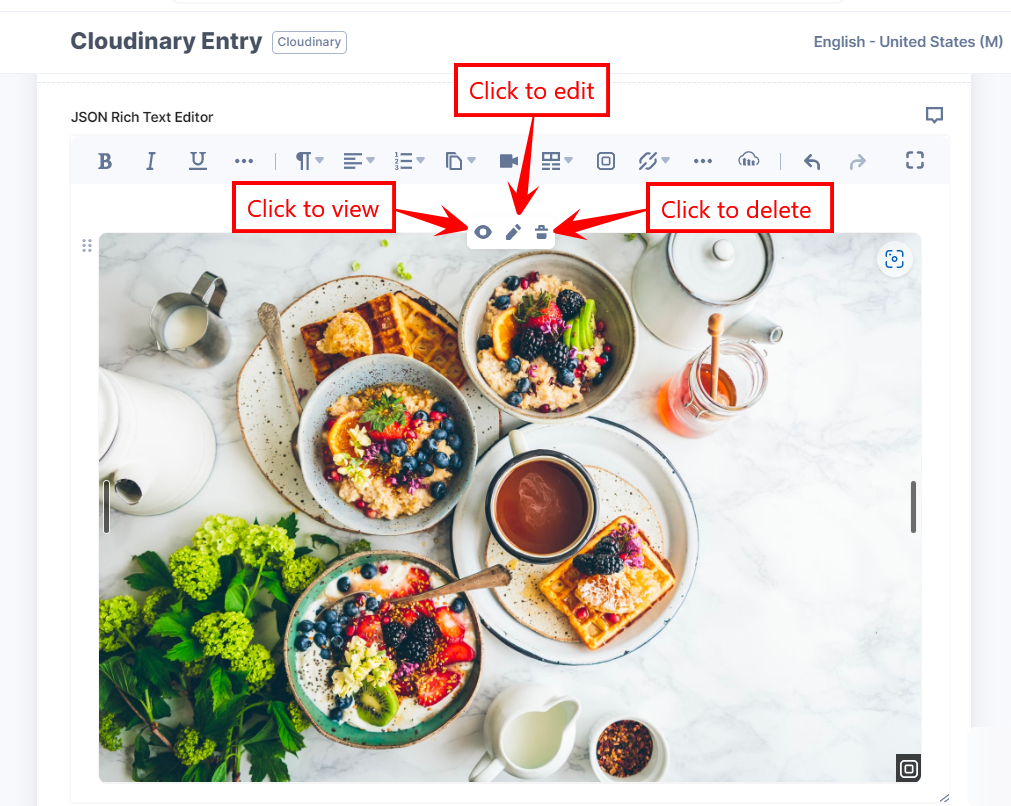
- Hover over the image to view, edit or delete it.
- Click the View icon to view the image.
- Click the Edit icon to edit the image. Make the necessary changes and click the Save button.
- Click the Delete icon to delete the selected image.
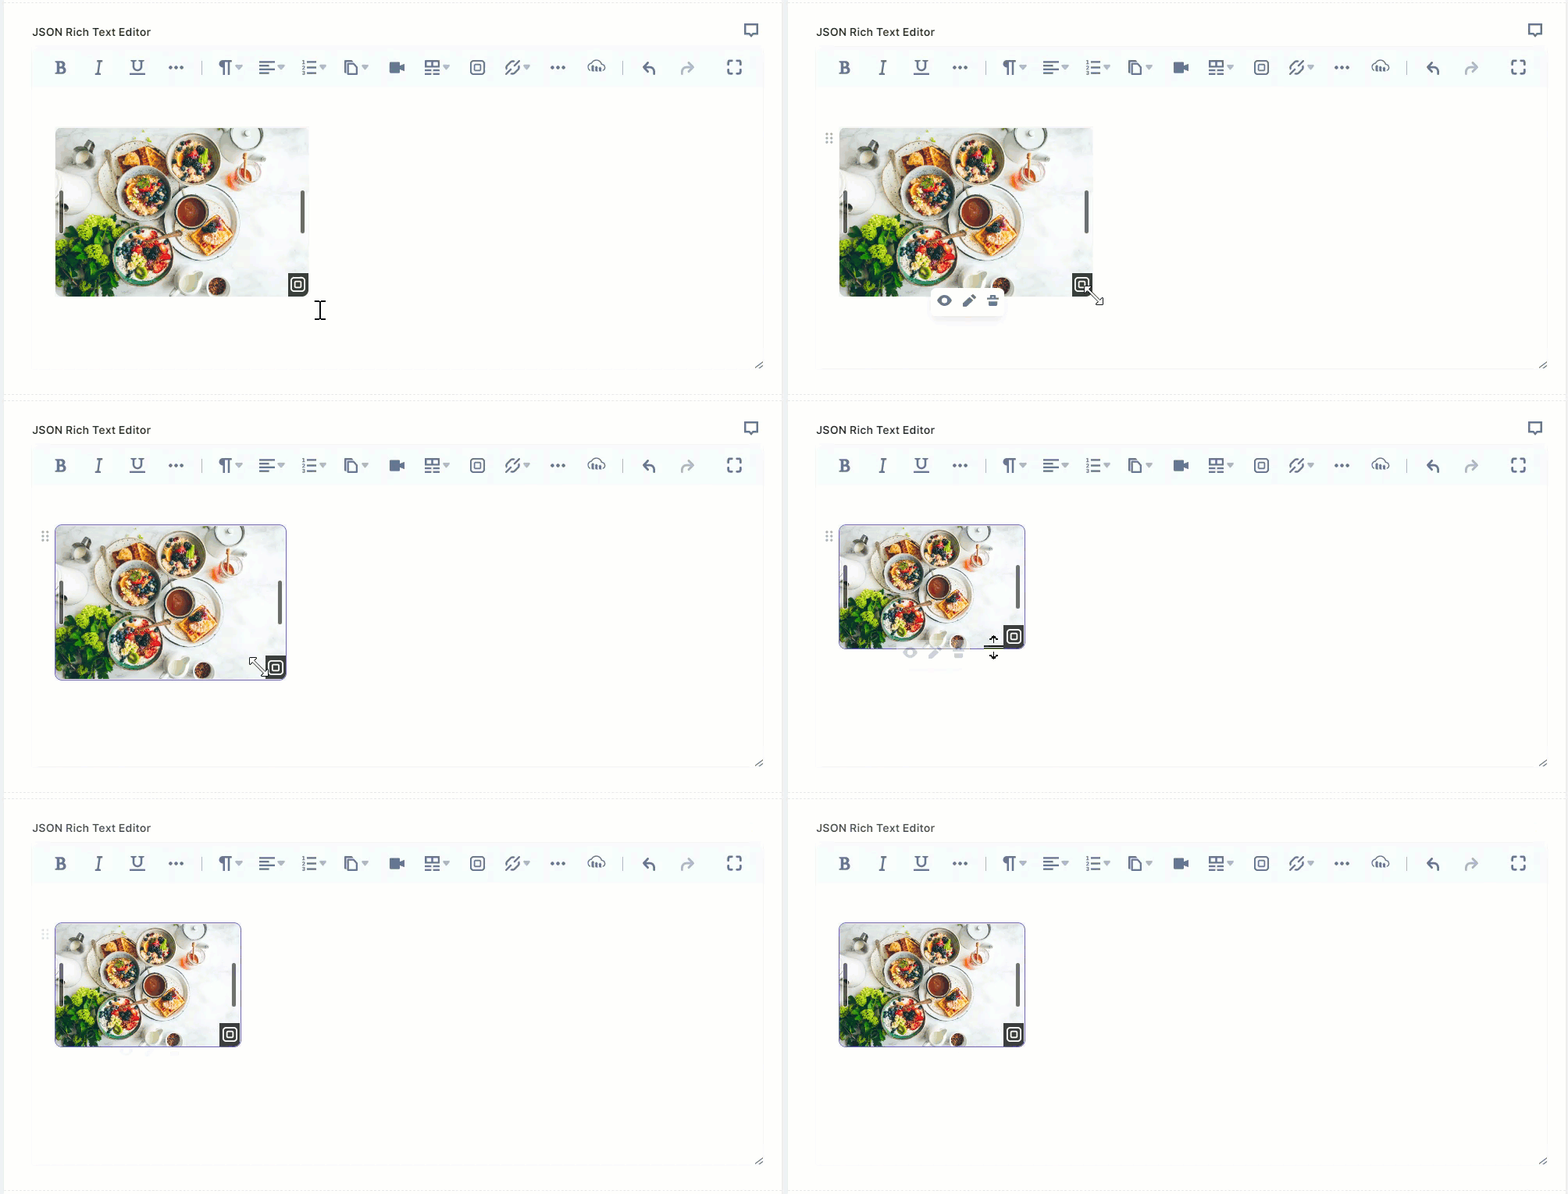
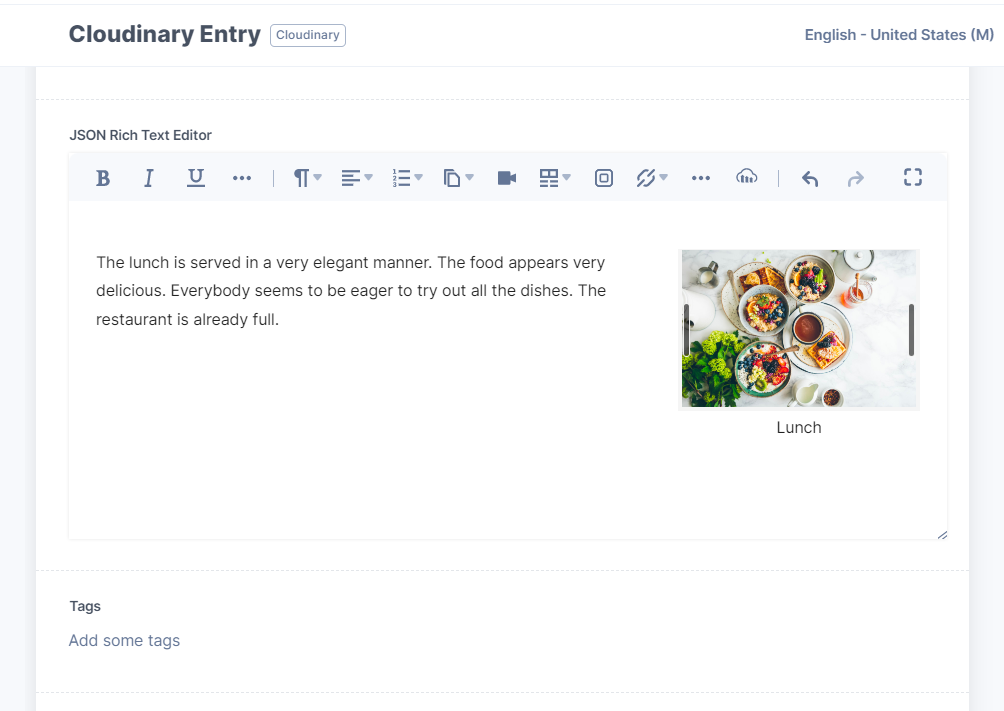
- To add inline text to the selected image, follow the steps below:
- Drag and resize the image as required.
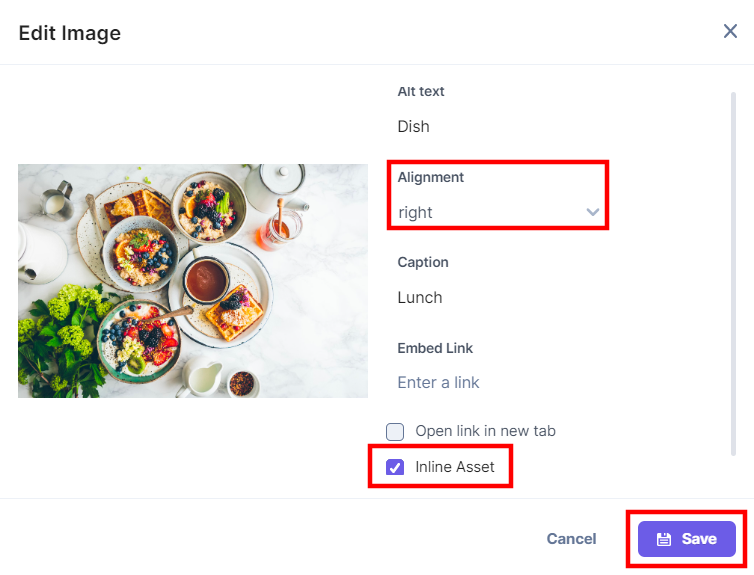
- Click the Edit button, choose the right or left alignment, check the Inline Asset checkbox, and then click the Save button.
- Add the required text next to the image.
The assets you select are referenced within your entry. You can add more assets or simply save and publish your entry as it is.


