Contentstack provides several prebuilt custom field templates to get you started instantly instead of writing code. You just need to configure these templates a bit and get started.
Below is a list of some of the popular custom field templates provided by Contentstack:
In order to use a pre-built custom field, log in to your Contentstack account, and perform the following steps:
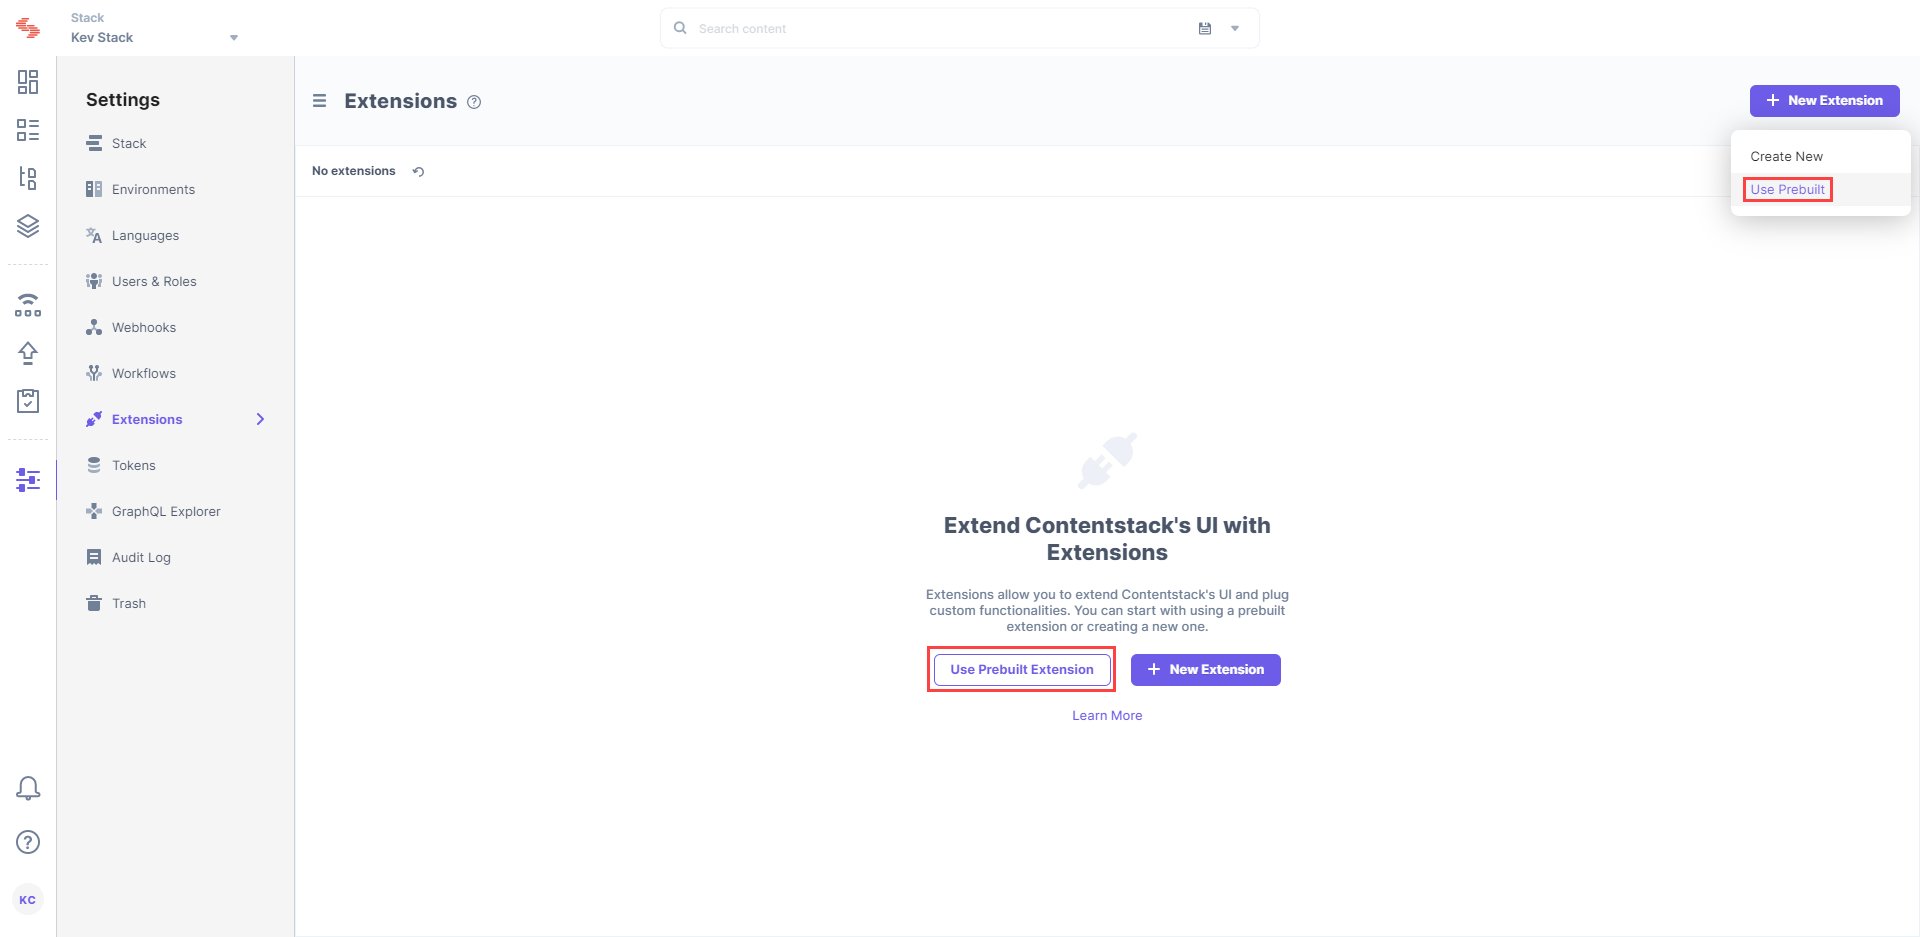
- Go to your stack and click the “Settings” icon on the left navigation panel.
- Select Extensions, and click on + New Extensions button at the top-right corner of the page, and select Use prebuilt option.

- In the following window, from the drop-down menu, select Custom Field.

- Select any prebuilt template (for example, Color Picker), and click on + Add Extension.
- In the configuration page, you will see the following options:
- Title (required): You will see a predefined title. This title can be used when adding the custom field in your content type.
- Field data type (required): Based on the custom field you select, you will see a field data type assigned for your input data.
- Multiple (optional): Select this if your custom field accepts multiple values, and the data type is not JSON. It lets the field save input values in an array.
- Hosting method (required): The hosting method is set to Hosted By Contentstack since it is a custom field hosted on Contentstack.
- Extension Source Code (required): You will find the source code for the custom field.
- Config Parameters (optional): If you have used any config parameters in the source code, provide the value for the parameters here. You can make changes to this code as per your requirements. You can pass raw queries as config parameters in this section as shown below:
{
"key1":"value1",
"key2":"value2"
}Note: Users don't need to add config parameters to the prebuilt custom field extensions. By default the extensions are preconfigured and ready to use.
- Finally, Save this widget.

