Was this article helpful?
Thanks for your feedback
The commercetools extension lets you search and fetch the products of your commercetools store and display them in a field in your content type. Thus, while creating entries for this content type, you can select one of your store’s products as the input value for that field.
This step-by-step guide explains how to create a commercetools custom field extension for your content types in Contentstack. The steps performed are as follows:
To use this extension, you will first need to retrieve the credentials of your commercetools store API client. The credentials include the project key, client_id, and secret key of your commercetools store API client.
Note: Also make a note of the auth_url, and project_key, as these will be required while setting up the commercetools extension.
Additional Resource: Refer to the API Clients and HTTP APIs guides to learn how to generate these values.
While creating the API client to be used with this extension, make sure to select Read only client as the permission, as shown below.

Additional Resource: You can refer to the commercetools documentation for more details.
The commercetools platform API is provided in five different regions, with different API URLs for each region. Follow the steps below to find your region and the corresponding API URL.
For example, If your region is North America than your API URL is https://api.us-central1.gcp.commercetools.com/
Please note these keys as you need to use them to configure your commercetools store in Step 3.
Note: For the commercetools extension to work, you need to have a configured commercetools account.
The search functionality in commercetools allows you to search and fetch products from your commercetools account into Contentstack.
Follow the steps below to enable the search functionality in commmercetools.
Note: By default, the Storefront search Indexing option is deactivated. Without activating the Index status you won't be able to search products in your commercetools extension. Read more about Storefront search configuration in commercetools.
Note: Based on the number of products added to your commercetools project, index status may take some time to be activated.
To add this extension to your stack, perform the following steps:
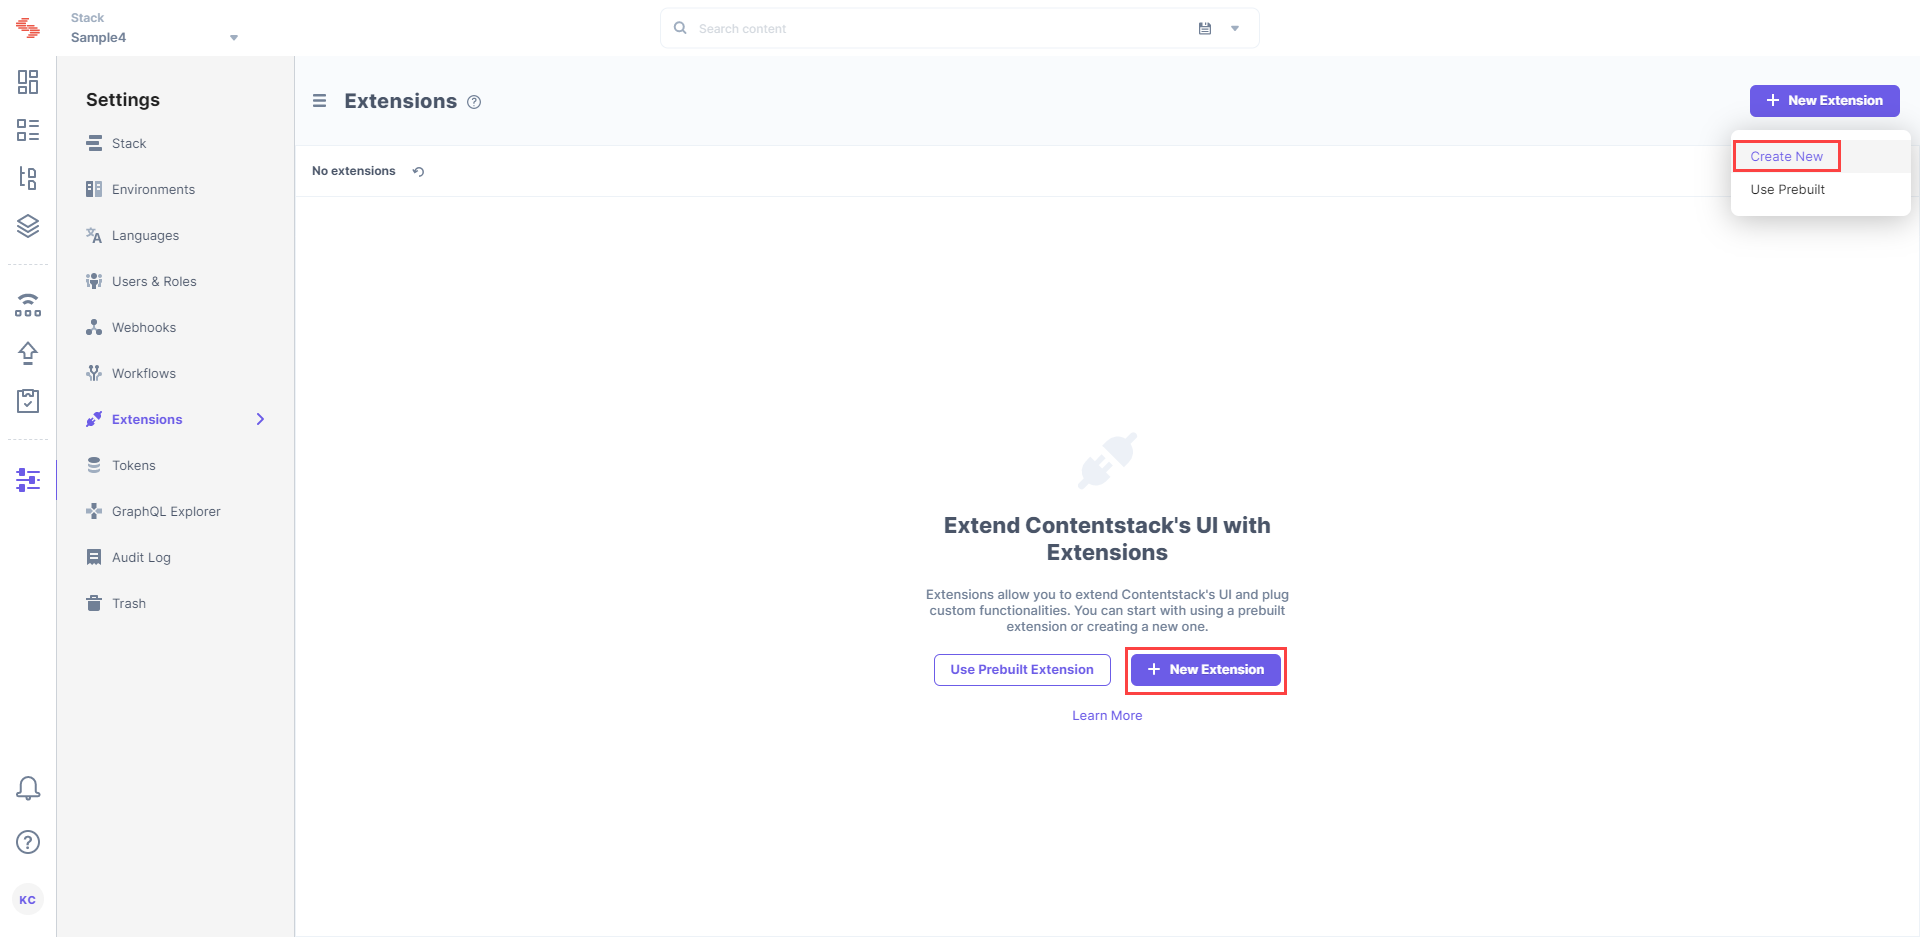
On the Extensions page, click on the + Add Extension button, and select Create new. If you have not added any extensions in the stack yet, click on the create a new one link as shown below.

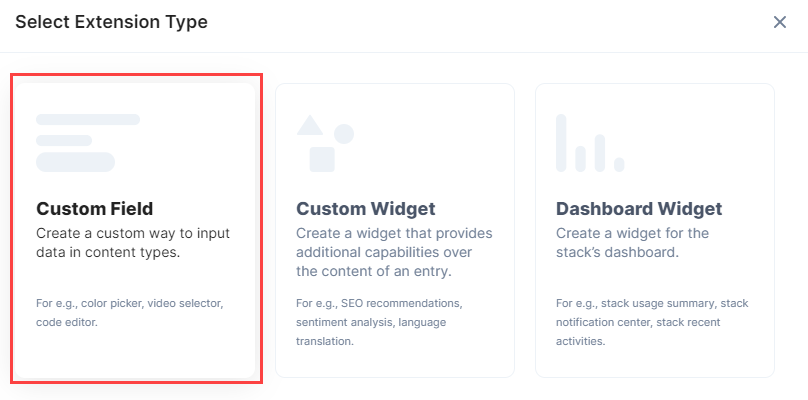
In the Select Extension Type window, select Custom Field.

On the Create New Extension page, enter values in the fields as given below:
Note: In the downloaded code, inside the root folder, there's a redirect HTML file. Upload this file as an asset in Contentstack by following the steps mentioned in the Create/Upload asset article. After uploading the file, you'll get a URL in the asset details section. Make note of this URL.
Config Parameter: Provide values for the config parameters. Enter the configuration details retrieved in Step 1 in your extension settings.
Please note we have added sample values in the example below to help you understand the config parameters. Copy and paste the configuration details and add your values wherever needed.
{
    "navigator_url": <<"mc.us-central1.gcp.commercetools.com">>,
    "api_url": "<<api url>>",
    "auth_url": "<<auth url>>",
    "type": "product_single",
    "page_count": "20",
    "project_key": "<<your project key>>",
    "client_id": "<<Your Client ID>>",
    "client_secret": "<<Secret access key>>",
    "locale": "<<your locale>>",
    "redirect_url": "<<URL of the HTML file that you uploaded as asset>>"
}Now, let’s understand how you can start using this custom field in your content type.
Once you have added a custom field, you can use it in your content type like any other field. To add a custom field in your content type, perform the following steps:

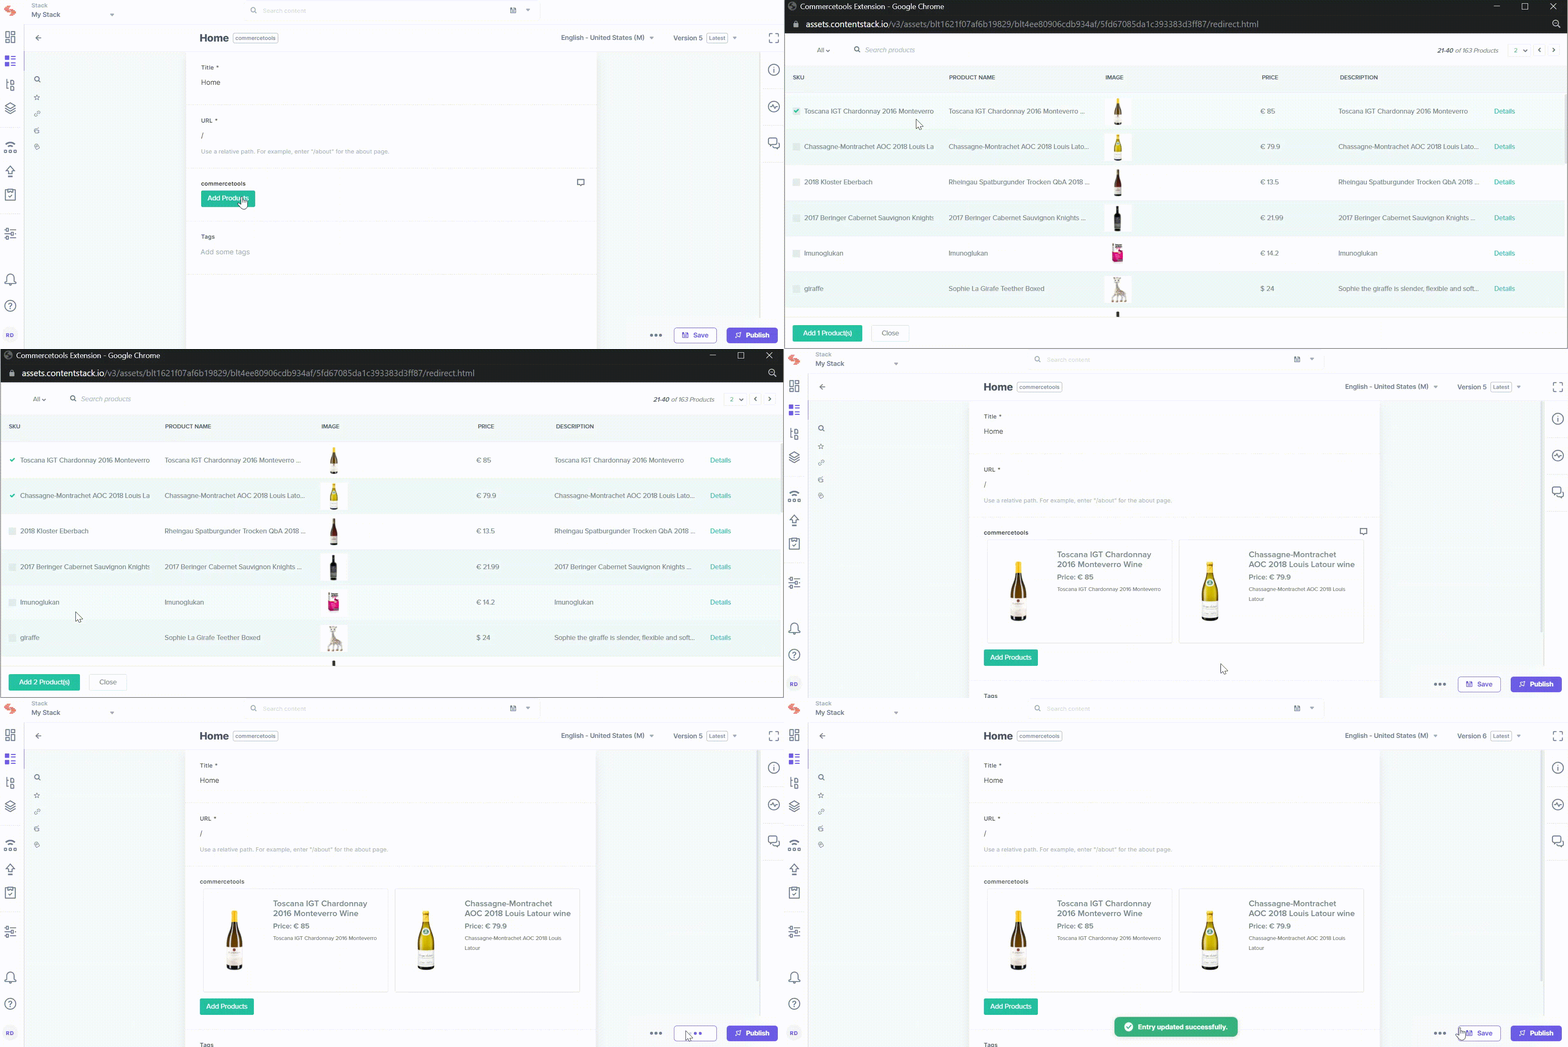
Next, create an entry for this content type, and you will see the commercetools field in action.

Note: The number of items that can be selected depends on the size of the JSON that is to be stored, and currently, only 10 KB of data can be stored. This is due to the limitation of the JSON data stored via Custom Field. Refer to our Custom Field Limitation doc for more detail.
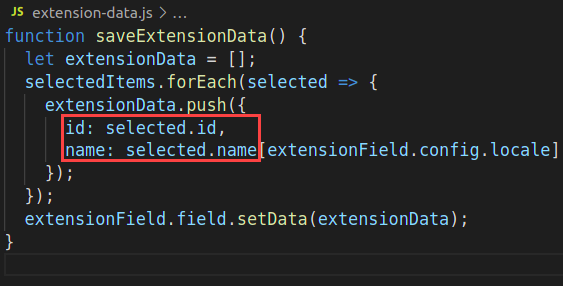
This extension will embed the details of the selected product as JSON in an entry. That means we can save the details of the selected product as JSON. You can then use this data and display it on your presentation layer as per your requirement.

As shown in the image above, the extension-data.js file can be used to modify the extension data. By default, the ID gets saved for products and/or categories. However, you can update the file to save other details of the products or categories, as shown in the image below.

Additional Resource: Refer our detailed guide on how to create an e-commerce app using Contentstack and commercetools.
Was this article helpful?
Thanks for your feedback