Was this article helpful?
Thanks for your feedback
You can start adding content on your website by creating an entry. To do so, log in to your Contentstack account and perform the steps given below.
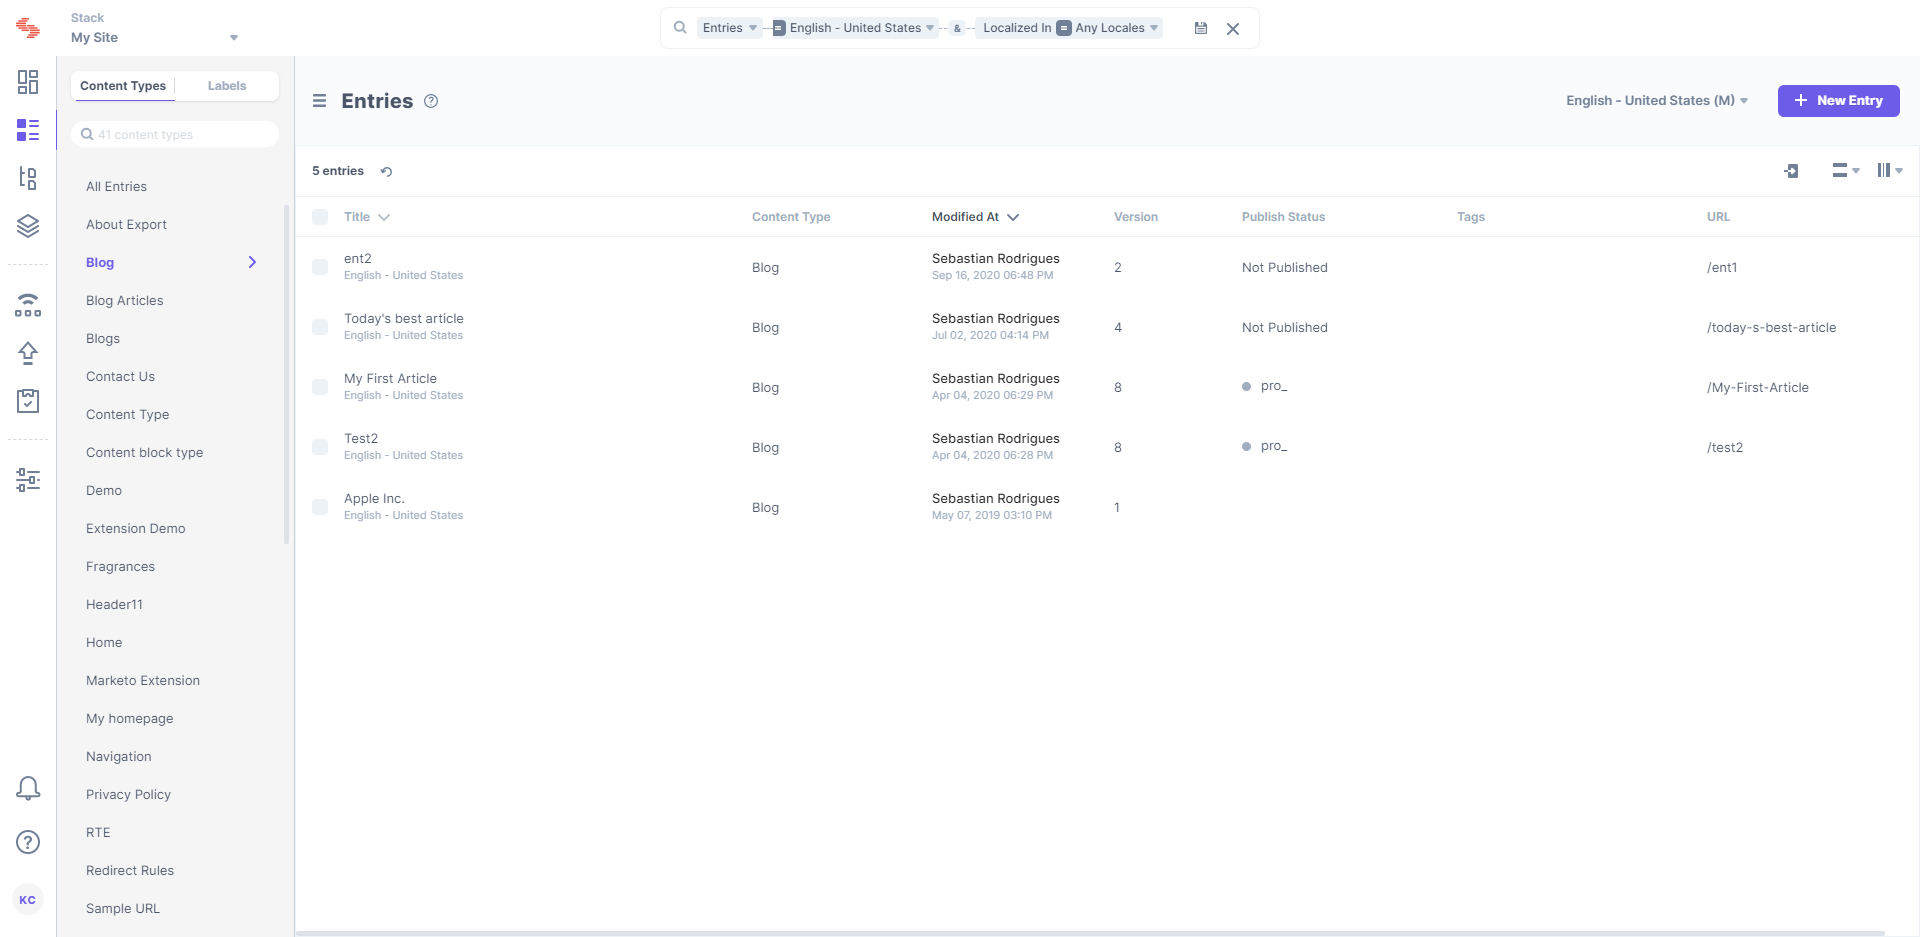
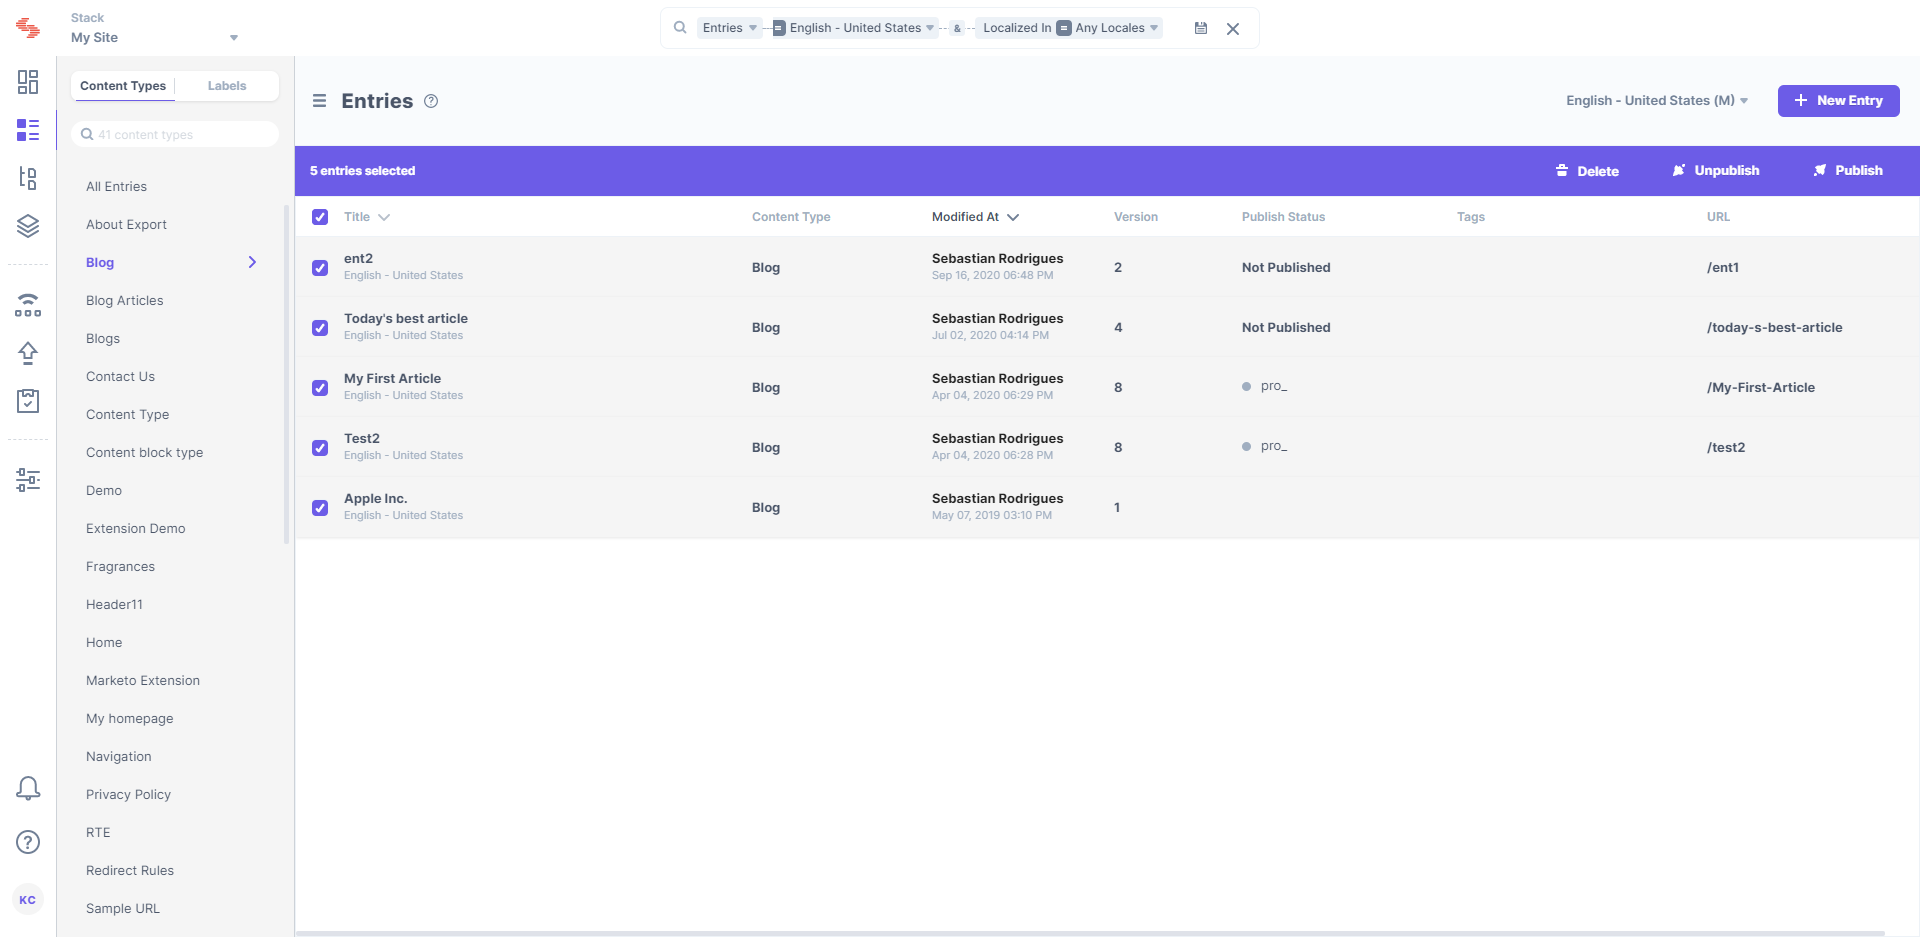
To create entries, you need to add content to existing content types. Click on the “Content Models” icon on the left navigation panel to view the list of content types available in your stack.
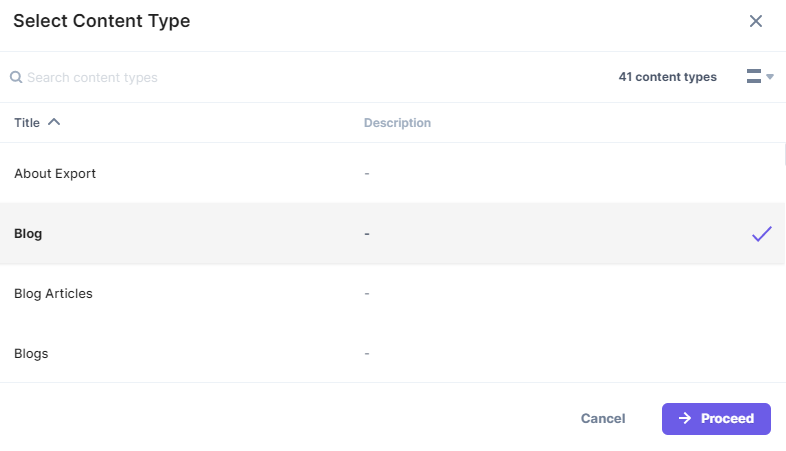
Content types come in two types: Single and Multiple. A Single content type allows you to create only one entry, while Multiple lets you create multiple entries. Select the appropriate content type to arrive at the Create Entry page.
Additional Resource: For more information on creating your content type or modifying an existing content type, refer the set of Get Started with Content Types guides.
In the Create Entry page, the language selector link on the top-right corner of the page lets you choose the language of the entry. This option plays an important role when you need to create Multilingual content. By default, it is set to “English (United States)” or the master language of your stack.
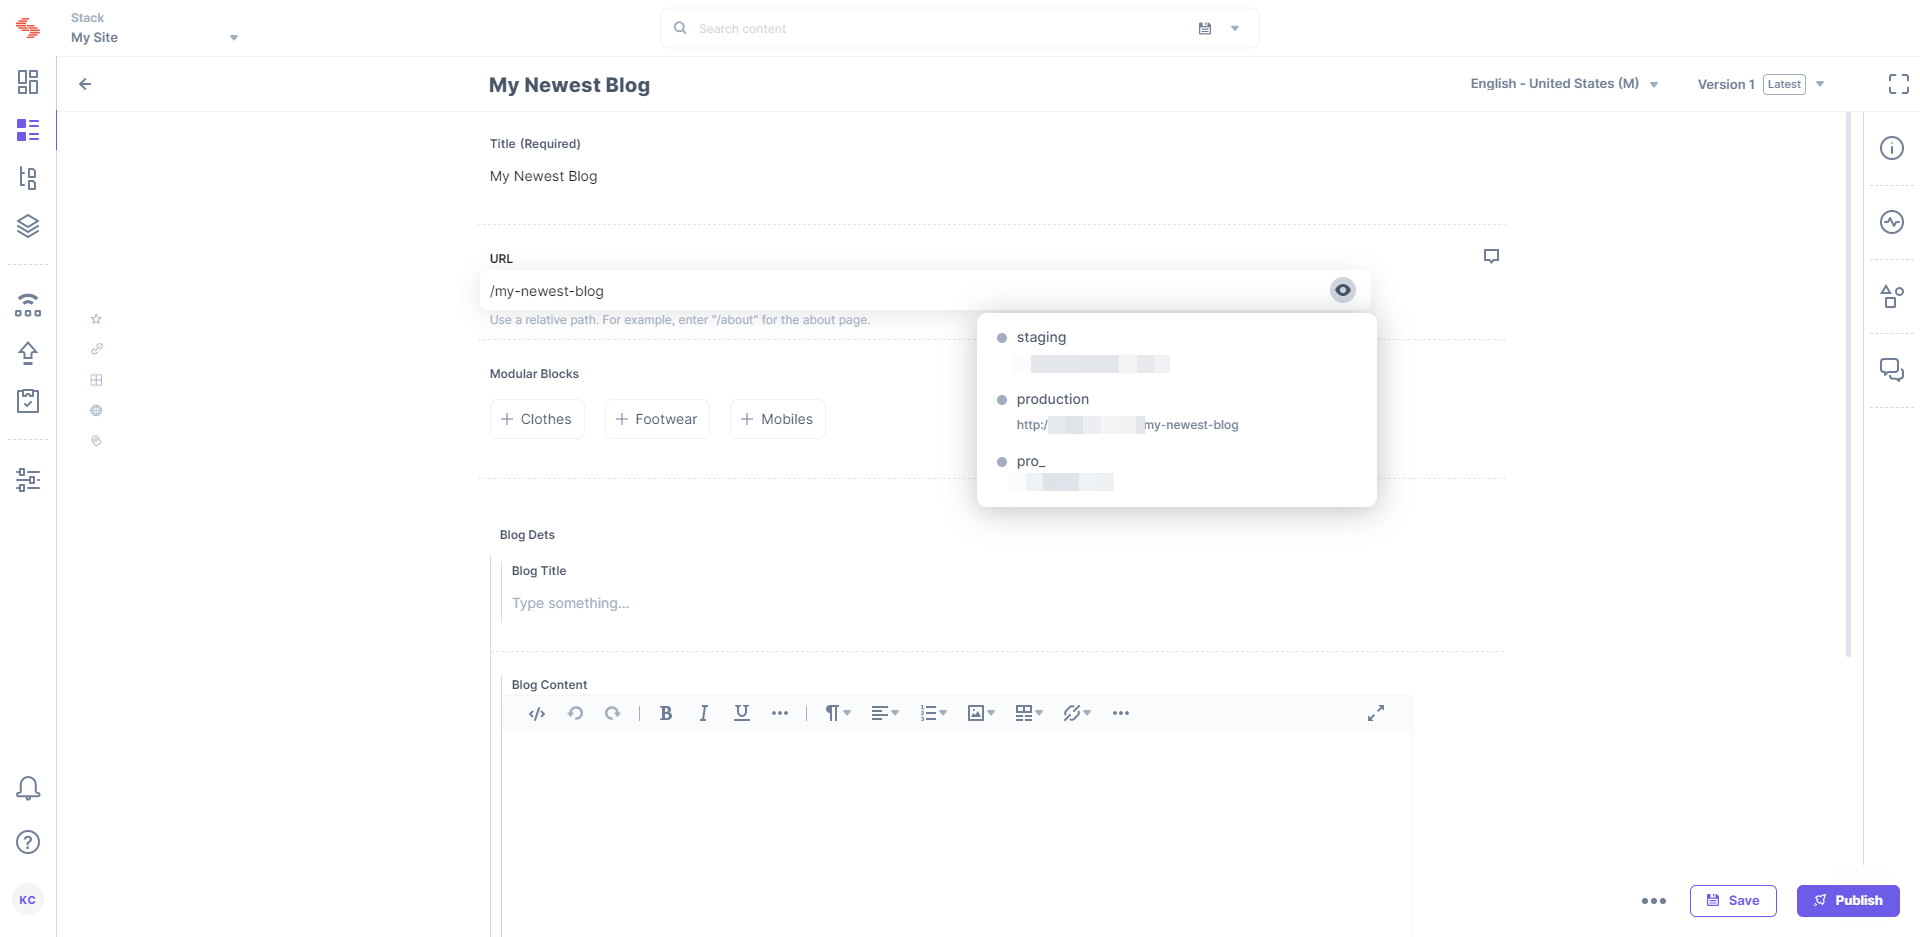
Each entry, irrespective of the type of content type selected, has a Title field. Enter a relevant title for the content in this field. The Webpage content type gives you an additional URL field where you need to provide the relative path for the page, without the base URL. For example, in https://www.contentstack.com/docs, the base URL is “https://www.contentstack.com”, and “/docs” is the relative path.
There may be additional fields, depending on the kind of content type created by the stack developer. Enter relevant content in all the available fields before saving or publishing it.
If you have added a Reference field that refers to multiple content types, you will be able to add multiple entries as references in a single field. When entering data for a multiple Reference field, you will see the option, Choose existing entry.
Note: For existing entries that got an upgrade in their Reference field, you need to save the entries again to see the upgraded field in action. Then, you can start adding entries of multiple content types.
This option will open the Choose entries modal that displays the entries of the referenced content type(s). You need to perform the following steps:

Note: The maximum number of entries that can be added in a multiple content type referencing “Reference” field is 100. Also, the maximum reference depth limit for a Reference field referencing multiple content types is one level. Refer the Limitations section for more details.

Also, you can create and add new reference entries on-the-go. This option comes handy in situations where while adding references, you realize that you need to add a new entry that can be used as a reference. To do so, perform the following steps:

Warning: Make sure you save the parent entry before you navigate to the new entry page. If the parent entry is not saved, unsaved data may be lost.
This will create a new entry for the referred content type and will automatically add it under the “Reference” field.
Beside each referenced entry, you will see the “Edit” and the “Delete” icons (if you have the necessary permissions). Clicking on the “Edit” icon will lead you to the entry page where you can make the necessary changes to the specific entry. The “Delete” icon, as the name suggests, will remove an entry from the list of selected referred entries.
Finally, it is important to note that each field of a content type accepts a specific data type. To know more about the available fields and their respective data types, visit the Fields page.
You can add tags to an entry. This helps you filter or search your entries quickly.
Once the relevant content is added in the content type, click the Save or Publish button. If you choose the Publish option, the Publish Entry dialog box will appear. For more information on publishing entries, see Publish an Entry.
Besides the URL field, we have the Preview (eyeball) icon. Hover on the icon to view the URLs of all the environments in which the entry has been published. Click any of the links to visit the web page and view your published entry.

Here are some API requests that might help you:
Was this article helpful?
Thanks for your feedback