Was this article helpful?
Thanks for your feedback
When you create or edit a content type, the Content Type Builder page opens up where you can add or edit fields, and set up rules that define the visibility of these fields.
Let’s see in detail how to set up Field visibility rules for your content type.
Note: Only the users who have the right to create or edit content types can create Field visibility rules.
This is the first step. Add fields to your content type and save it before proceeding to add the Field Visibility Rules.
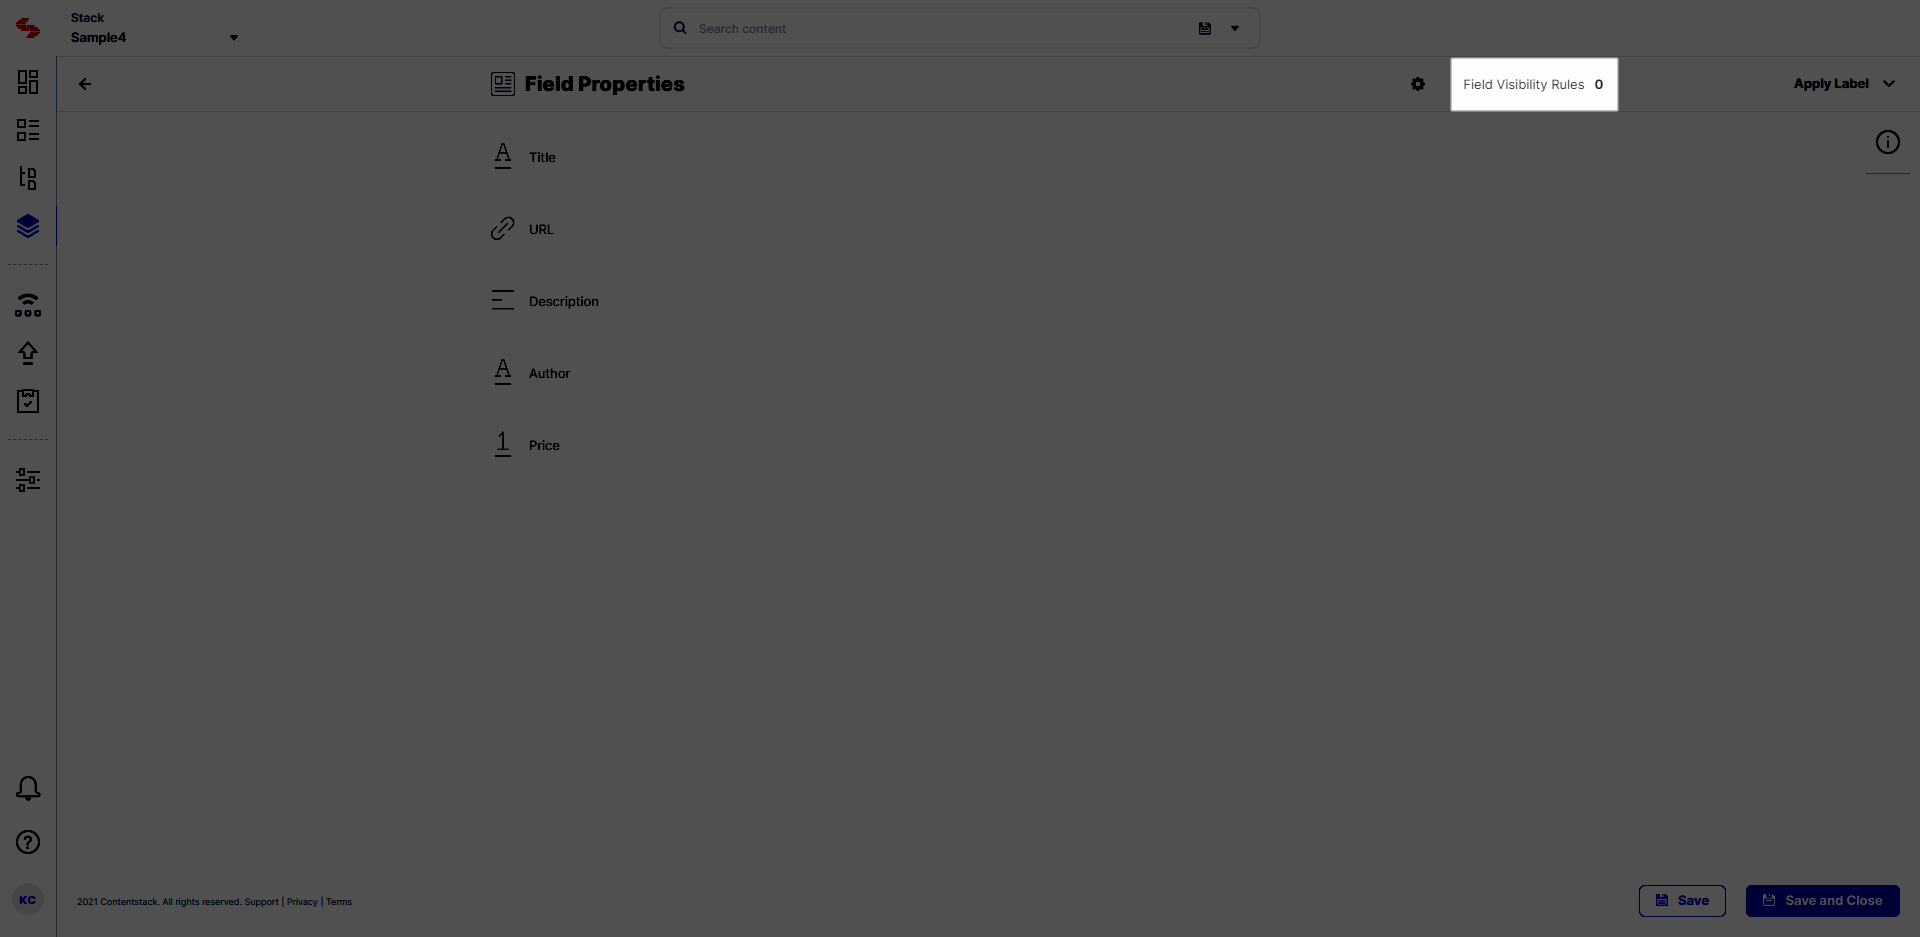
This opens the Field Visibility Rules window. Click on the + Add new rule button.
This is where you define the rules for your field. Under Rule 1, you will see two sections:
These are the two parts of your rules, where you define “if” something happens (conditions), “do” this automatically (actions).
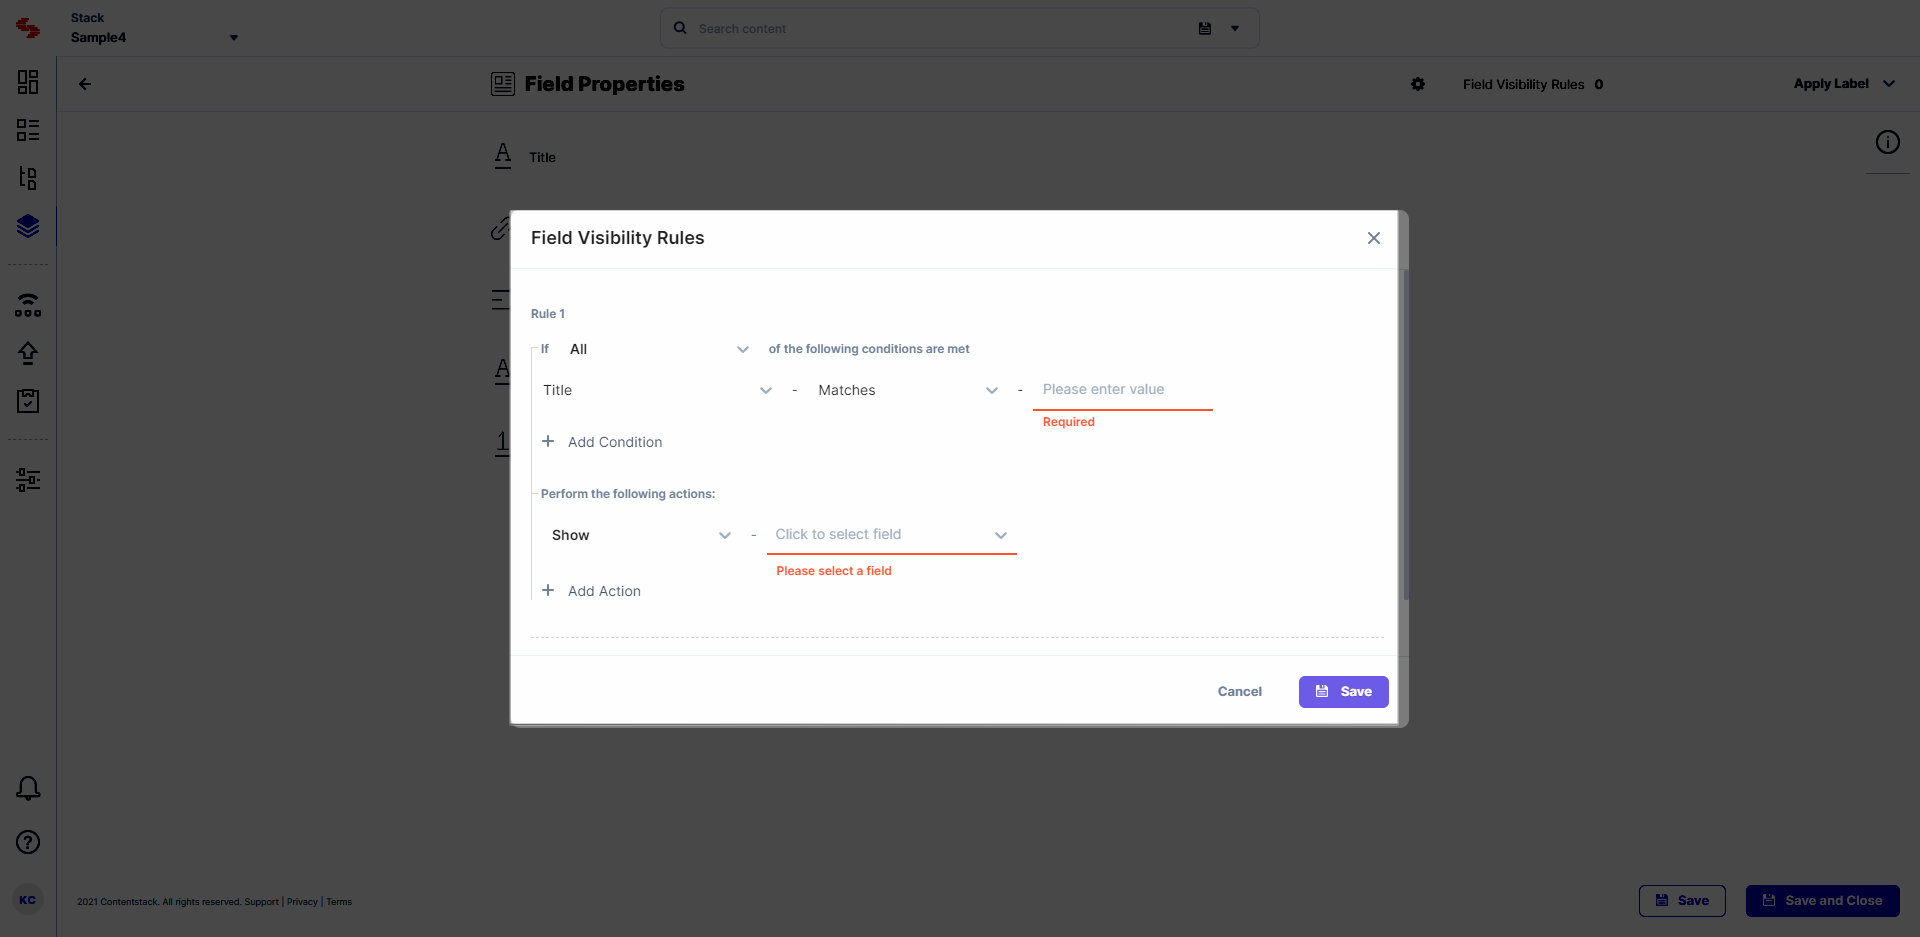
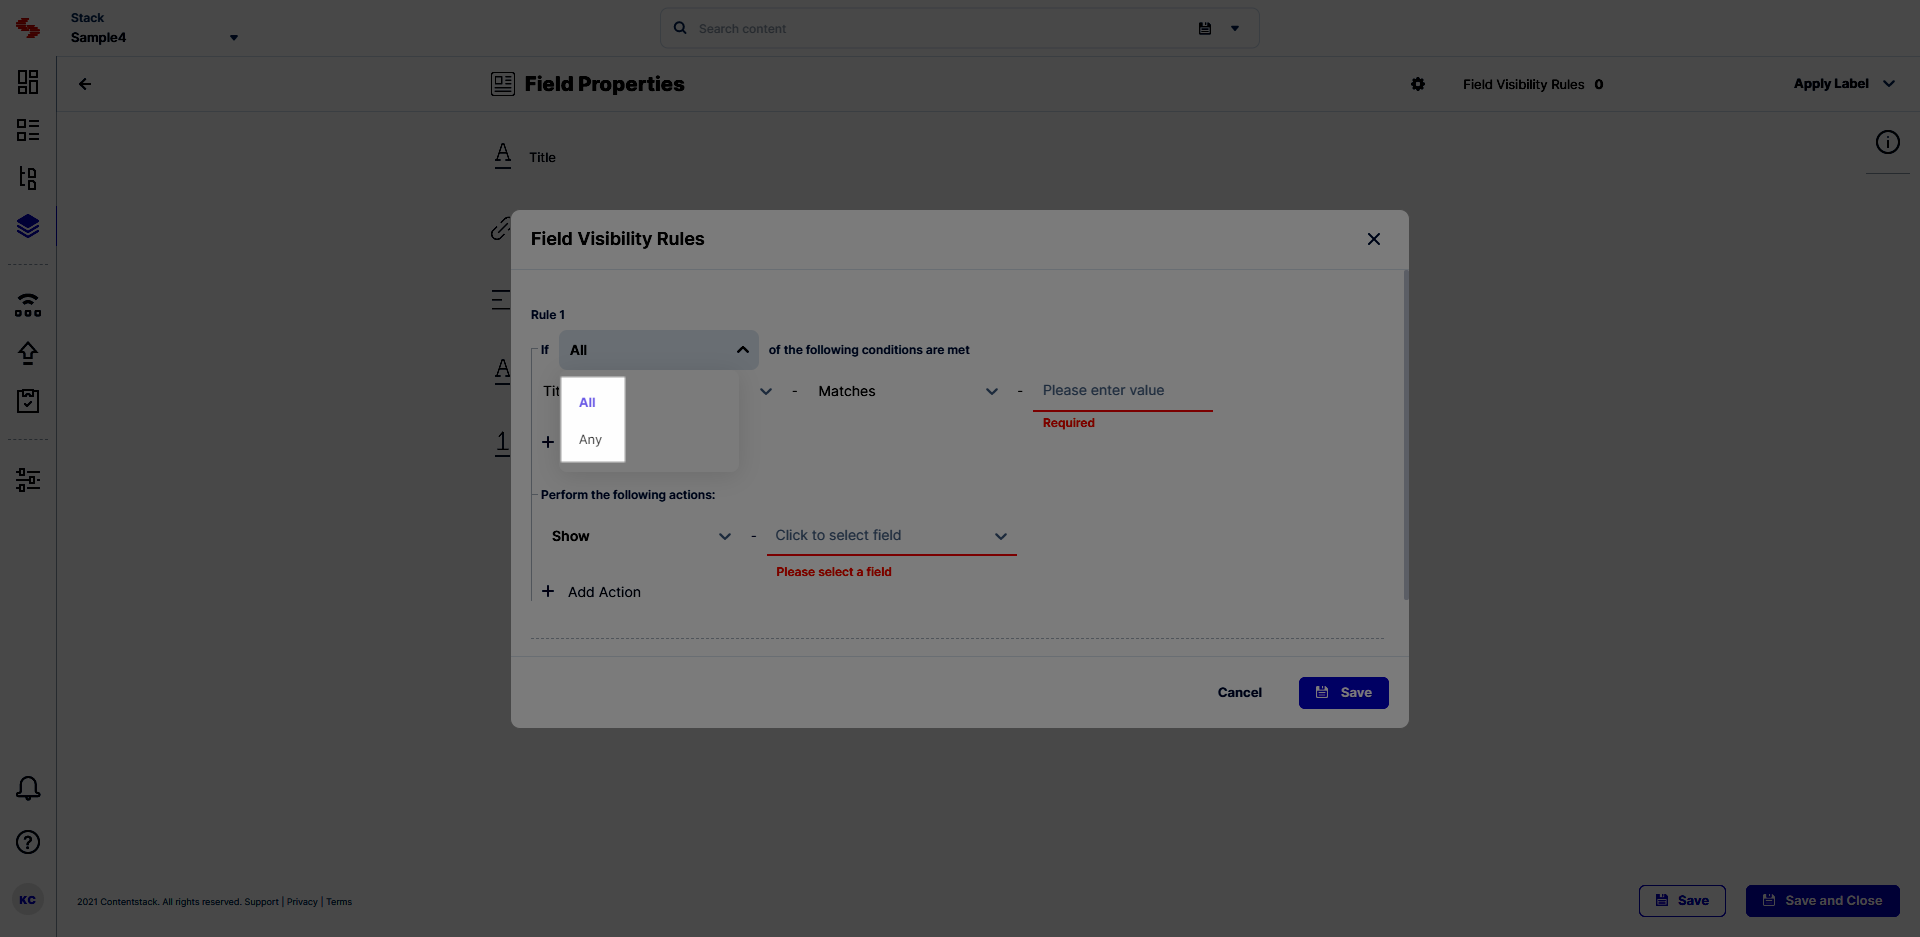
Under the If {All | Any} of the following conditions are met section, you can define the event(s) that will trigger an action when the specified condition(s) is/are met
If you choose All, the event(s) will be triggered only if “ALL” the conditions that you specify will be met. If you choose Any, the event will be triggered if “ANY” of the specified conditions are met.
Defining a condition involves defining the “Operand field(s),” selecting the “Operator,” and mentioning the “Expected value.”
Consider for example that your condition is “If Price is Greater than $200.” In this case, the “Price” field is the Operand field, “Greater than” is the Operator, and “$200” is the Expected value.
Let’s look at the structure in detail:
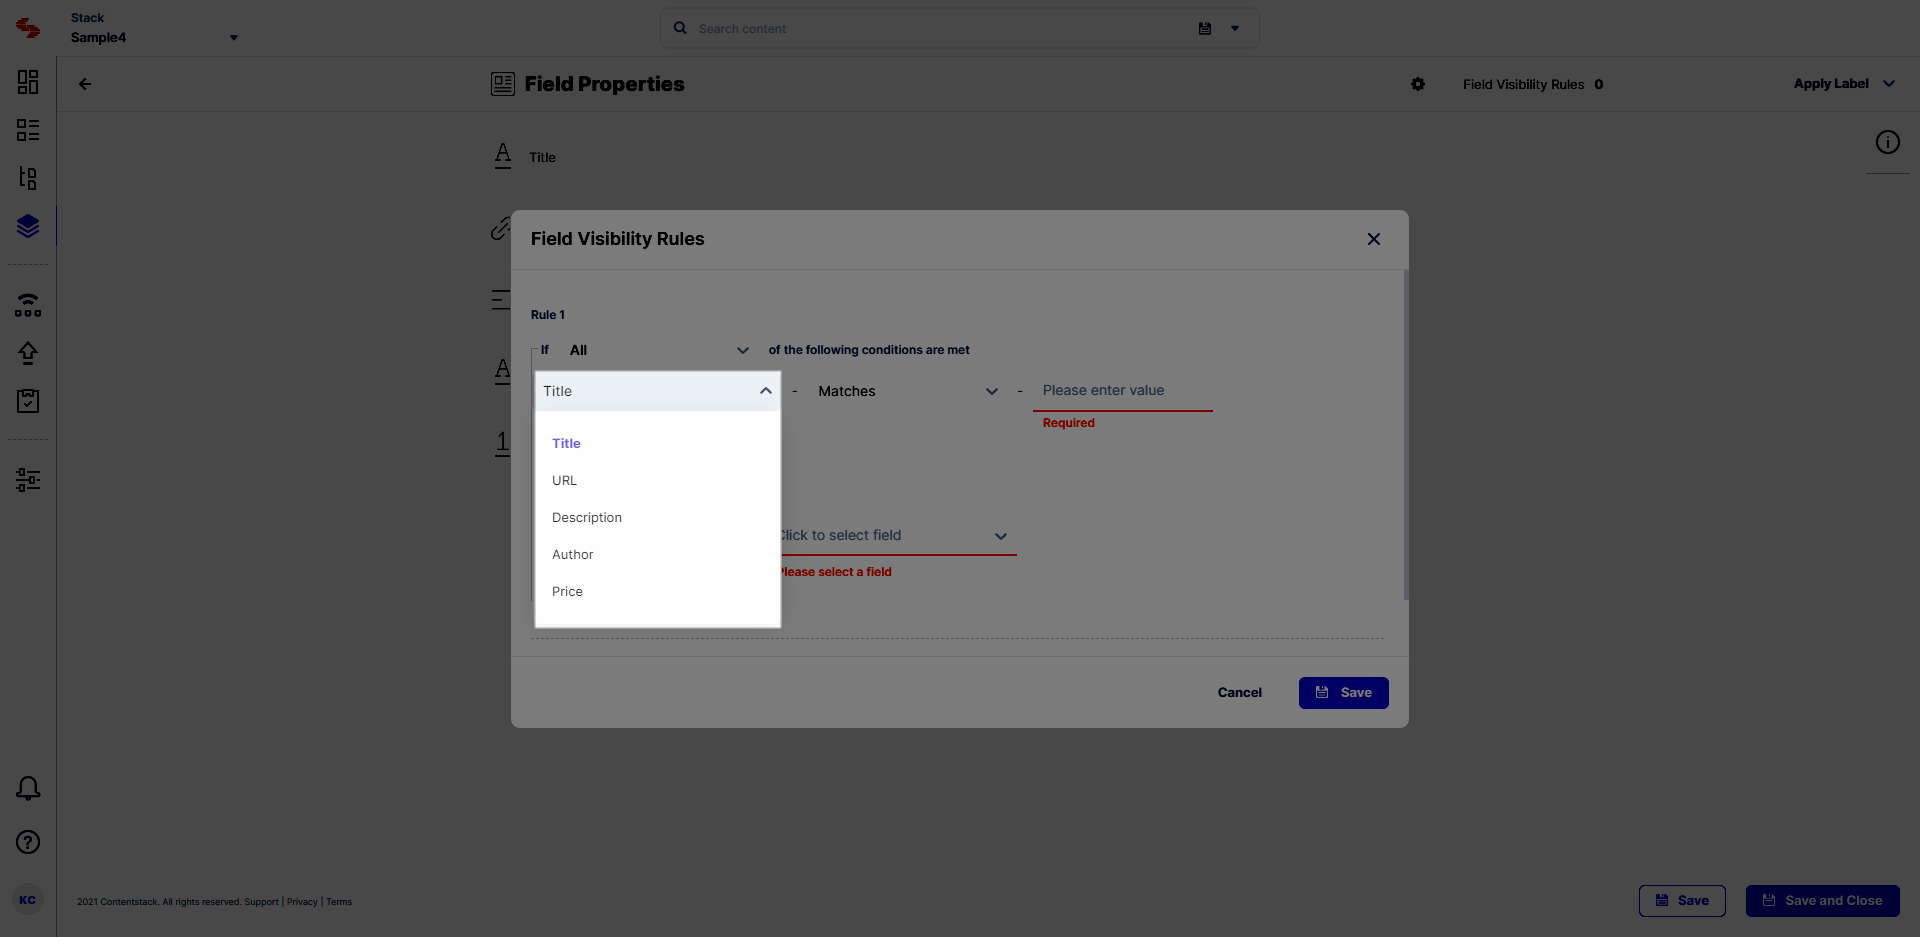
There are certain limitations on what can and cannot be set as an operand field.
Select an operator of your choice (such as Matches, Contains, Greater than, Is not, etc.).
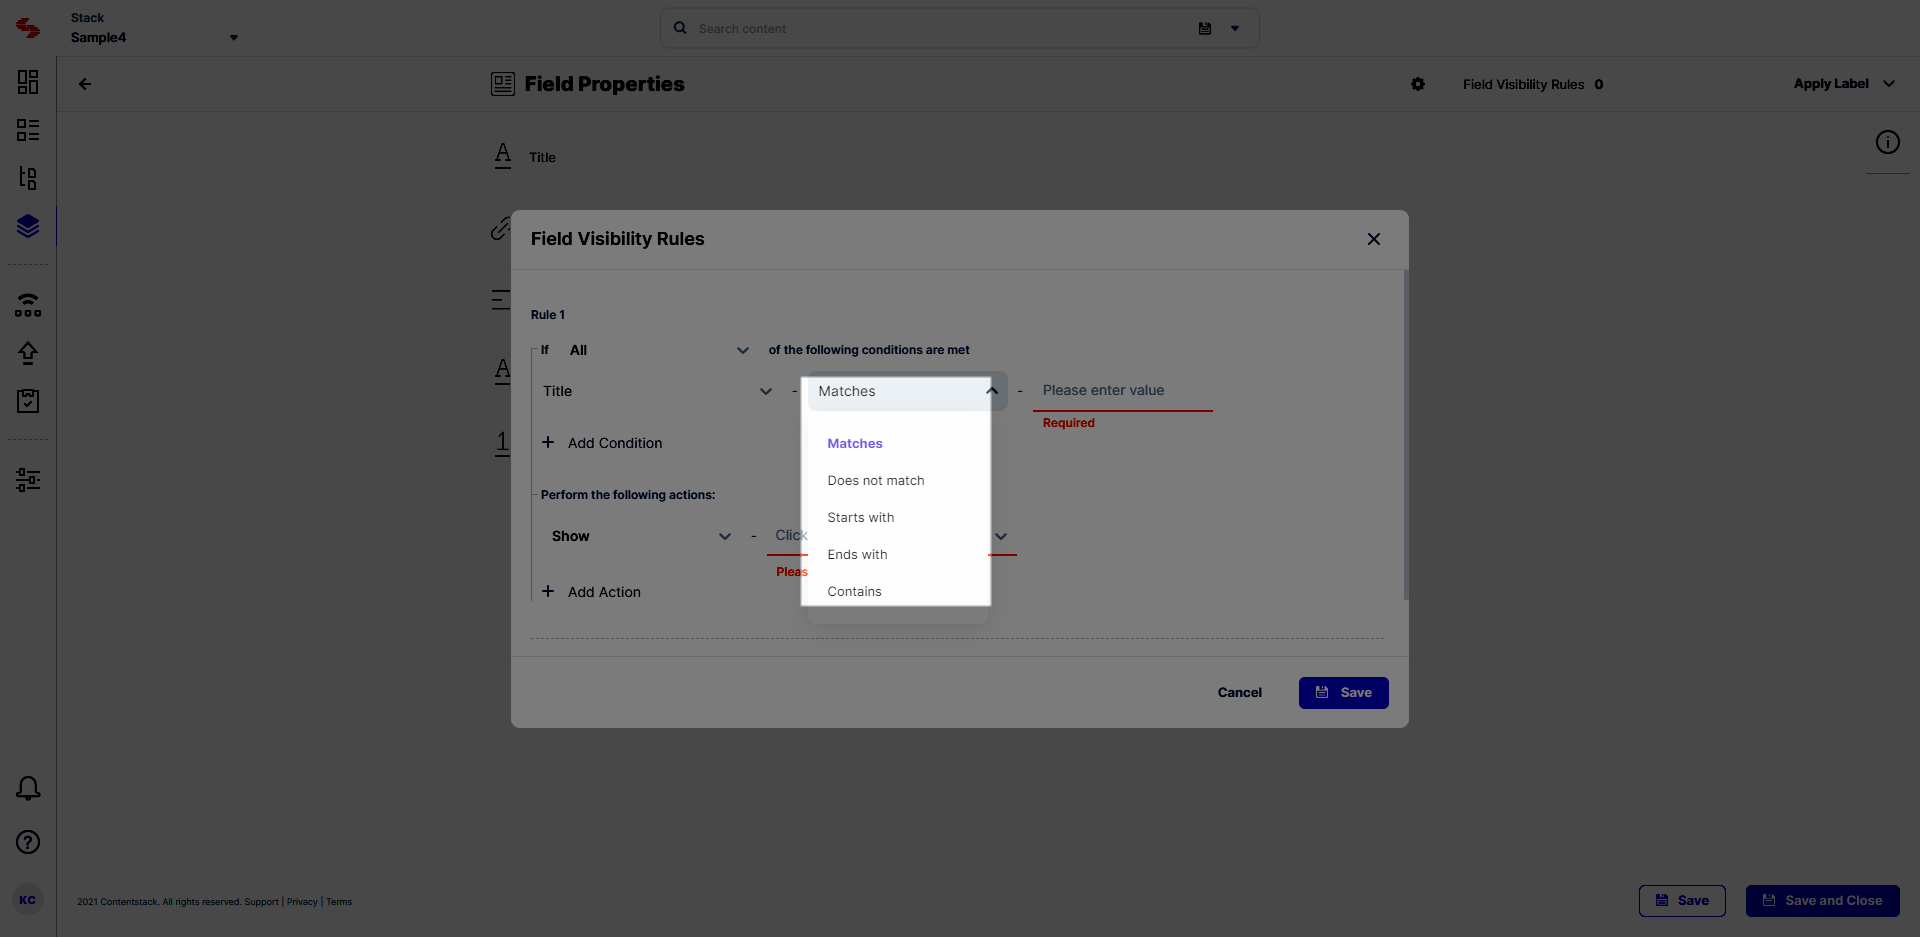 Enter expected value
Note: You can add multiple conditions in a rule by clicking the + icon on the right. Before trying it out, we suggest you check out the Limitations of Field Visibility Rules for more details.
Under the Perform the following actions section, you need to define the action / set of actions that need to be performed when the aforementioned conditions are met.
For example, if the condition is “If Price is Greater than $200,” the action could be to display the “Free Shipping” checkbox field. In this case, the “Free Shipping” checkbox field is the target field, i.e., the field that needs to be displayed or hidden.
Let’s learn how to add actions in a rule.
You need to first select the type of action that you want to perform, i.e., Show or Hide. Depending on your selection, the rule will either show or hide the field on the entry page, if the specified condition(s) is/are met.
Depending on what field(s) you want to show or hide, you can add one or more fields as the target fields. In the above example, the “Free Shipping” checkbox field is the target field.
Tip: You can add multiple actions for a condition or a set of conditions. For example, if the “Price” is greater than $200, SHOW the “Free Shipping” checkbox field and HIDE the “Star Ratings” field.
With this, you have created a field visibility rule.
Click the Save button to save the rule. You can, likewise, add multiple rules for your content type by clicking on the Add Rule button.
Was this article helpful?
Thanks for your feedback