Was this article helpful?
Thanks for your feedback
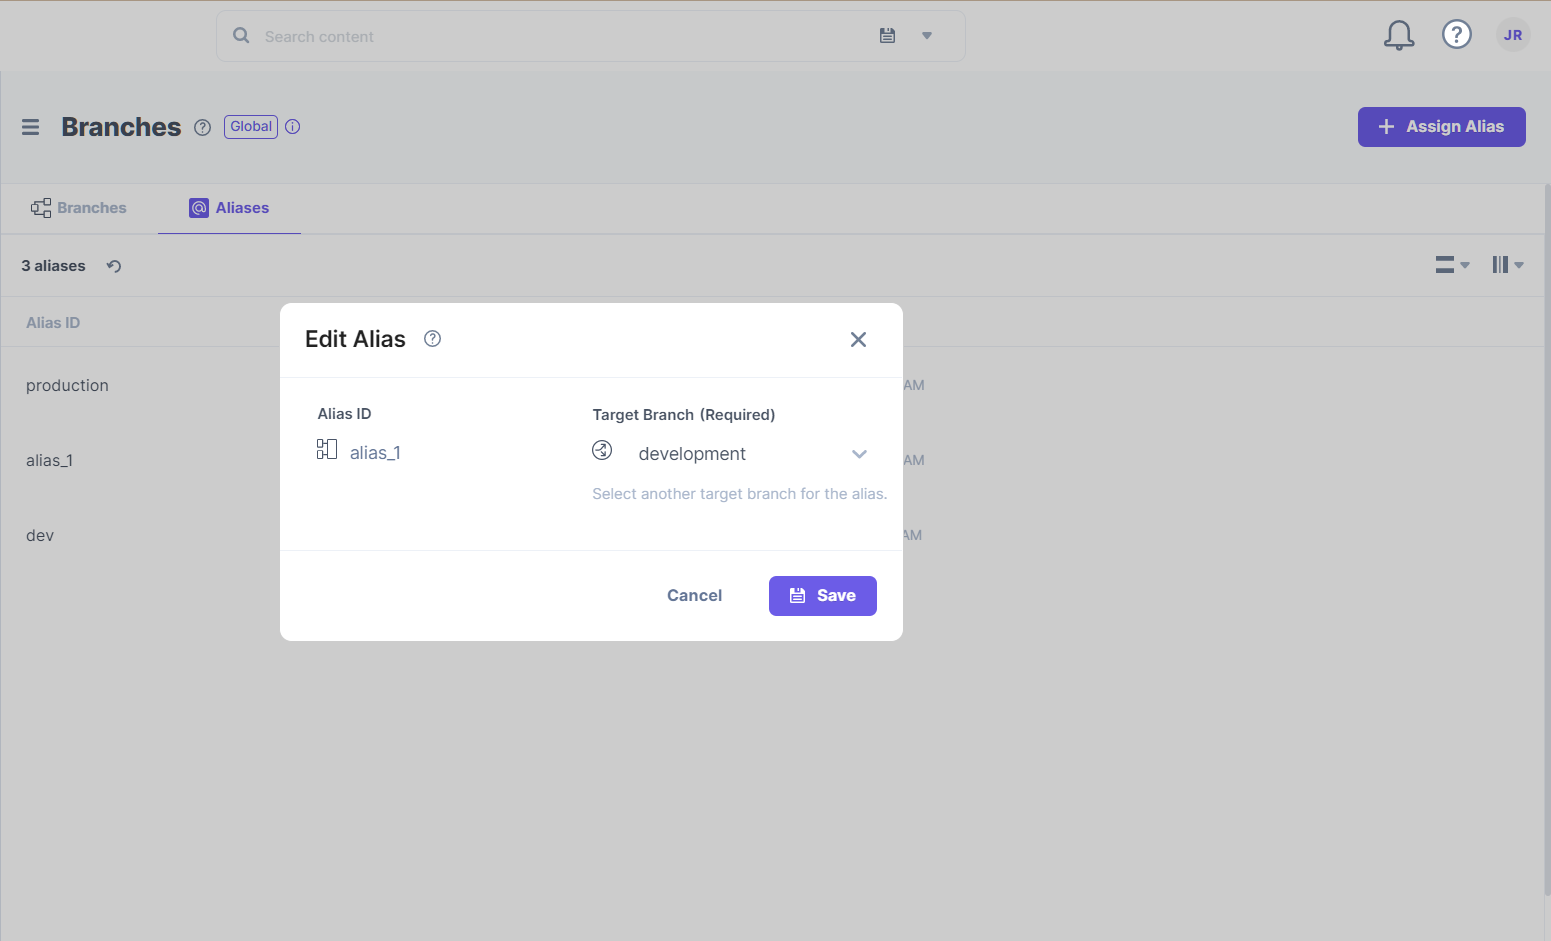
Once created, you can edit an alias to make changes, such as edit the name, description, or change the target branch.
To edit an alias, log in to your Contentstack account, go to your stack, and perform the following steps:

Note: Once you edit and assign the alias to another branch, it will stop pointing to the existing target branch and instead point to the newly selected target branch.
Note: An Alias can point only to a single branch at a time.

Note: The content from the new target branch can now be displayed on your website.
Was this article helpful?
Thanks for your feedback