The Netlify connector helps you build, deploy, and host the frontend of your web applications via Contentstack. For instance, consider a scenario where you update some content in Contentstack. This update triggers a webhook that notifies the Netlify connector to create a production build and deploy the frontend changes.
Set Up Netlify
Perform the following steps to set up the Netlify action connector:
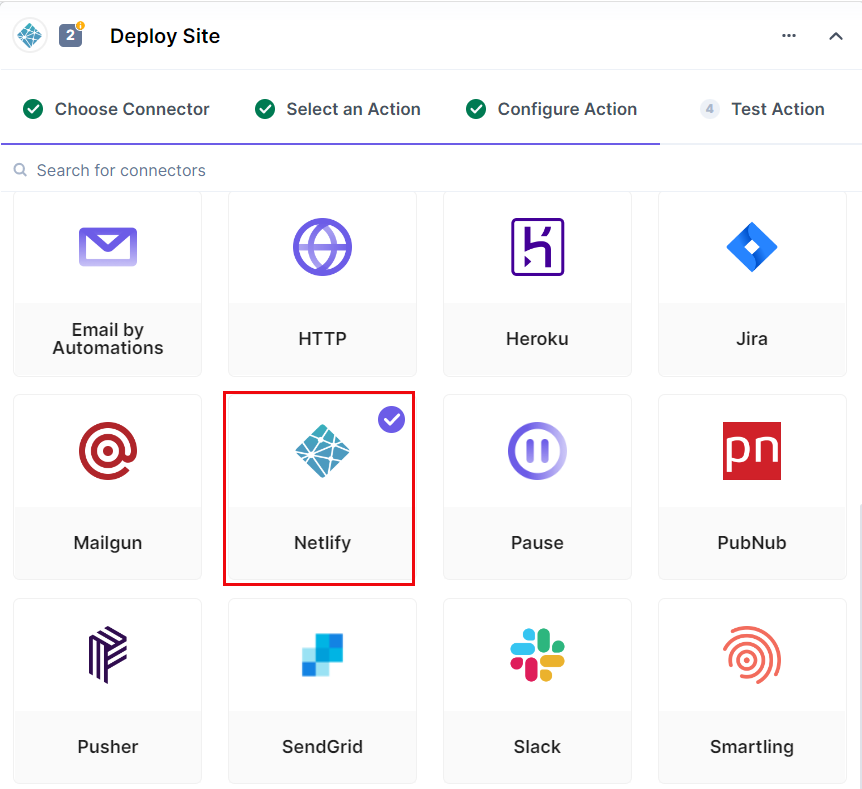
- In the Configure Action window, select the Netlify connector.
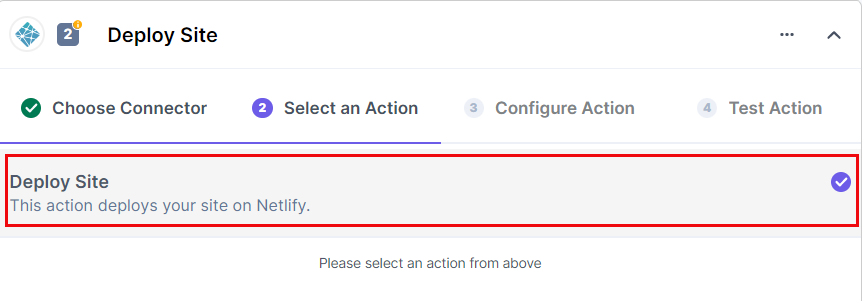
- In the Select an Action tab, select the Deploy site action.
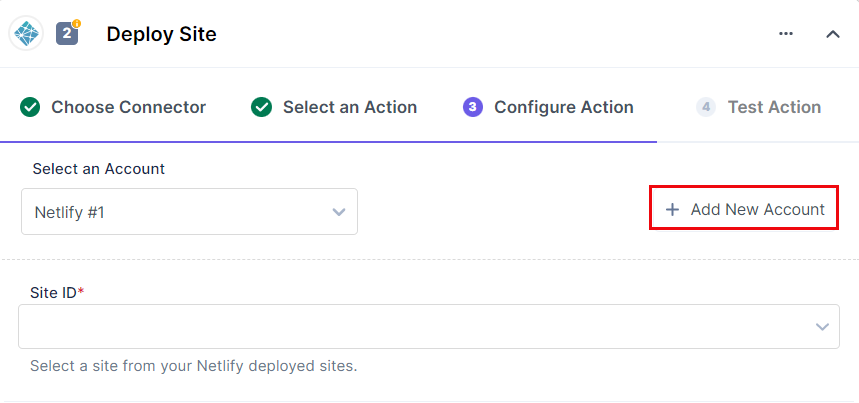
- In the Configure Action tab, click on + Add New Account to add your Netlify account.
- Provide details for the Title and Token fields. You can generate a new token from the Personal access token section in your Netlify console. Navigate to User settings > Applications > New access token > Generate token.
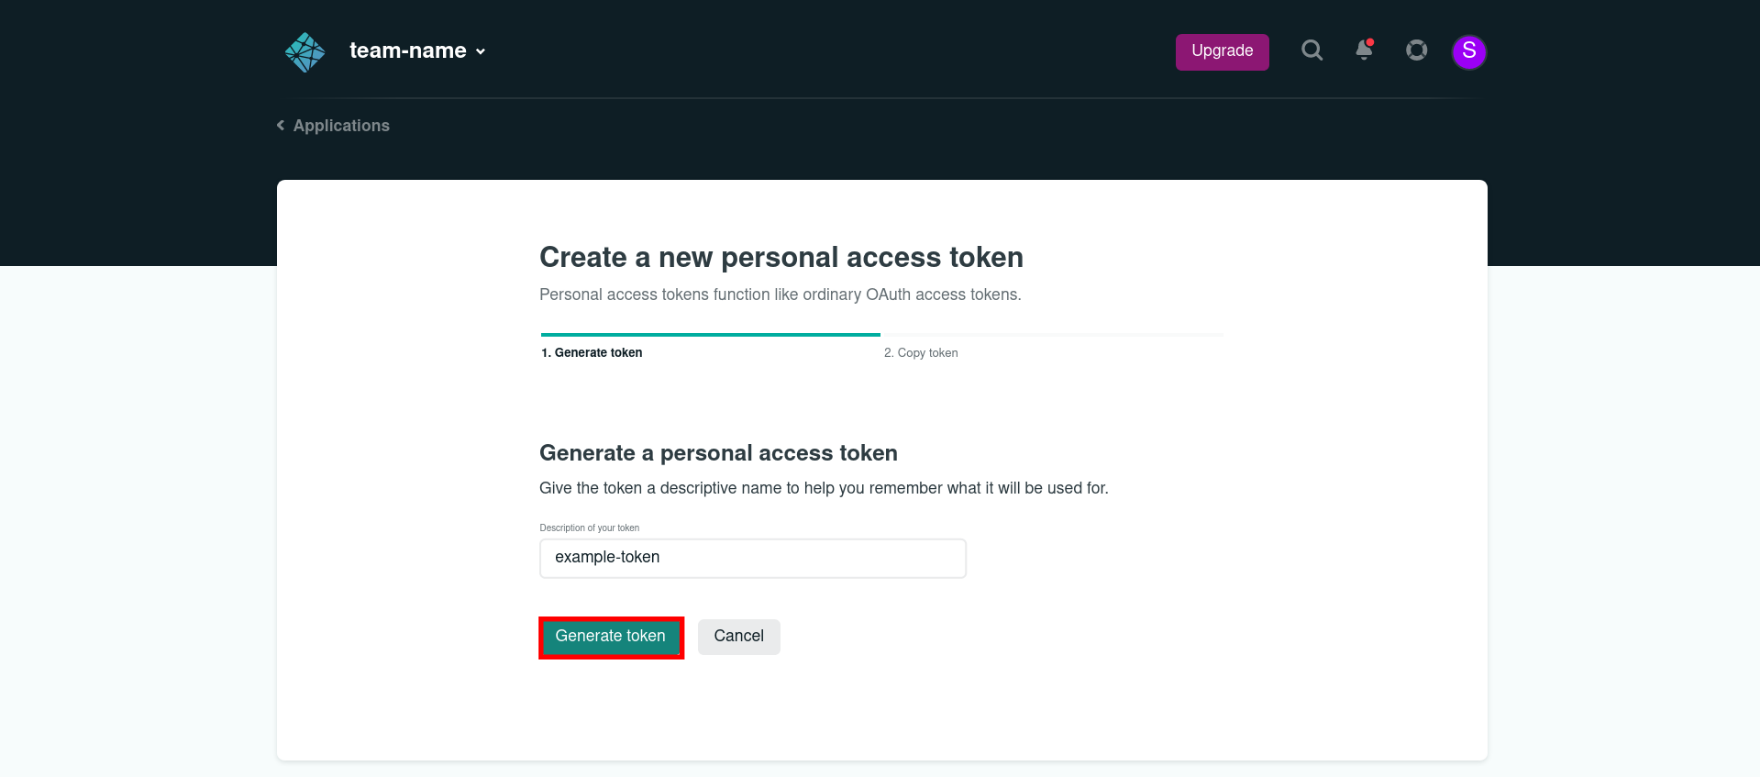
Additional Resource: For more information, refer to the Obtain a token in Netlify UI document.
- Once done, click on the Authorize button.

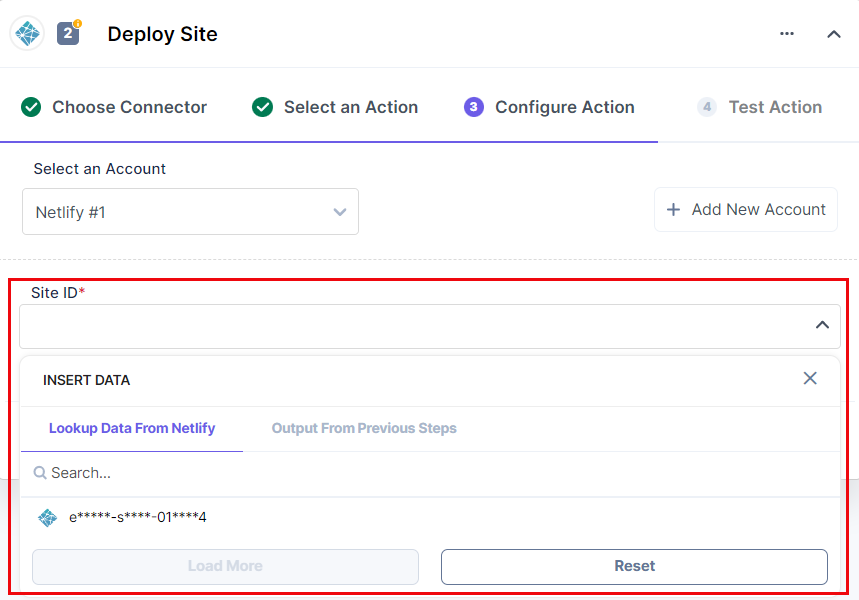
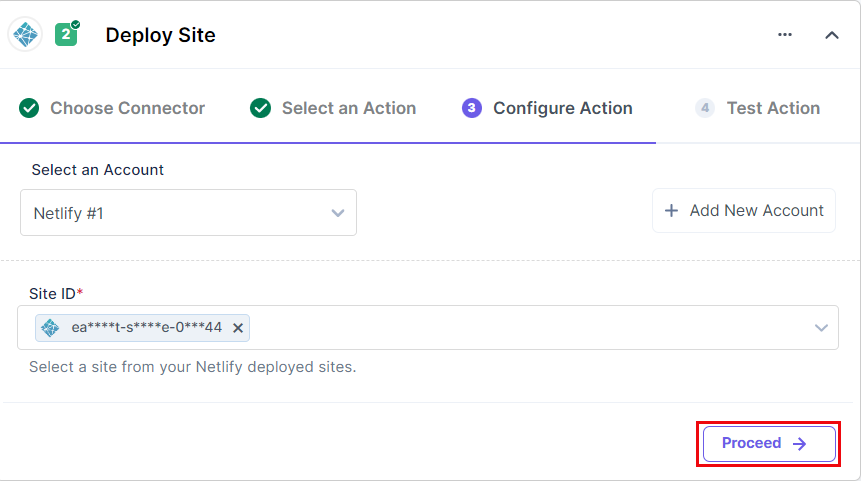
- Click on the Site ID textbox and select an ID from the LOOKUP drop-down. The Site ID is a unique identification given to a project configured in Netlify. You can select the desired project for which you want to configure the Netlify connector.
- Once done, click on Proceed.
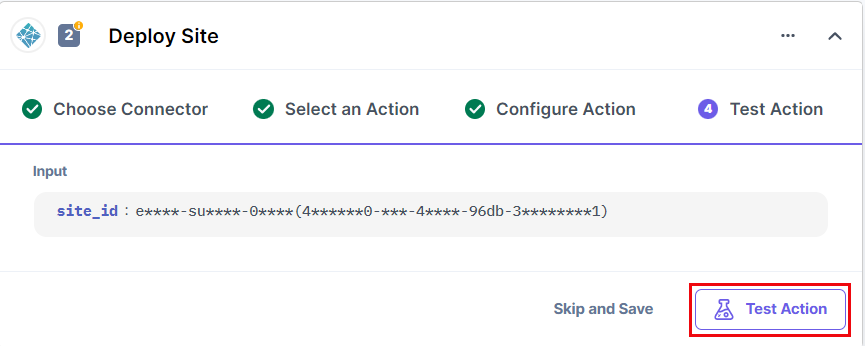
- Click on the Test Action button to test the configured action connector.
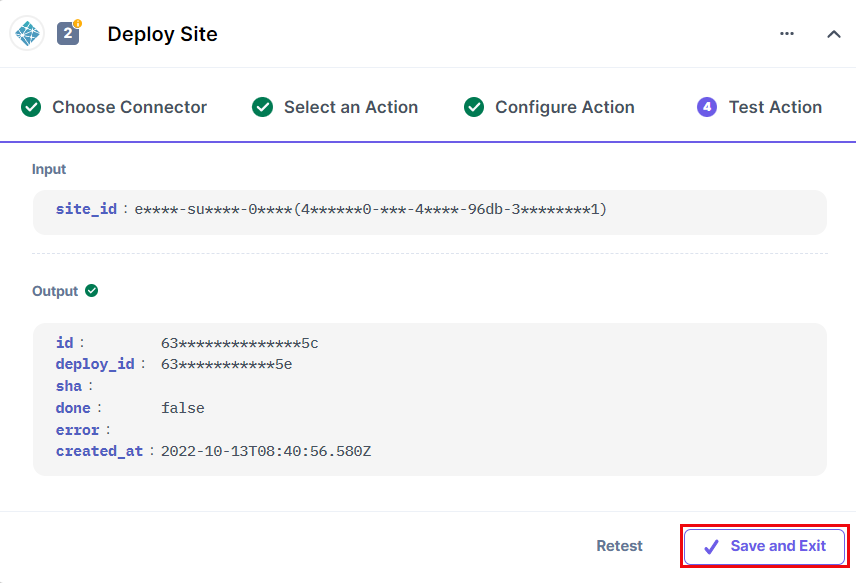
- Once the action is successfully executed, you will get the final output, and the build gets initiated in your Netlify console. Click on Save and Exit to finish the process.
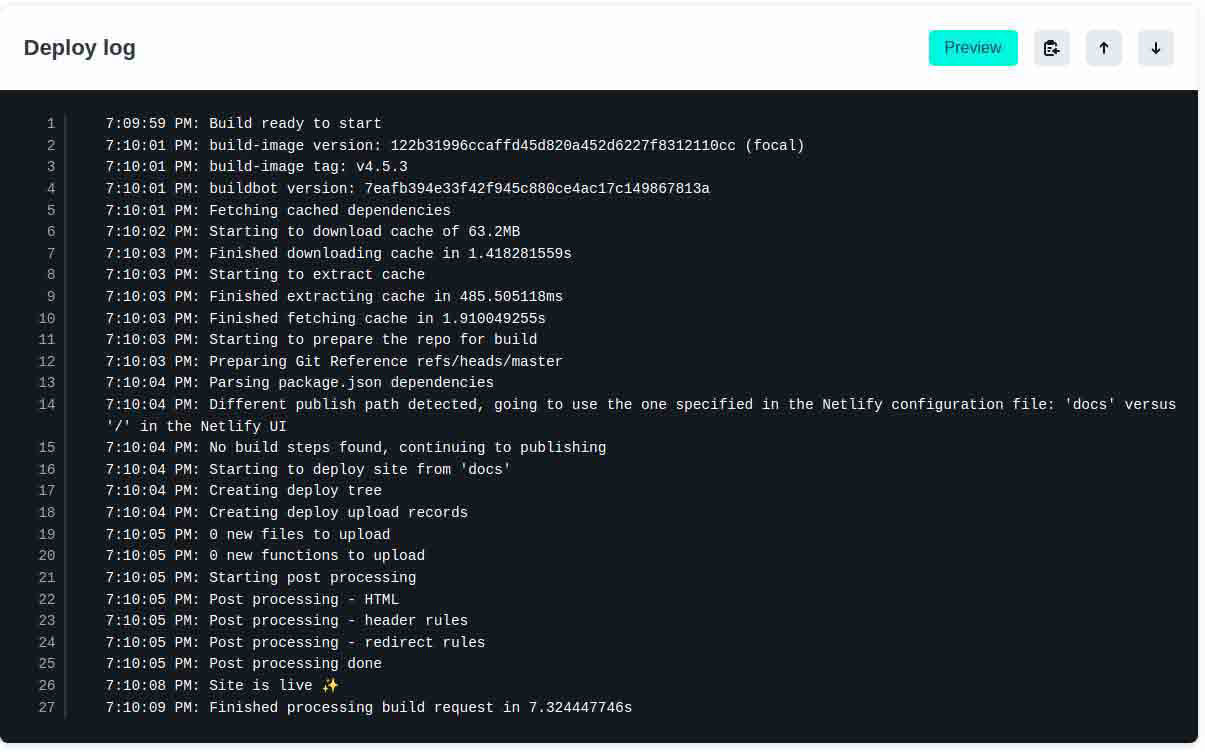
- Log in to your Netlify console and navigate to the Deploy log window to check whether the build has been initiated or not.
This sets up the Netlify action connector.
