The Heroku Action connector will trigger a build of your Heroku app.
Set up Heroku
Perform the following steps to set up the Heroku action connector:
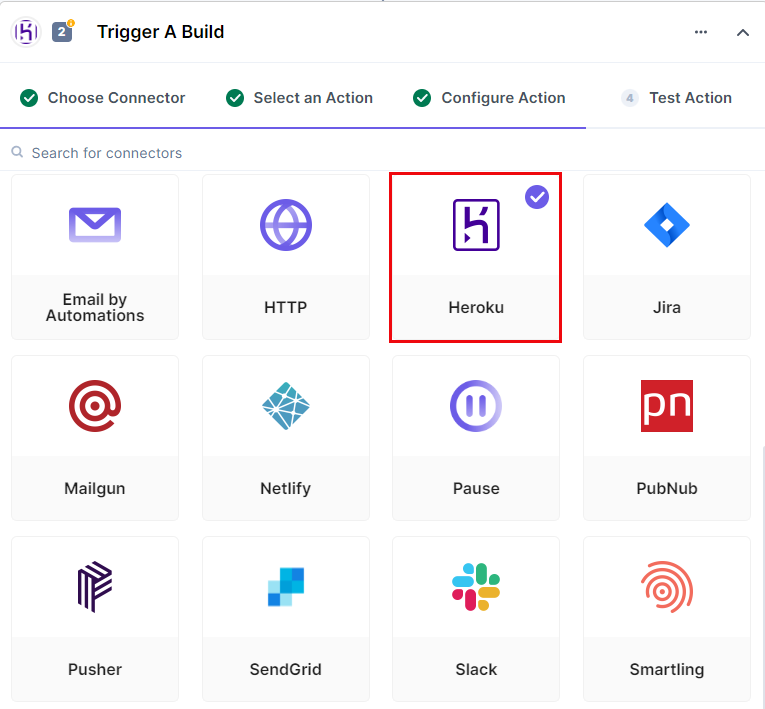
- In the Configure Action section, select the Heroku connector.
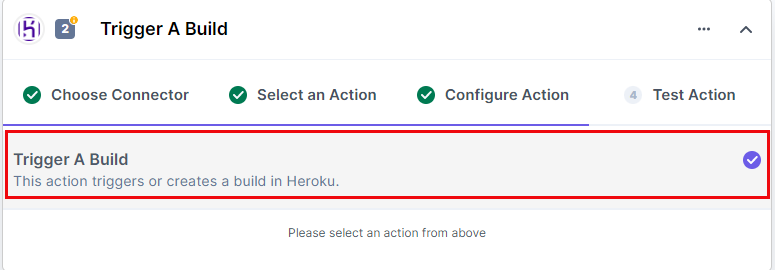
- Select the Trigger a build action.
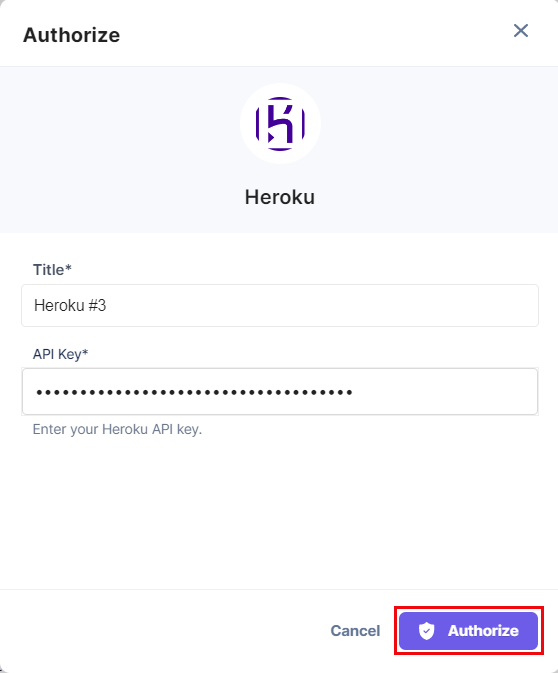
- Click the + Add New Account button to select your Heroku account.
- Now, add a suitable Title and the API Key of your Heroku app to connect your Heroku account with Contentstack.
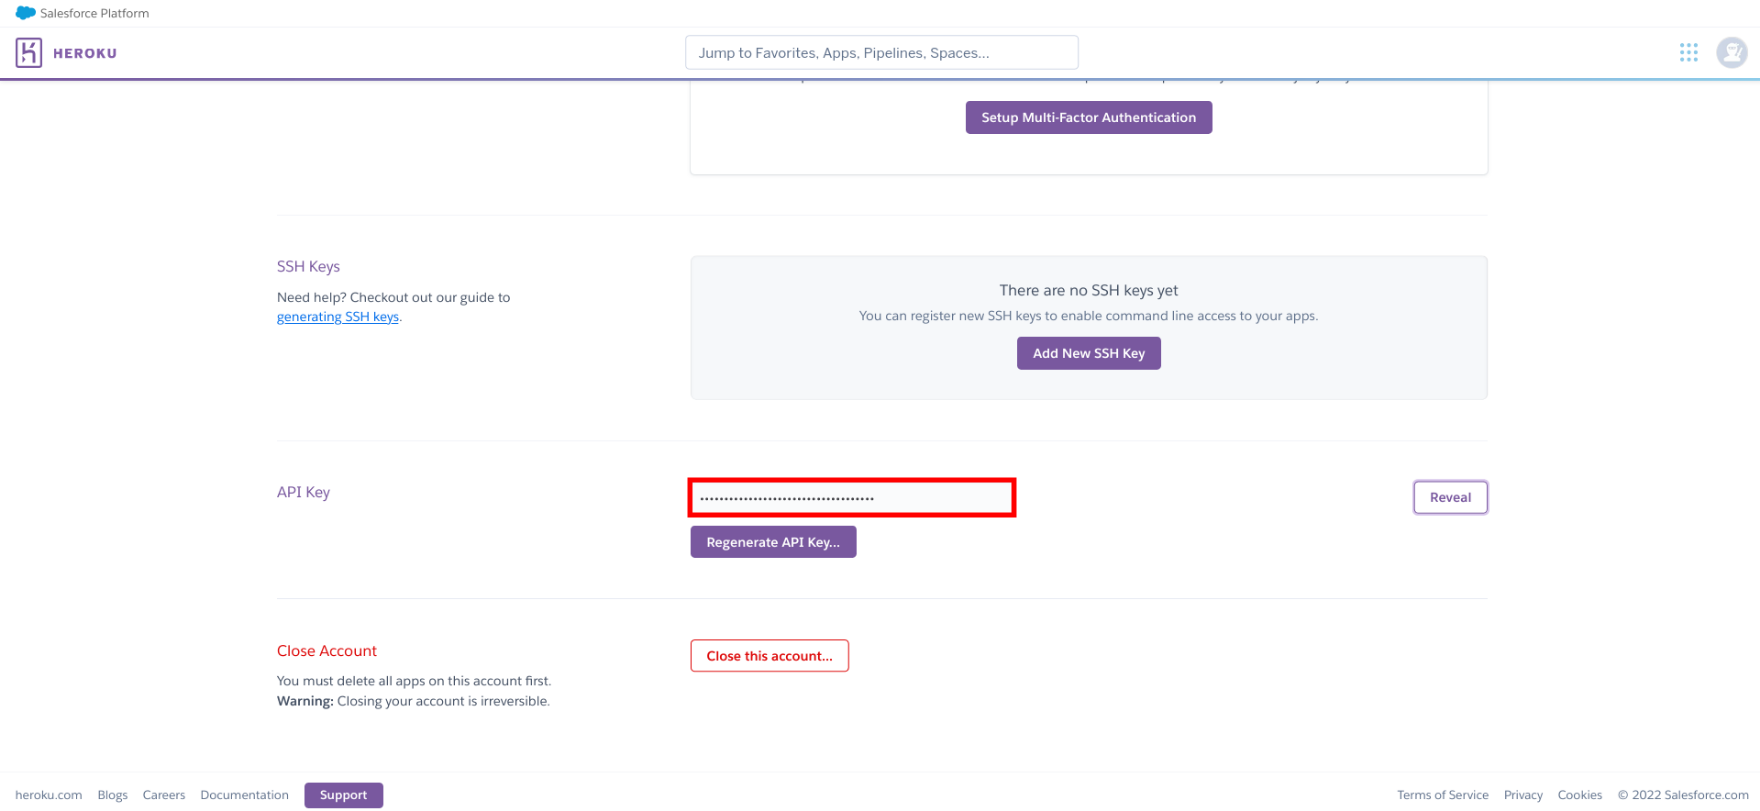
To get your Heroku app's API Key, log in to the Heroku dashboard, and perform the following steps:
- Click on Account Settings under the user profile.
- Click on the Account tab, and you will find your API Key.
Additional Resource: For more information, refer to the How to generate an API Key document.
- Once done, click on Authorize.
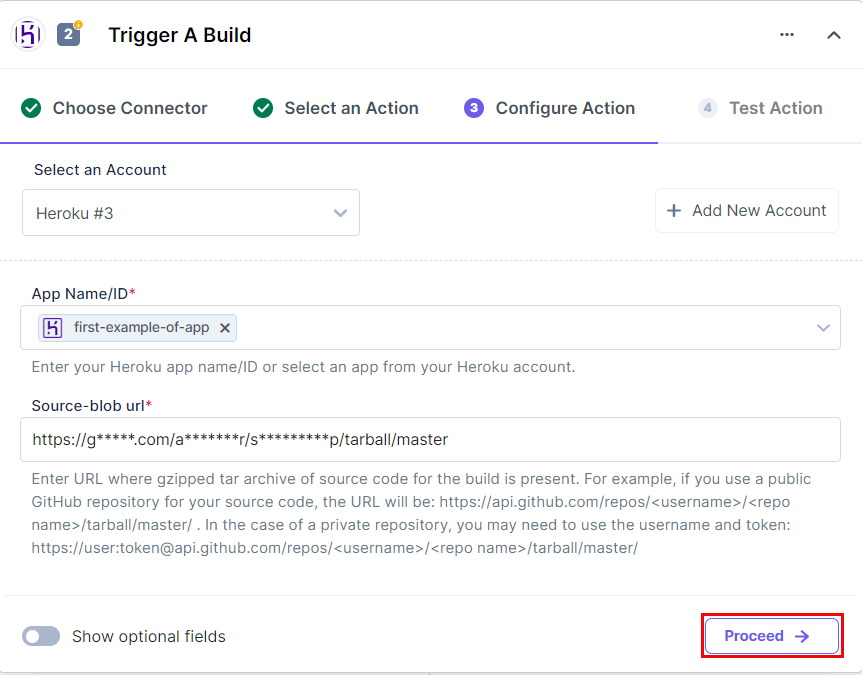
- Under the Source-blob url section, add the url where the source code of your build is present.
Note: If you are using a public GitHub repo for your source code then the url will be in the following format:
https://api.github.com/repos/<username>/<repo_name>/tarball/<branch_name>/</branch_name></repo_name></username></repo_name></repo_name></username>
Example:
https://api.github.com/repos/username/samplename/tarball/master/
For a private GitHub repo use the following format:
https://:@api.github.com/repos/<username>/<repo_name>/tarball/<branch_name>/
</branch_name></repo_name></username></token></user_name>
Example:
https://username:sampletoken@api.github.com/repos/username/samplename/tarball/master/
- Under the App name/ id section, select the app that you have created in Heroku.
- You can mention a Version for your build. This is an optional step which will help you keep track of the latest version for your build.
- Finally, click on the toggle button if you want to Hide optional fields and then click on Proceed.
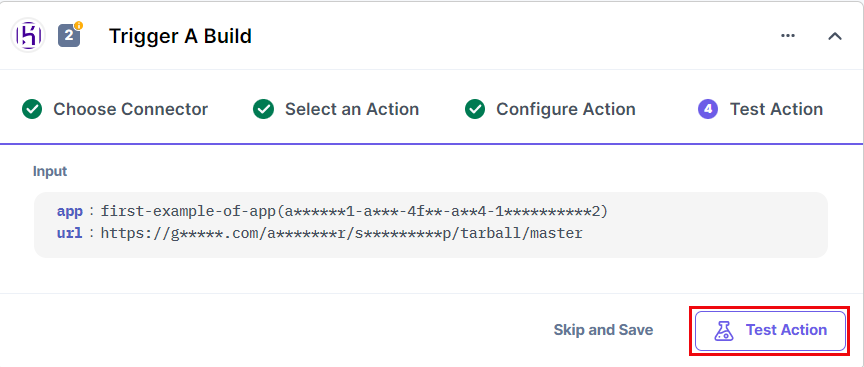
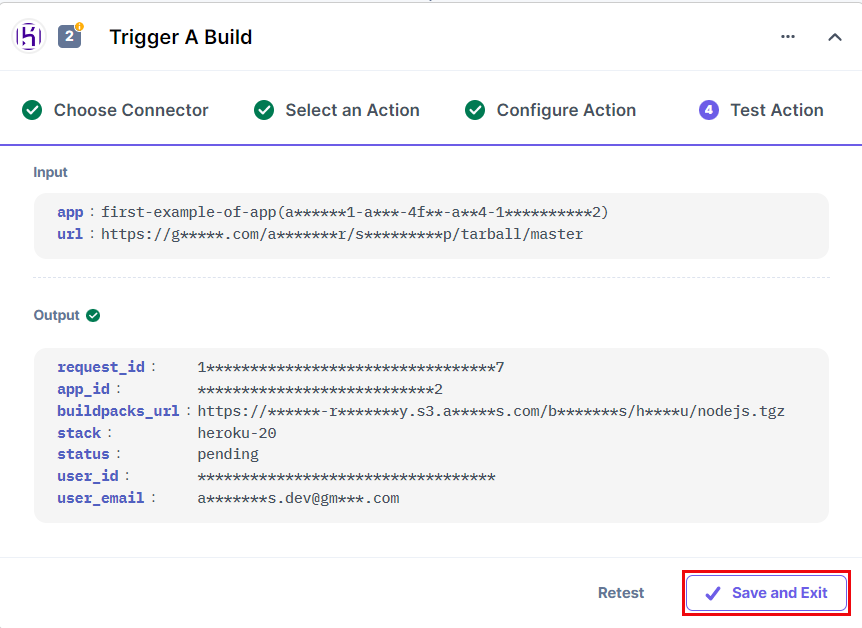
- Click on Test Action to test if a build is created in Heroku. In the output section, you can view the status of your build.
- Once set, click on Save and Exit.
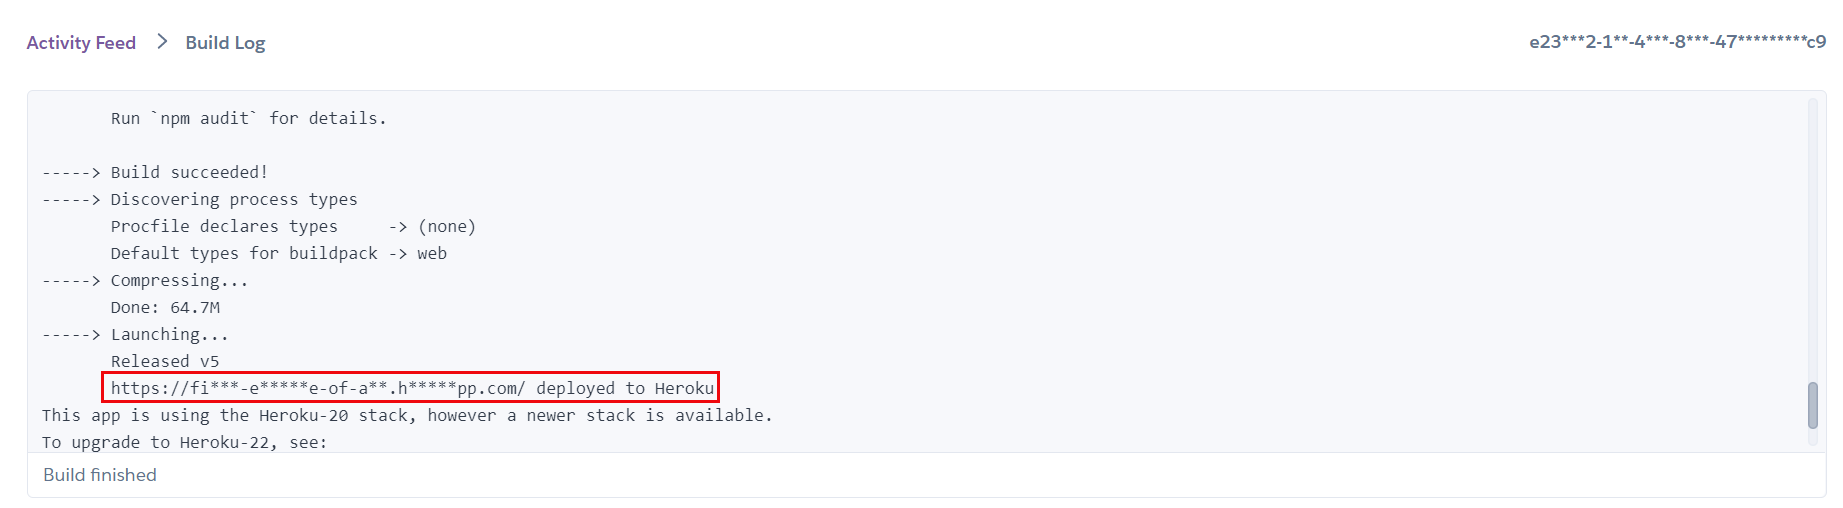
The action will deploy a build in your Heroku project. You can check the build and open the respective app you deployed using the Heroku connector.
This sets up the Heroku action connector.
