Was this article helpful?
Thanks for your feedback
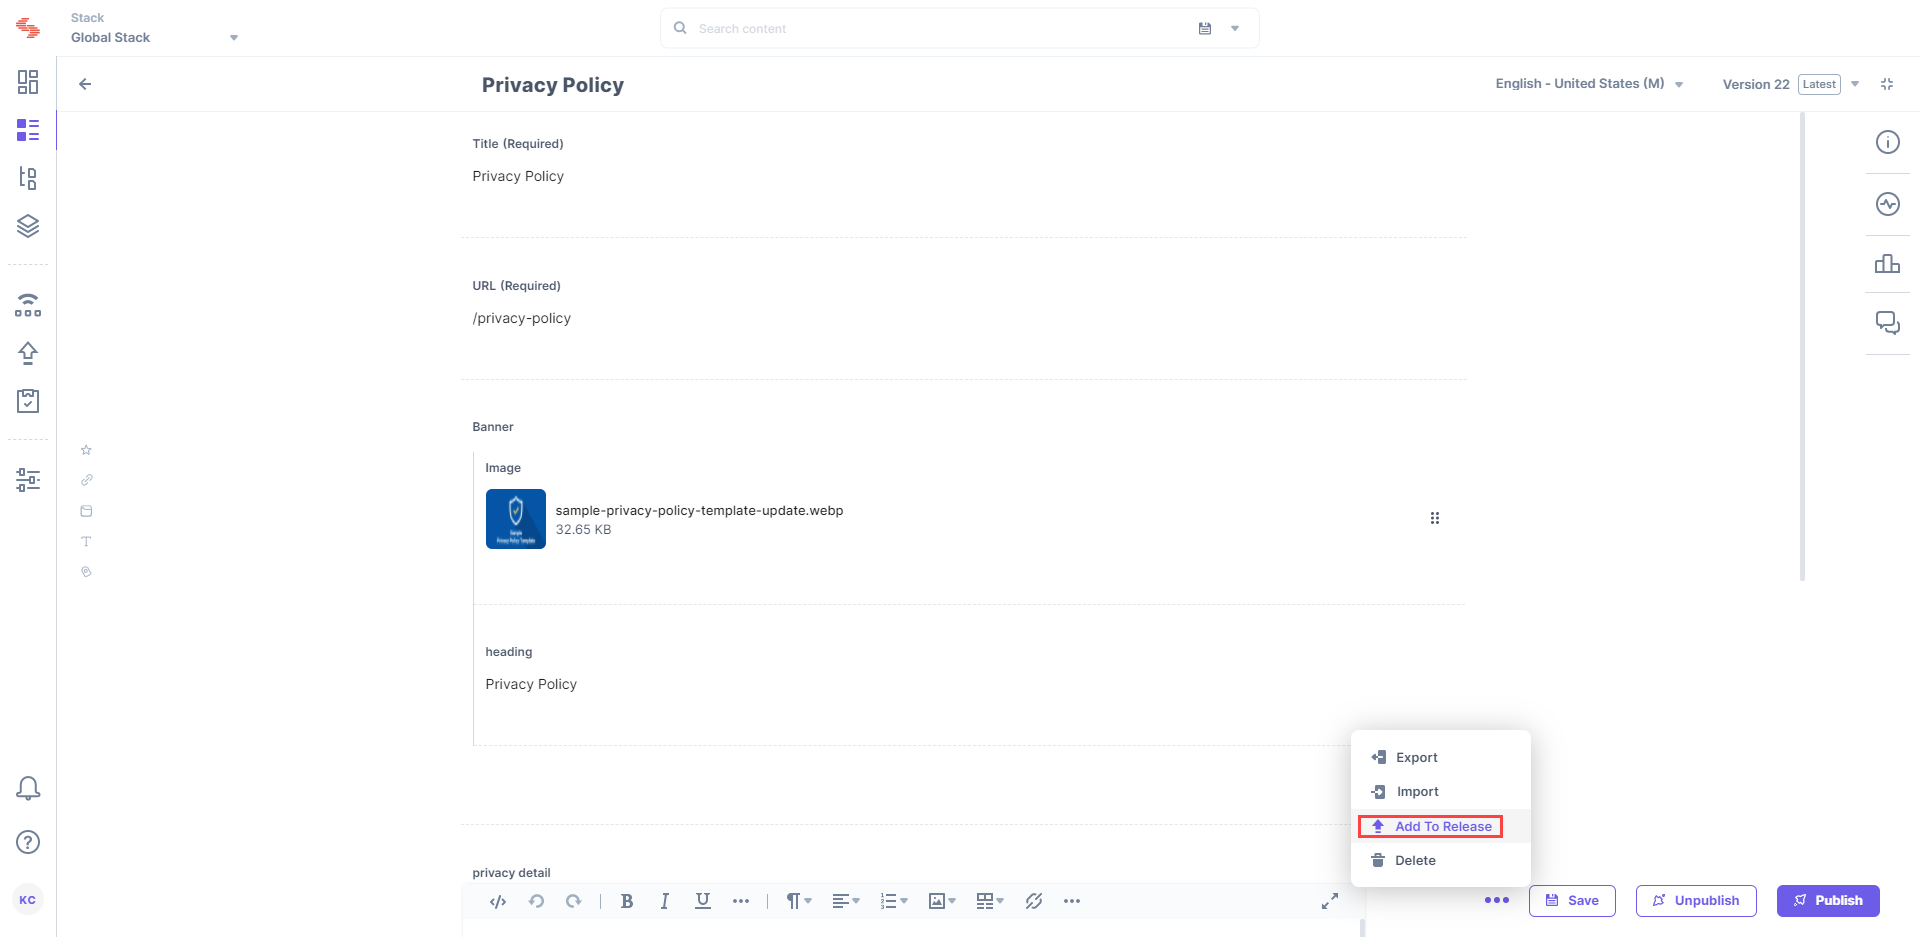
After creating a release, you can start adding items (entries and/or assets) to it.
To add an item to a release, log in to your Contentstack account, and perform the following steps:

Note: You can add a maximum 500 items (entries/assets) to a Release. But at a time, you can select and add only 10 items (entries/assets).
Note: You can only add referenced items (entries/assets) linked up to one level of depth along with the current entry to a release.
After successfully adding items to a release, you can deploy the release to an environment.
Note: You can update the release items to their latest versions before you deploy the release. Refer to our Update Release items to their Latest Versions documentation for more information.
Here are the links to the API requests related to this action:
Was this article helpful?
Thanks for your feedback