Organization Users

The Users section displays all users in the Organization. It also lets you add and manage users in the Organization.

Additional Resource: Another way of managing users is through your stack. Check out our Invite Users and Assign Roles guide set for more information.

This section also covers the following actions that you can perform on Organization users:

  • Invite New User to Your Organization: Invite new users to your organization and assign organization role and/or stack-specific role(s) to them
  • Change Organization Role of Existing User: Change the assigned organization role and/or stack-specific role(s) of a user
  • Remove User from Your Organization: Remove an existing user from your organization

Let's look at these actions in detail.

Invite New User to Your Organization

To invite users to your organization, log in to your Contentstack account and perform the following steps:
  1. Select the Organization from the dropdown on the header and click on the “Settings” icon on the left navigation panel.
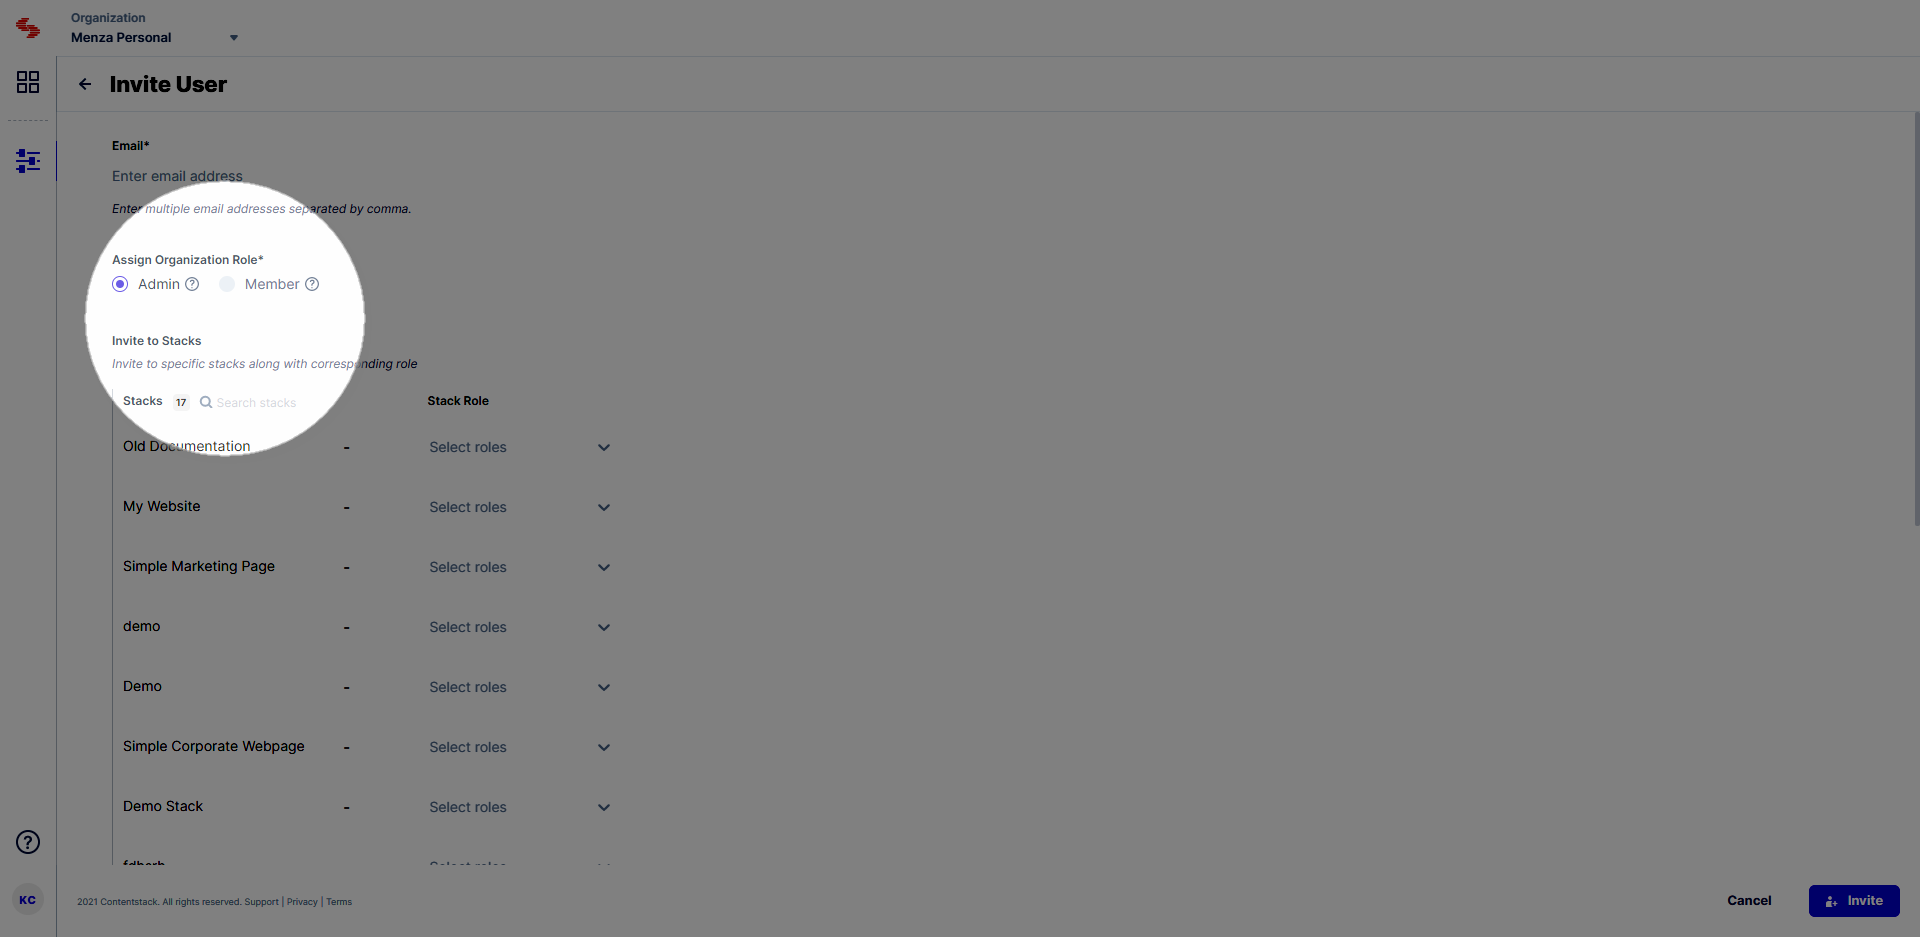
  2. Click on the Users tab, and then on Invite User located in the top-right corner of the page.
  3. In the new page that appears, enter the email address and the Organization role that needs to be assigned to the userinvite_user_1_highlighted.png
  4. Once you assign a role, you can share any stacks in the Organization with the user by selecting the role that you wish to assign for the stack.
  5. Finally, click Invite to invite the user.

Note: Only the Owner and the Admin users can invite new users, and only Admin and Member roles can be assigned to the new users.

Additional Resources: Refer our documentation for more information on how to invite users to an organization and how it works for Single Sign-On (SSO) enabled organizations

Change Organization Role of Existing User

You can update the Organization role and Stack-level permissions of an existing user.

To change Organization role of a user, log in to your Contentstack account and perform the following steps:
  1. Select the Organization from the dropdown on the header and click on the “Settings” icon on the left navigation panel
  2. Click on the Users tab. This displays the list of Organization users.
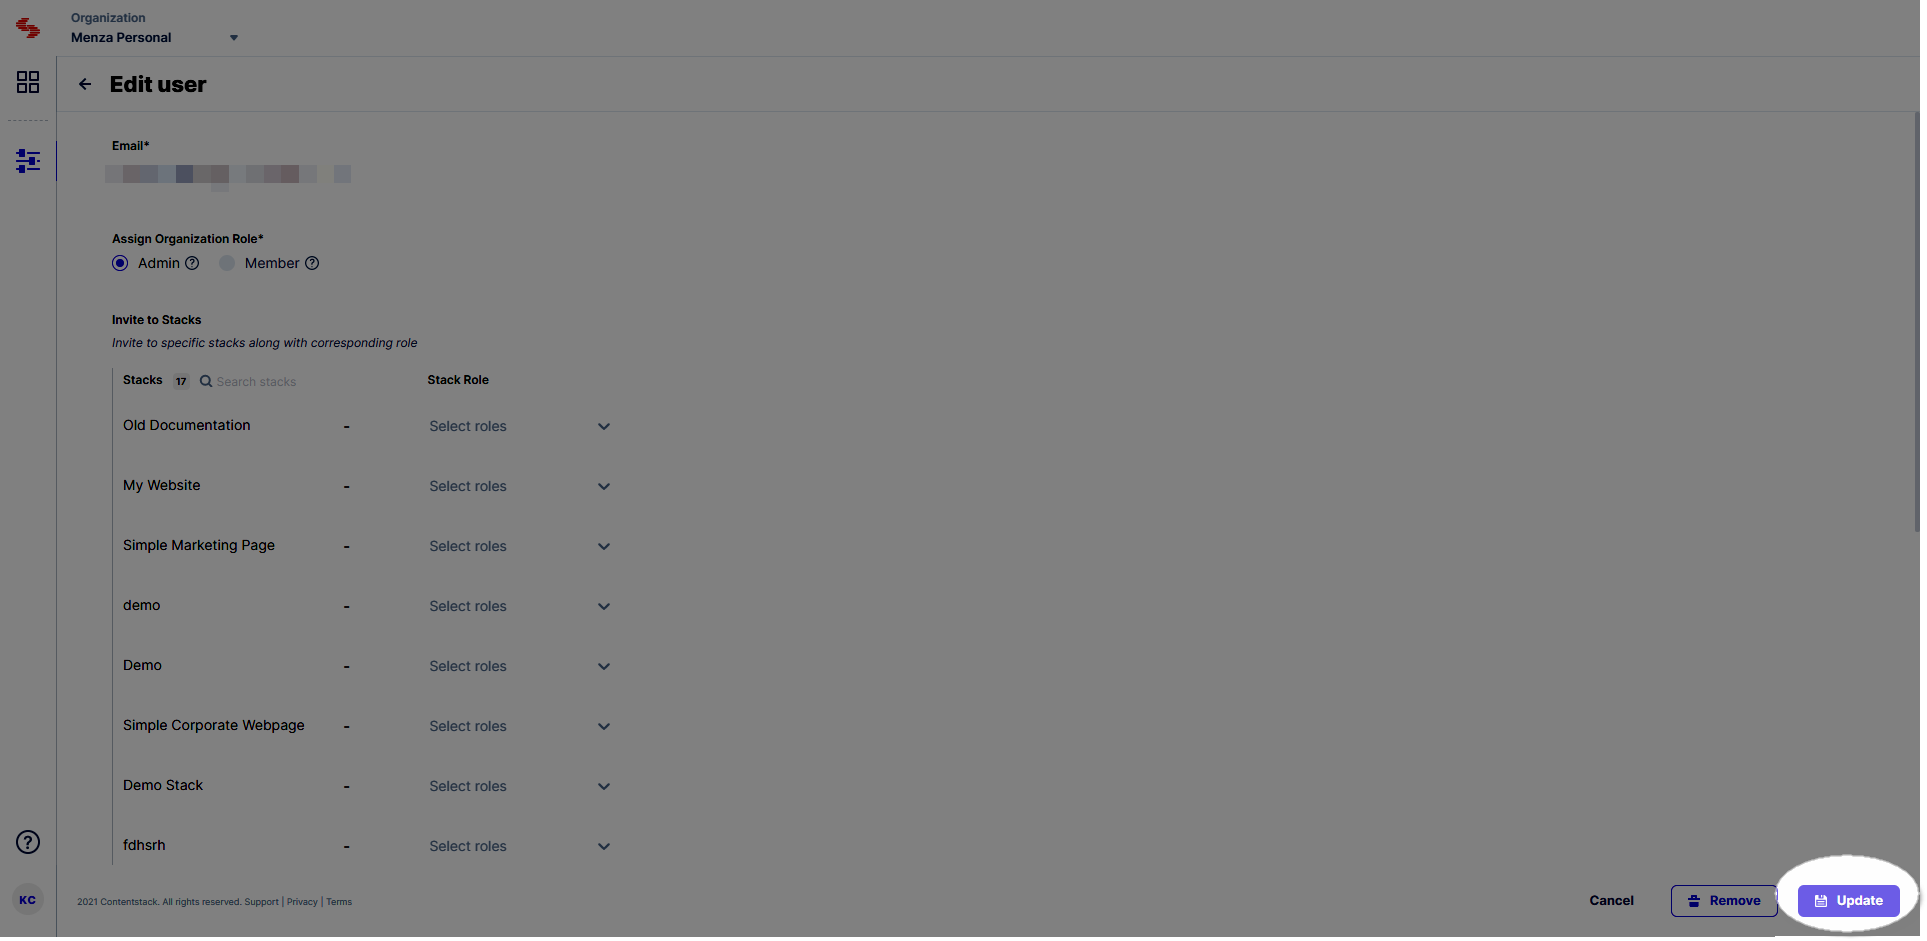
  3. Click on the user whose role you want to change. This opens the Update User page.
  4. Change the Organization Role and the STACK ROLE of the user as required, and click on the Update button at the bottom of the page.edit_user_1_highlight.png

Remove User from Your Organization

To remove an existing user from the Organization, log in to your Contentstack account and perform the following steps:
  1. Select the Organization from the dropdown on the header and click on the “Settings” icon on the left navigation panel.
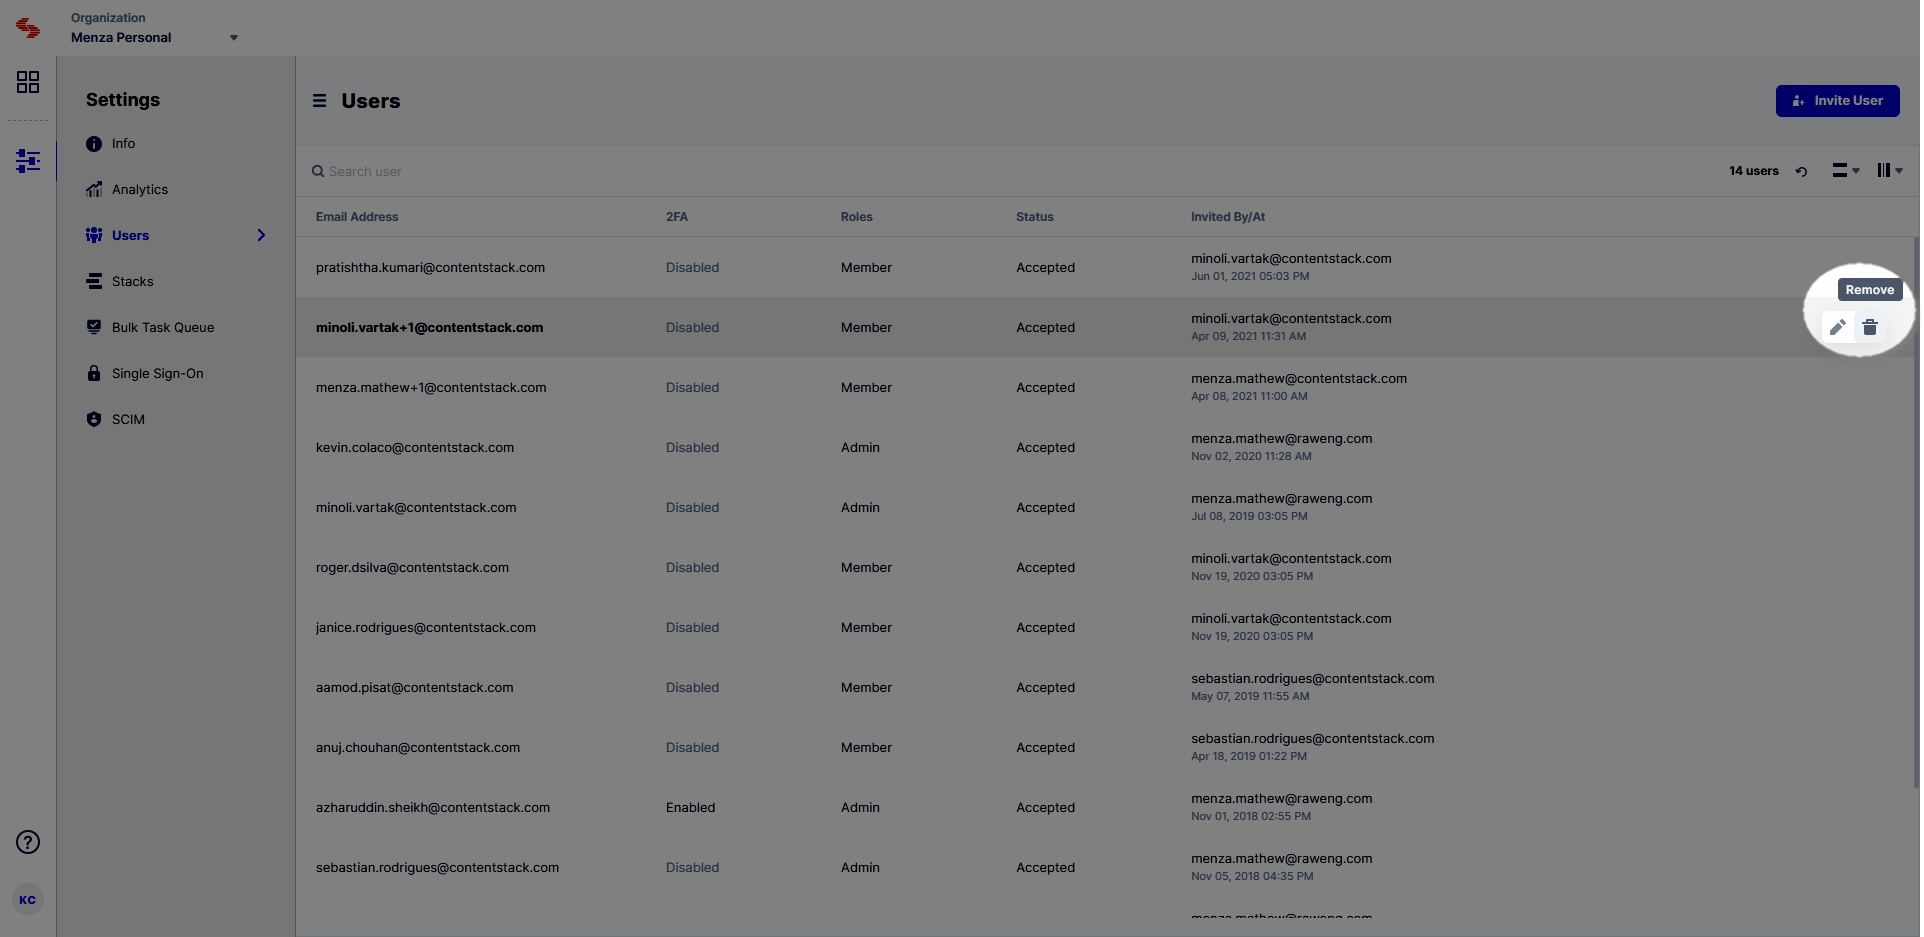
  2. Click on the Users tab. This displays the list of Organization users.
  3. Hover over the user you want to delete and click on the “Remove” icon (Trash bin) to the right.remove_user_1_highlight.png
  4. Confirm your action by clicking on Remove again.

Warning: Once a user is removed from an Organization, he/she will lose access to all stacks contained in it.

Export Users List

Contentstack allows you to export details of all the users from the organization user list page in the form of a Comma Separated Values (CSV) file. The users are sorted alphabetically by their email address in CSV. You can open this CSV file using any spreadsheet application to clearly view the exported user details.

With this option, you no longer need to constantly scroll down long organization user lists to view other users in your organization.

To export the users’ list, log in to your Contentstack account, and perform the following steps:
  1. Go to Organization Settings.
  2. Select Users tab from the left navigation pane.
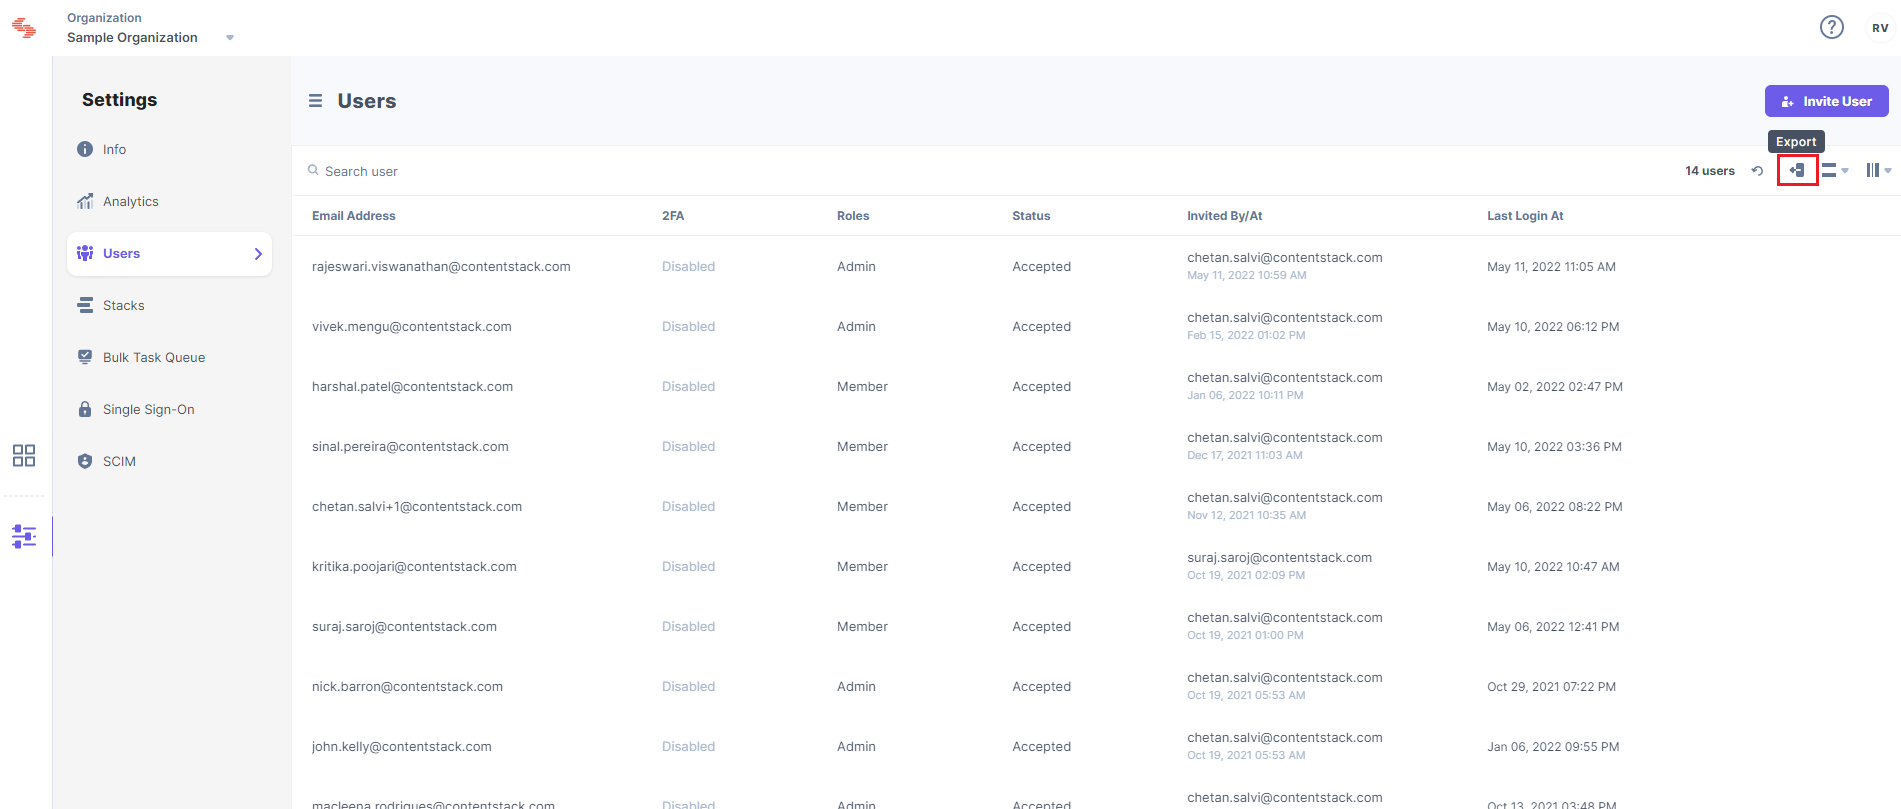
  3. Click the Export button in the top-right corner of the Users list page to export all the user details from the list in a CSV file.
    exportuser.png

API Reference

You can refer to the following API calls related to Organization users:

Was this article helpful?

Thanks for your feedbackSmile-icon

On This Page

^