Was this article helpful?
Thanks for your feedback
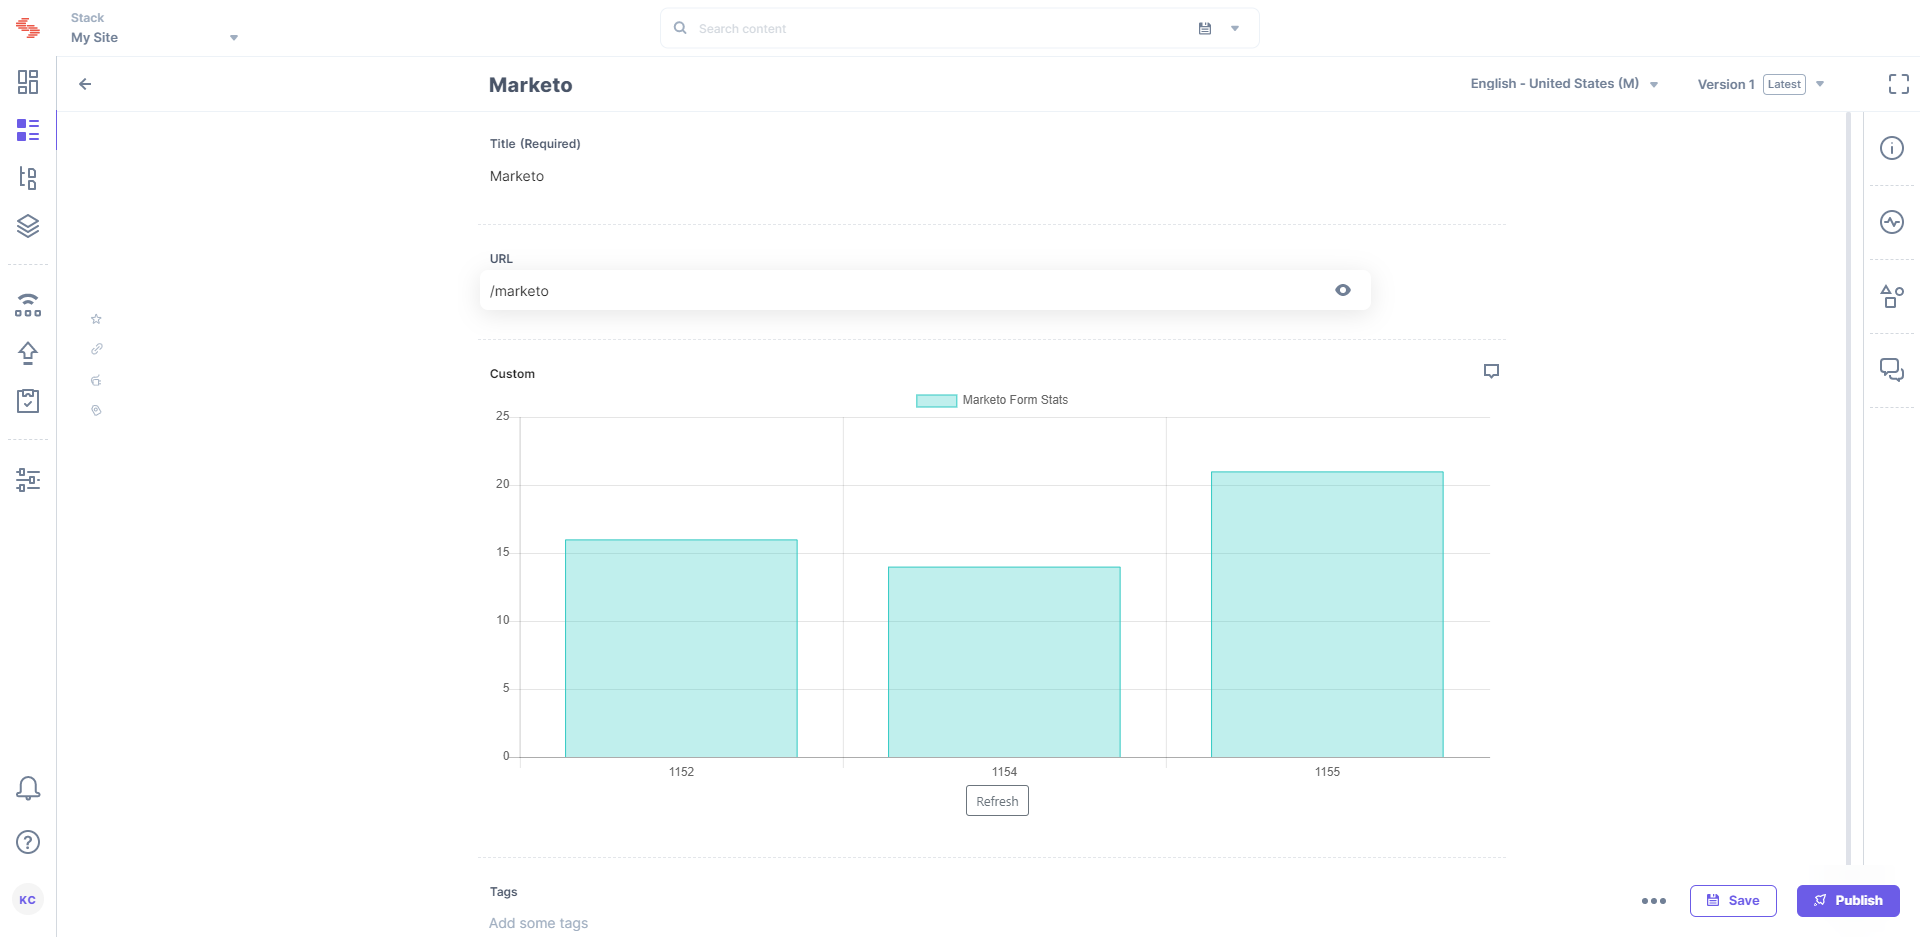
The Marketo Forms extension lets you fetch and display the list of your existing Marketo forms into the field of your content type. As a result, while creating entries, you can view the list of forms, and select the one you want to use on the entry page. In the Contentstack backend, it saves the ID and the metadata (in JSON format) of the Marketo form that you select.
This step-by-step guide explains how to create a Marketo Forms extension in Contentstack. The steps to be performed are as follows:
In order to set up this extension, you will need the following three pieces of information from your Marketo account:
To retrieve these details, log in with the Admin Marketo account, and follow the steps outlined below.
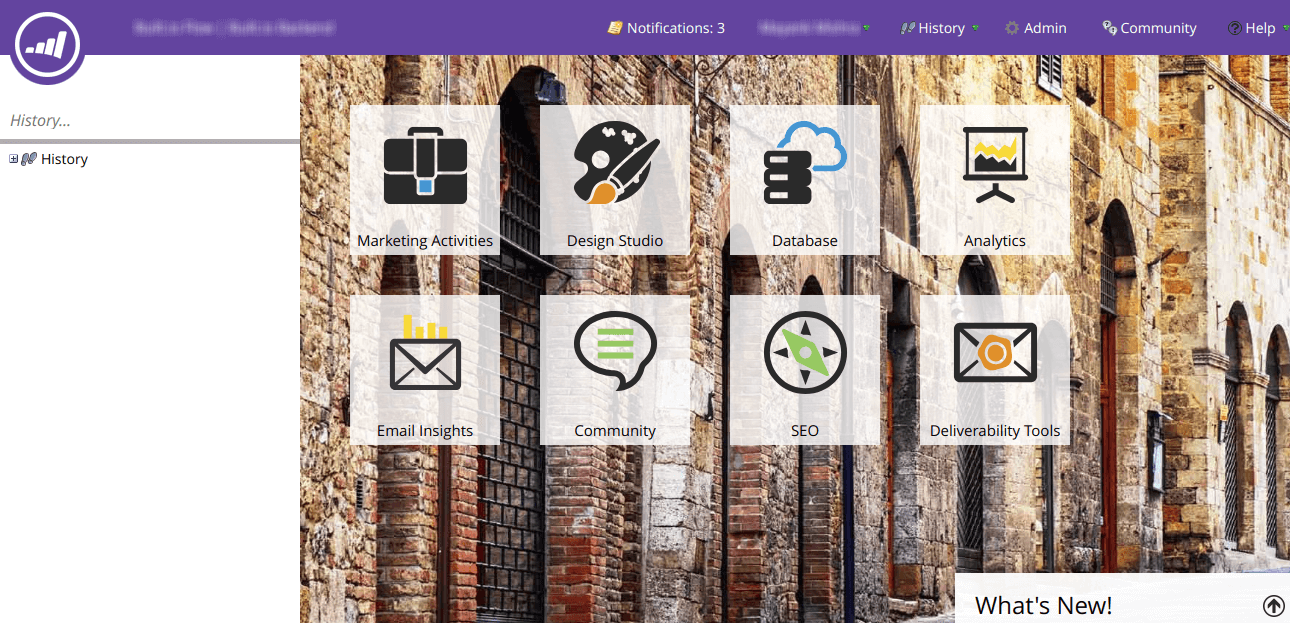
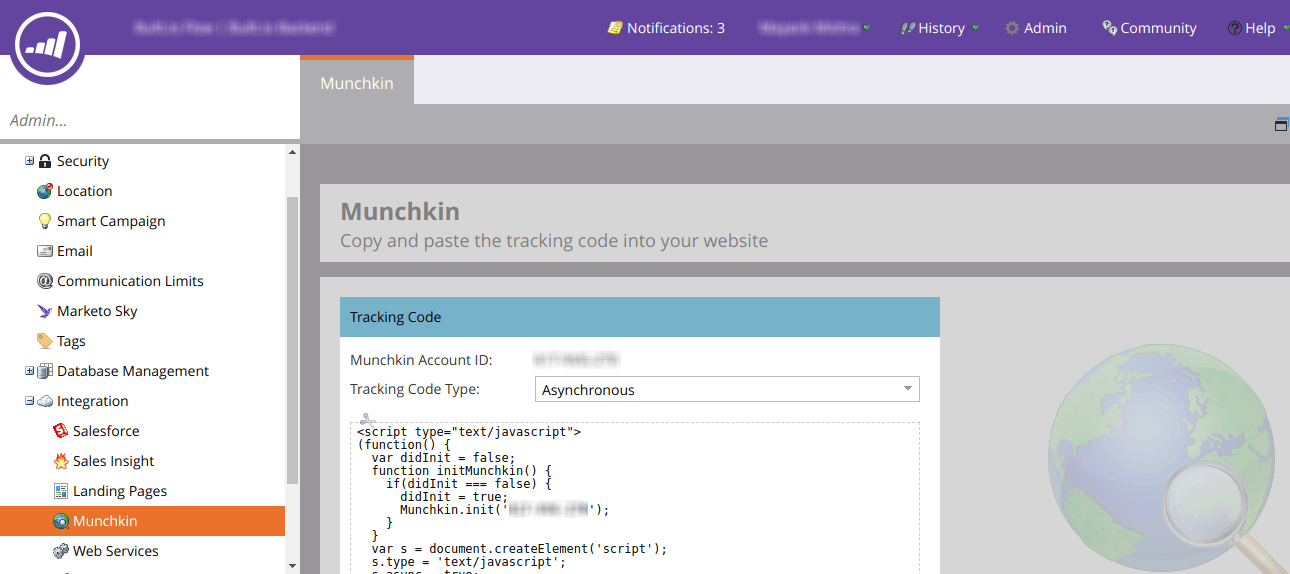
To get your Munchkin Account ID, perform the steps given below:
To get your Client ID and Client Secret, perform the steps given below.
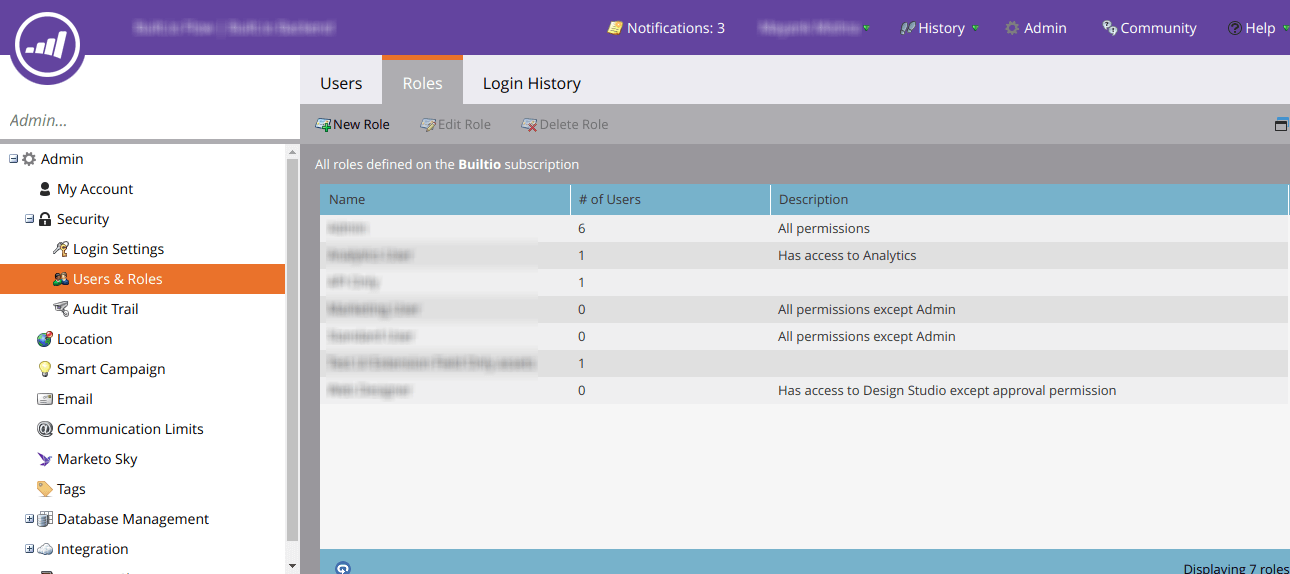
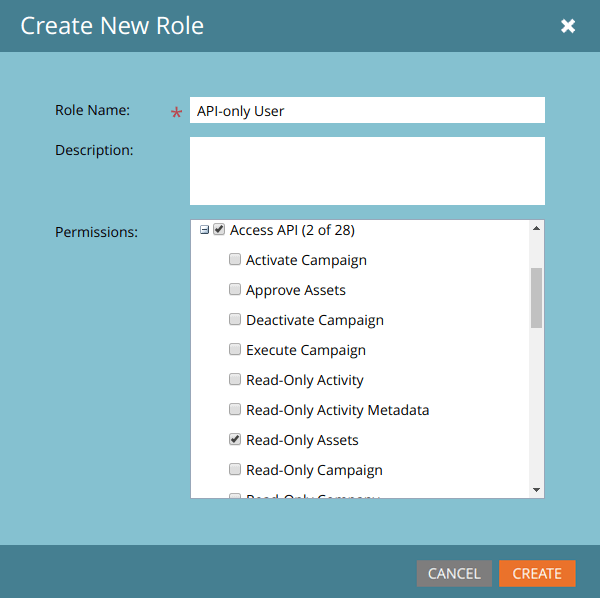
You will now need to create a user to whom you can assign this role.

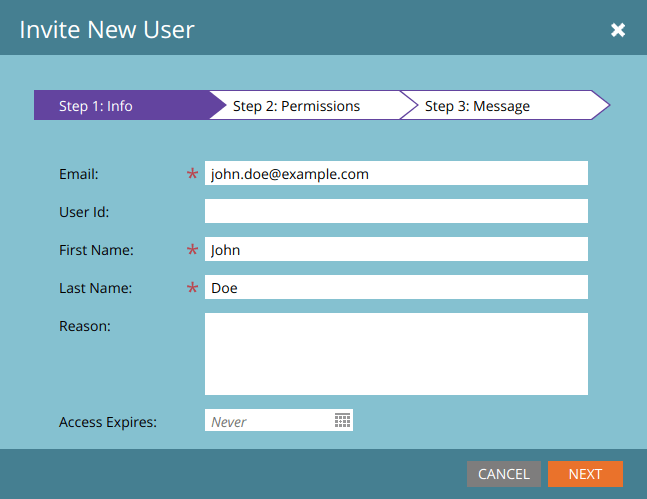
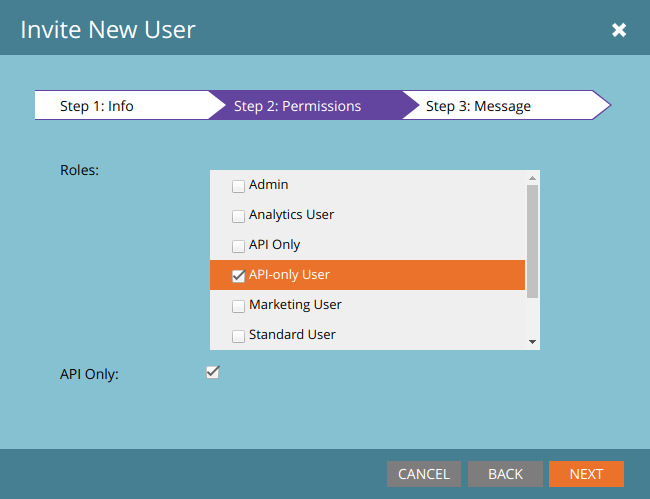
Now, you need to create a service and assign the user to retrieve the Client ID and Client Secret.
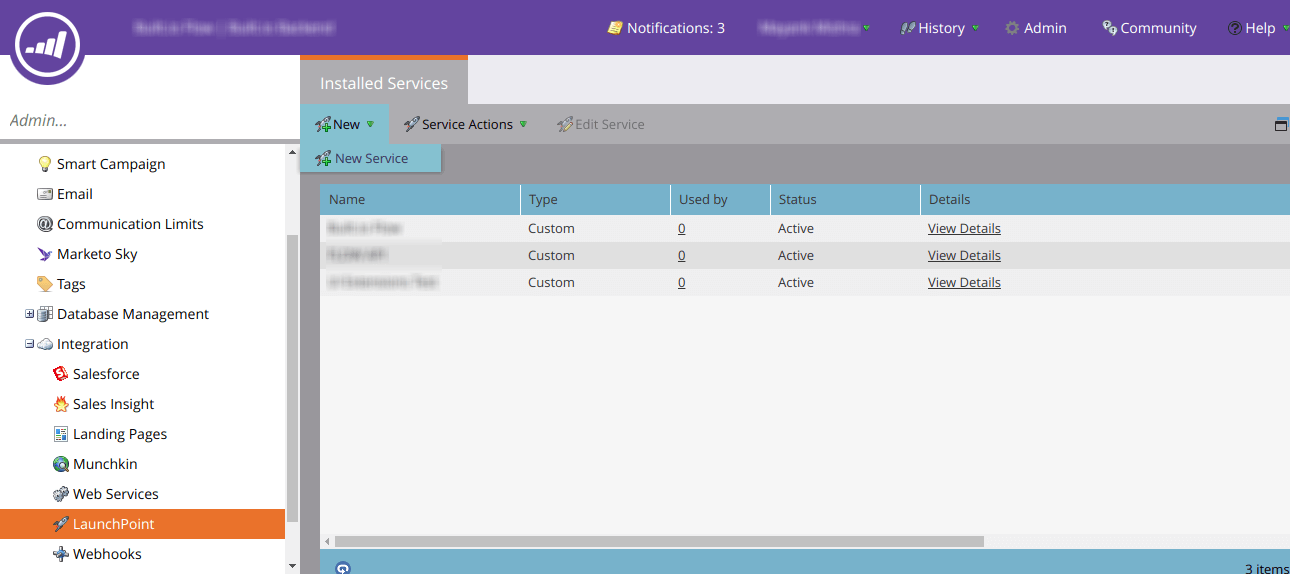
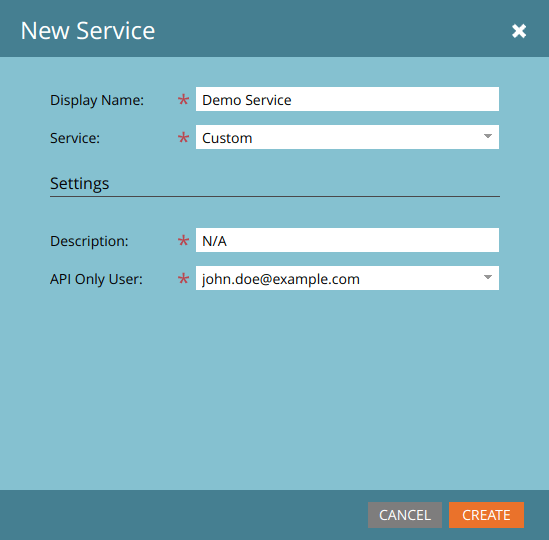
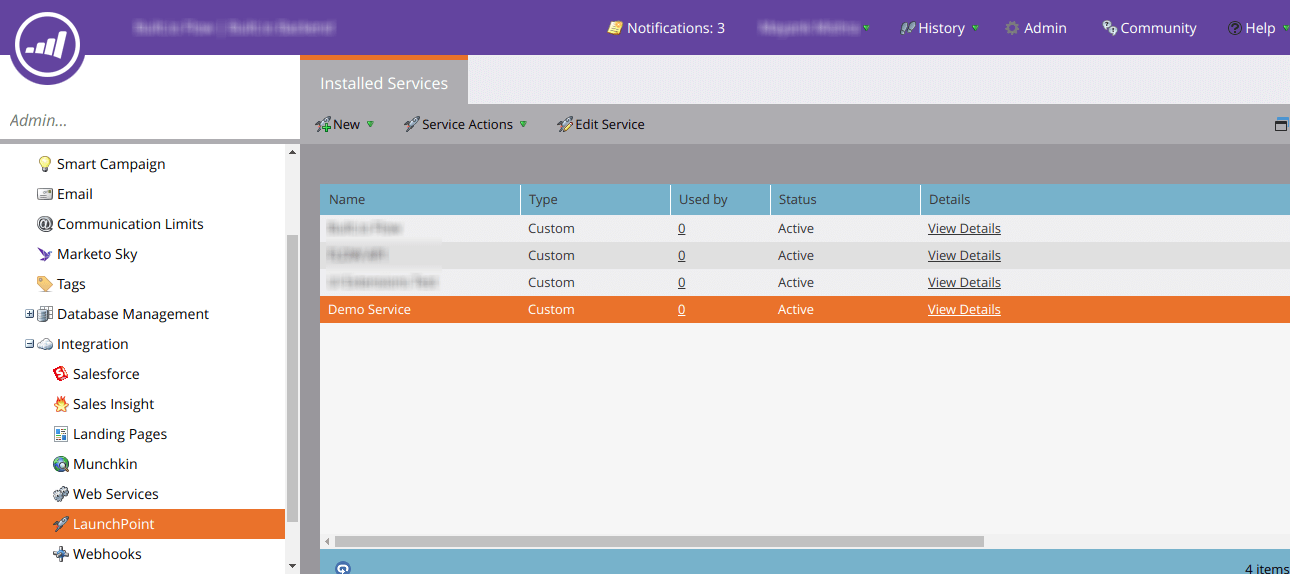
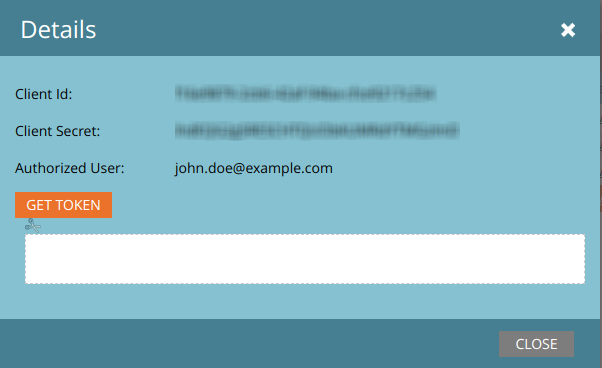
By the end of this step, you will have the Munchkin ID, Client ID, and Client Secret of your Marketo account.
To protect sensitive information (such as Marketo Client ID and Client Secret) and to avoid Cross-Origin Resource Sharing (CORS) issues, you can use Lambda function for this extension.
Note: Please make sure you enable CORS for API Gateway.
After retrieving the credentials, deploy this code for the lambda function to AWS Lambda.
In the Environment Variables section of AWS Lambda, enter the credentials against the variables as follows:
MUNCHKIN_ID= Your Munchkin Account ID
CLIENT_SECRET= Client Secret that you retrieved
CLIENT_ID= Client ID that you retrieved
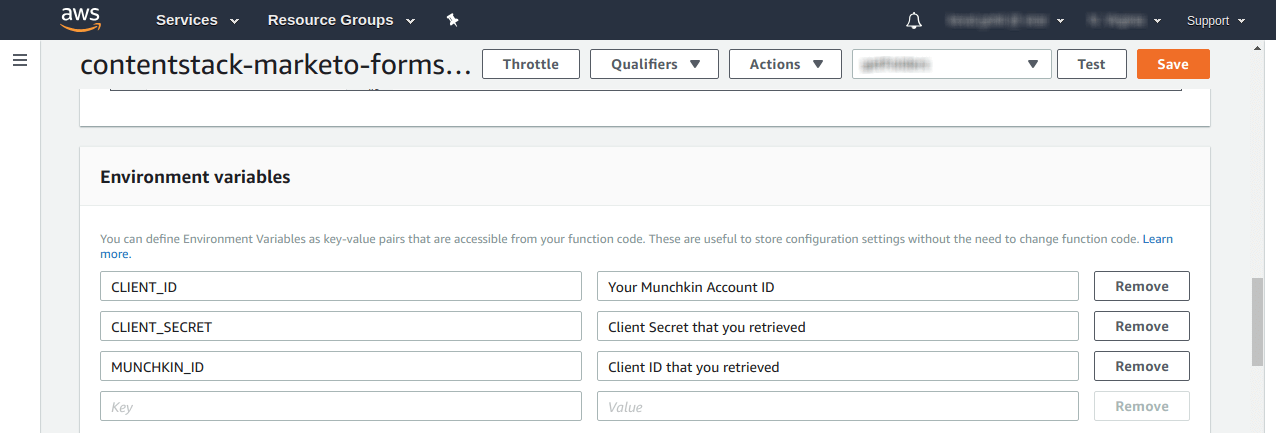
Note: Please ensure that the keys i.e., the Environment variables (in upper case) are added exactly as shown above, else your lambda function will not work.
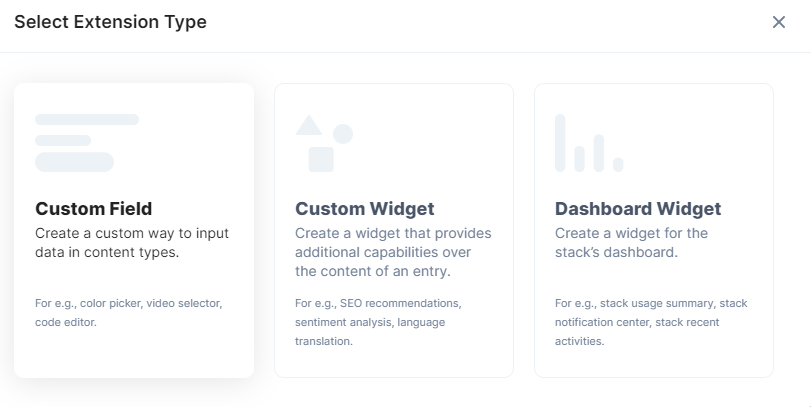
To add the Marketo Form custom field extension to your stack, log in to your Contentstack account and perform the following steps:
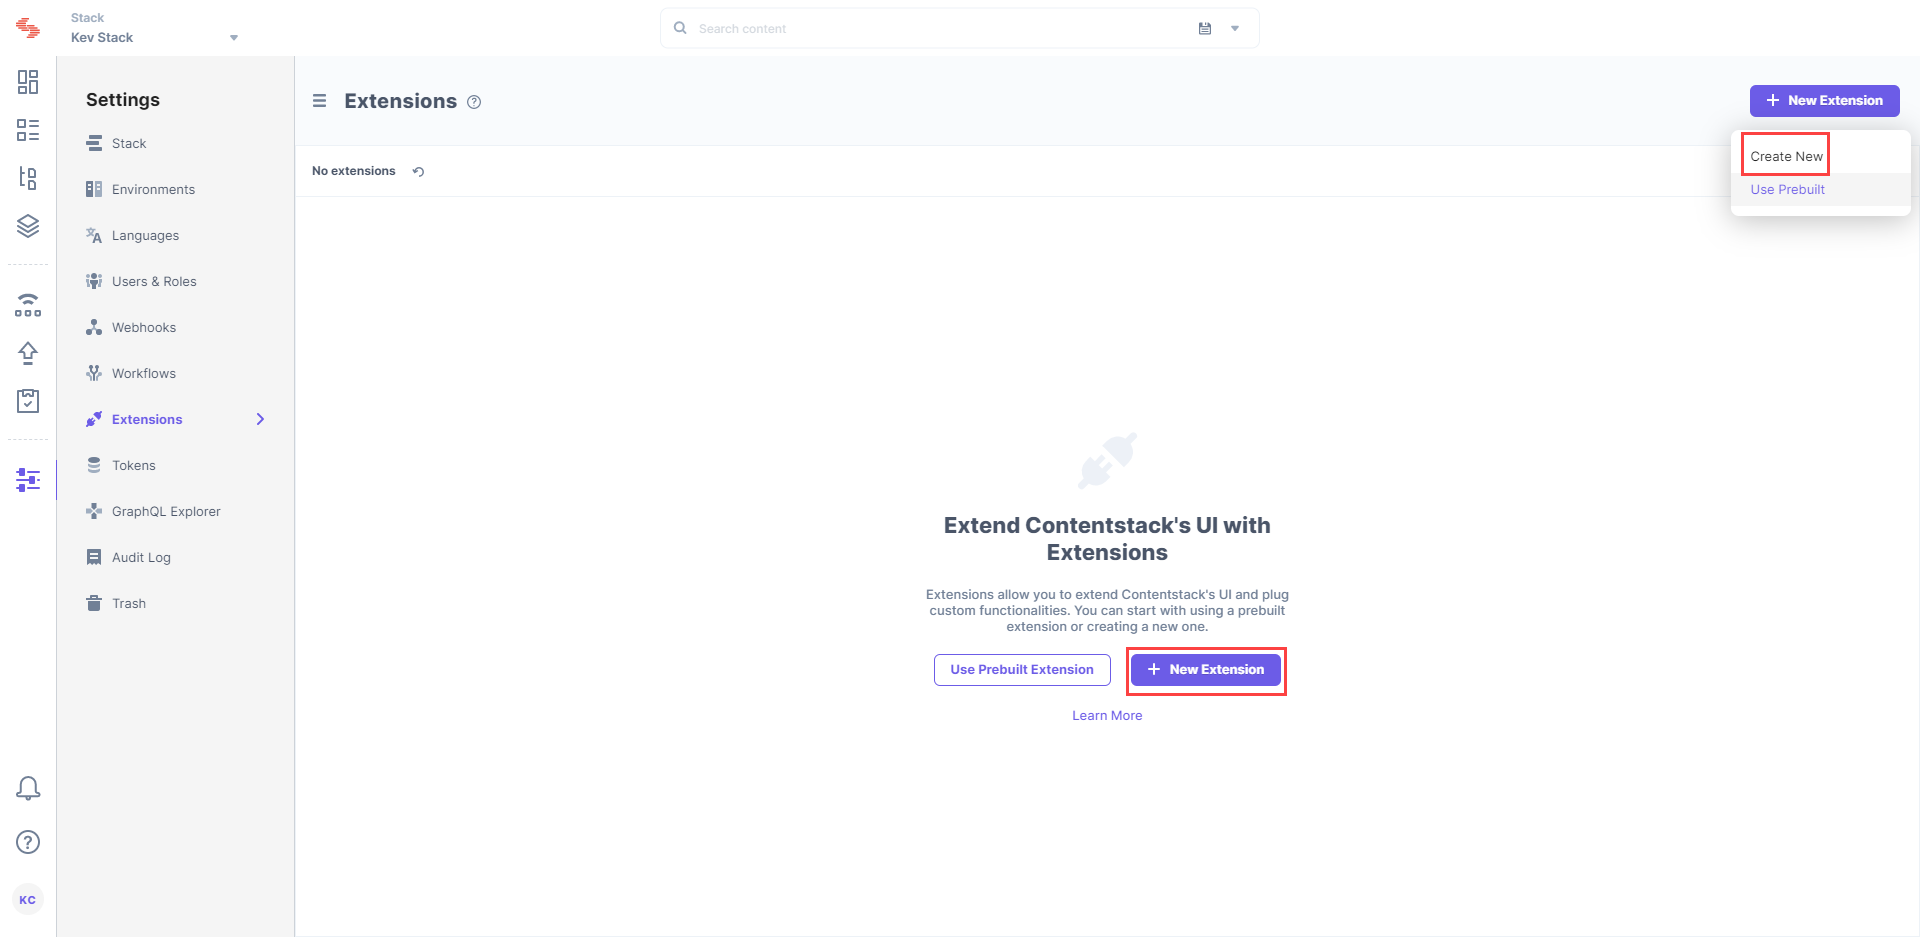
{
    "folder":"629"
    "url":"https://abcde1234.execute-api.us-east-1.amazonaws.com/development/demo-widget"
}Now, let’s understand how you can start using this custom field in your content type.
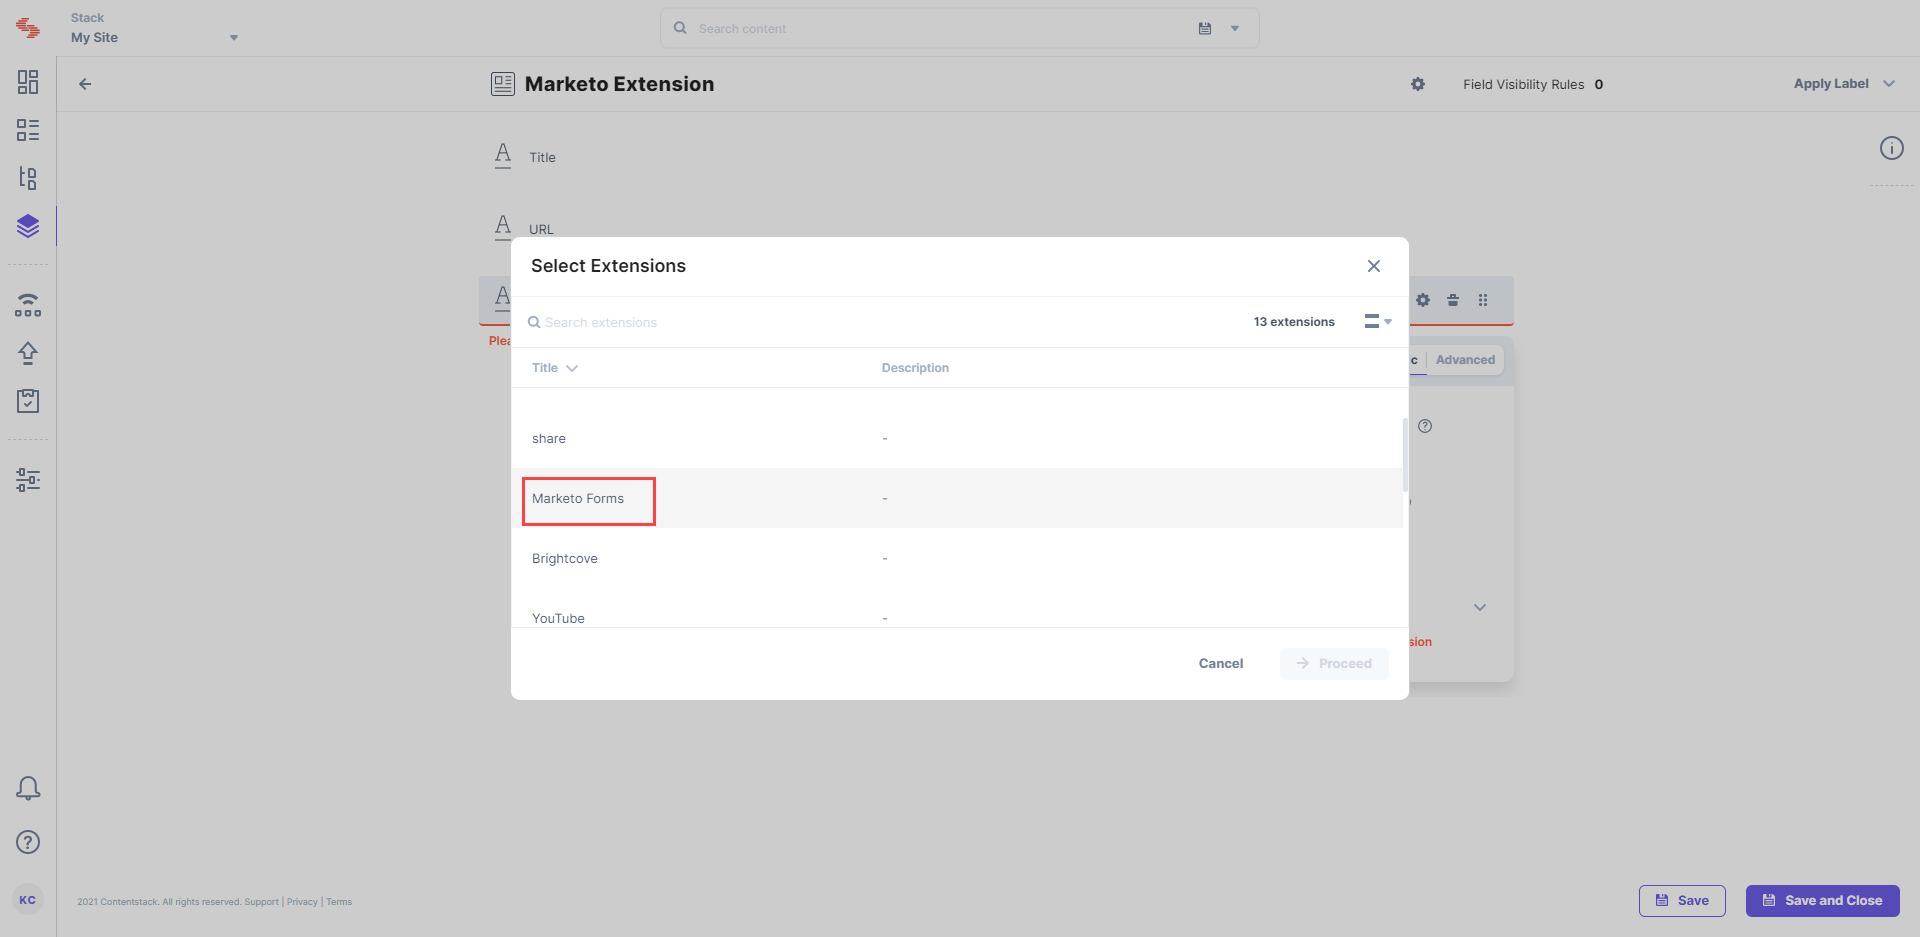
Once you have added a custom field, you can use it in your content type like any other field. To add a custom field in your content type, perform the following steps:
Create a content type and add the Custom field to it.
We have a collection of similar other articles that you may like:
Was this article helpful?
Thanks for your feedback