In this use case, we will cover a scenario where, if a user creates a new entry in Contentstack, Automations should be able to add it immediately to Algolia’s search index.
Let's break this scenario to see what must be the trigger event and the consequent action required to execute the Automation:
- Set Up the Contentstack “New Entry” Trigger Event: This trigger event is activated whenever a user creates a new entry for a particular stack, and in turn, it activates the Automation.
- Set Up the Algolia “Index Entries” Action: Once the above event triggers the Automation, it will add your entry to Algolia’s Search index.
The steps to set up the Automation are as follows:
- Create an Automation
- Set up the Contentstack Trigger Event
- Set up your Algolia Action Connector
- Test out the Automation for Algolia Search Index
Let’s look at the setup in detail.
Create an Automation
To create an automation, perform the steps given below:
- Log in to your Contentstack account and click the “Automation Hub” icon.
- Click + New Project and provide the required details to create a new project.
- Click + New Automation to add the steps required to configure the automation.
Next, let’s look at the steps to set up the trigger event.
Set up the Contentstack Trigger Event
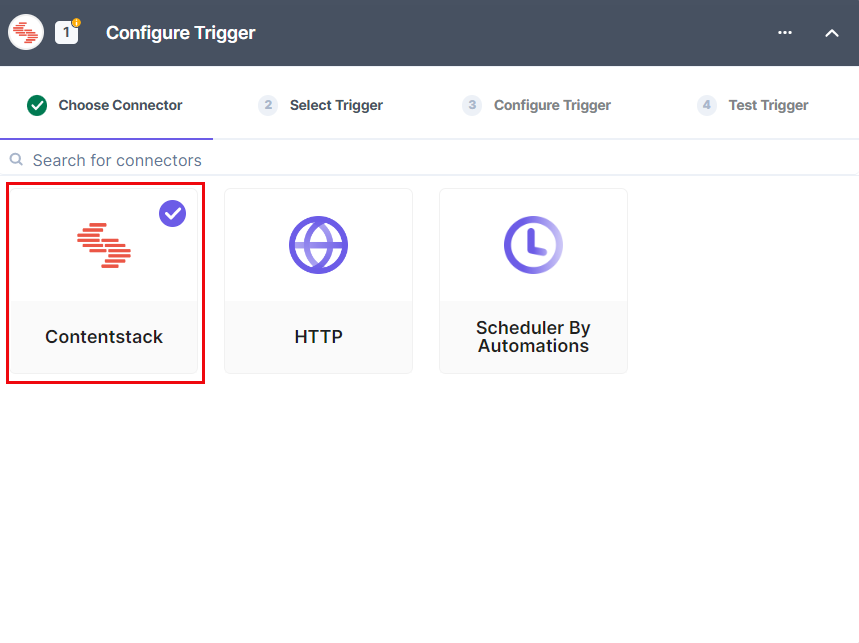
- Click Configure Trigger and select the Contentstack connector.
- Add your Contentstack account. For more information, refer to the Contentstack Trigger documentation.
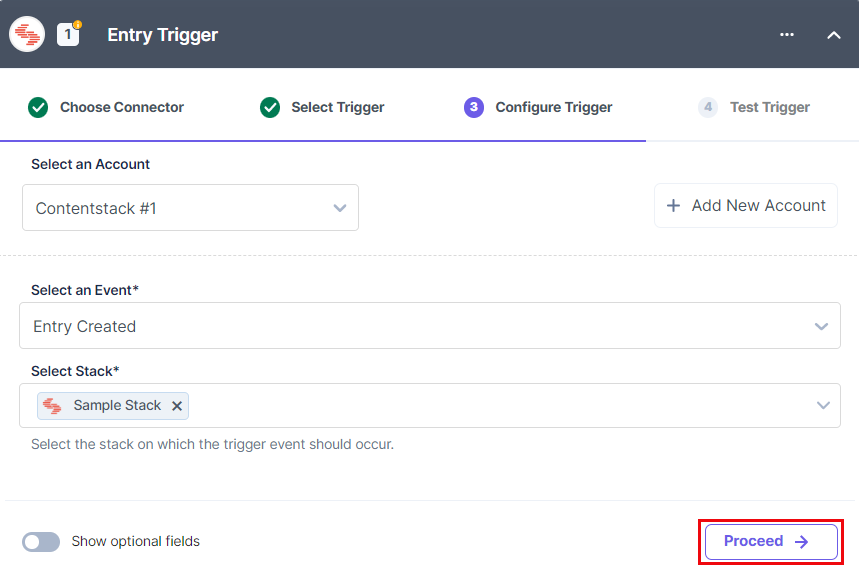
- Once done, select New Entry from the list of trigger events and define the rest of the steps needed to set up the trigger (refer to steps 3 to 10 in Contentstack Trigger).
- Click Test Trigger to execute and test the trigger that you configured.
Set up your Algolia Action Connector
Let’s configure the Algolia action connector.
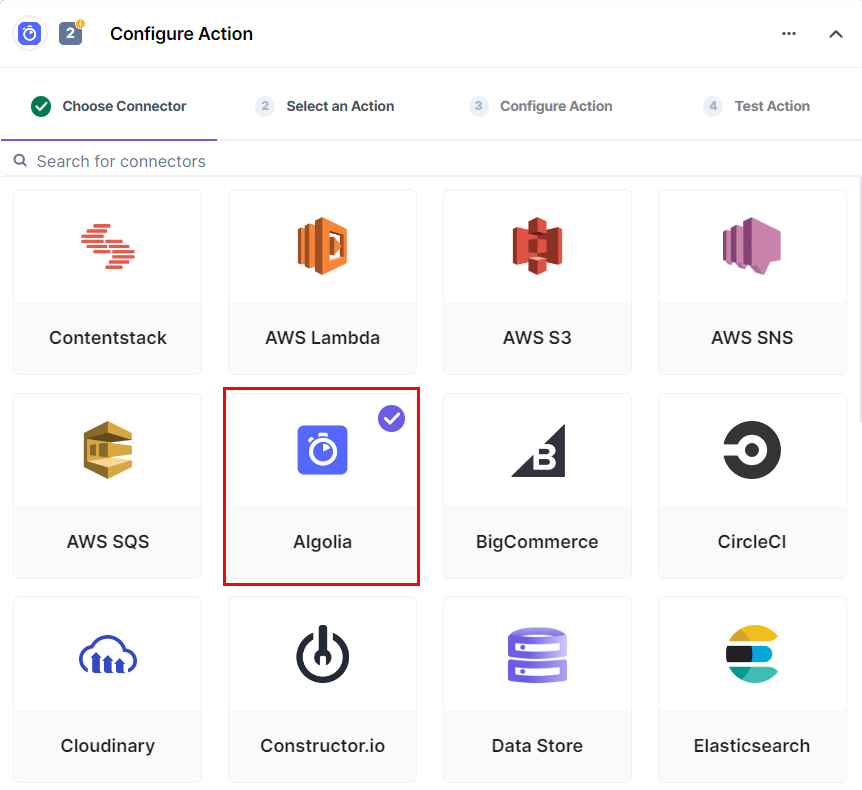
- In the Configure Action section, select the Algolia connector.
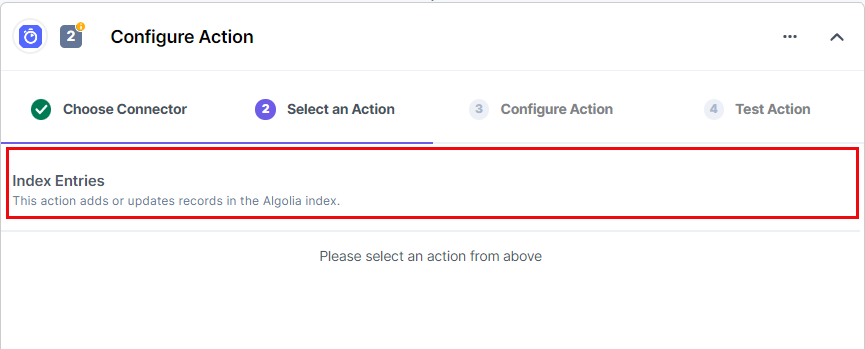
- Select the Index Entries action.
- Click the + Add New Account button to select your Algolia account.
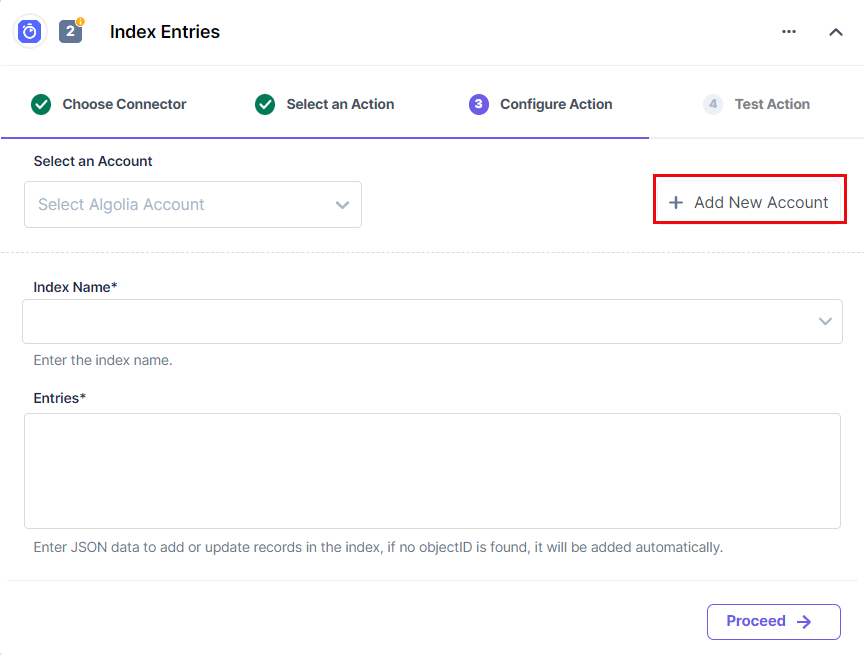
- To add your Algolia account, refer to the Algolia Connector document.
- Select the Index Name where you want to send the data.
- Enter the data to be added to the index in the Entries field.
Note: Provide your index data as per your object schema and in JSON format only. You can also pass dynamic data from the output of the previous step i.e., Entry Trigger. For that, just create an entry in your stack and enable the automation. In the execution logs, you can see the status of the automation.
- Click Proceed.
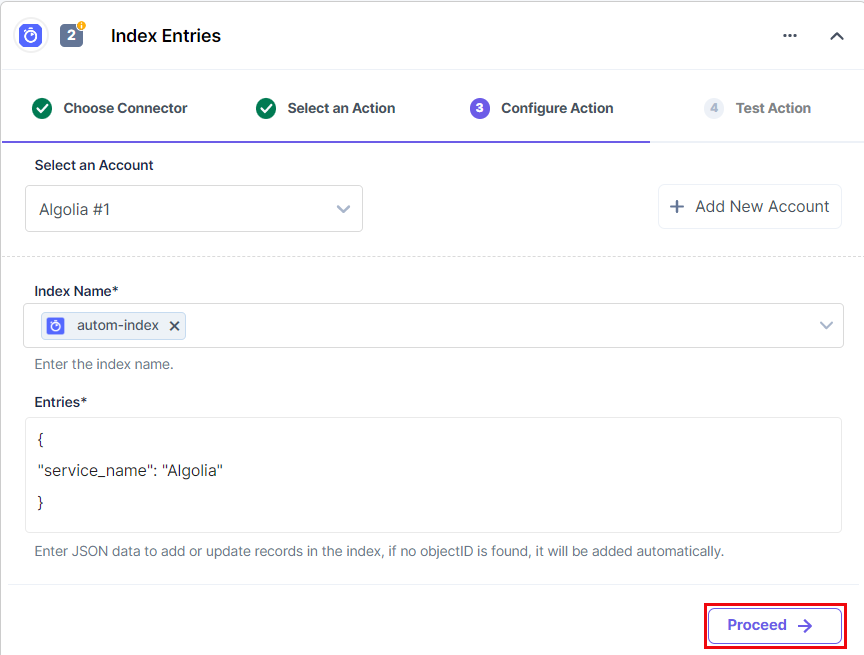
- This completes the configuration of your action. Now, click the Test Action button to send your data to the Algolia index.
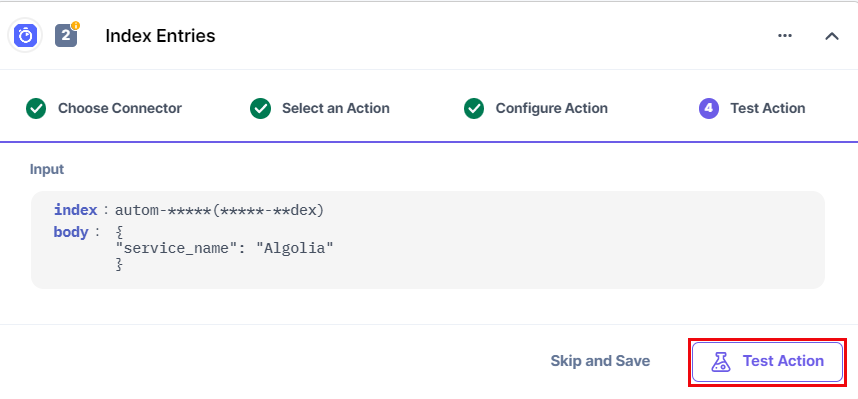
- Once the execution is successful, you will get the final output as seen in the screenshot in step 10.
This should initiate Algolia to add your entry into its Search Index. You need to navigate to your Algolia Index section and check the latest indexed entry. If it displays the data we passed as objects in the Algolia action connector, that means the automation works successfully.
- Navigate back to your automation set up page, and click Save and Exit to finish setting up the action.
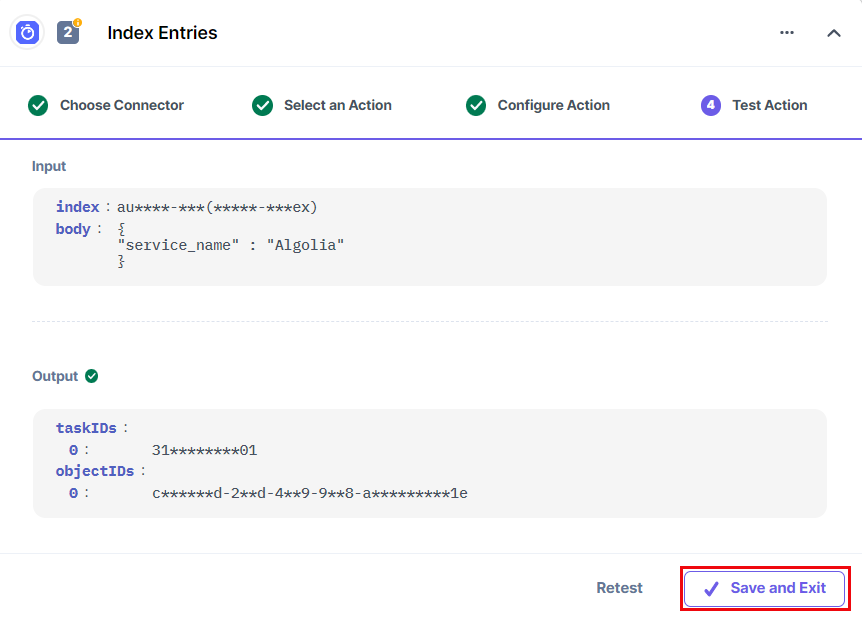
- You need to enable automation in order to test it.
This sets the Algolia action connector.
Test out the Automation for Algolia Search Index
Now, let’s see how you can test out your Automation. To do so, perform the steps given below:
- Go to Contentstack and create an entry for the content type that you selected in your trigger event in step 2.
This should trigger your Automation. - Now, navigate to Algolia, log in and check the latest indexed entry in your Algolia Index section. If your Automation worked, you should see the following output:


