The JIRA action connector lets you create a ticket (task) in JIRA. With this action connector, you can create tickets and assign tasks to users.
Set up JIRA
Perform the following steps to set up JIRA action connector:
- In the Configure Action section, select JIRA connector.
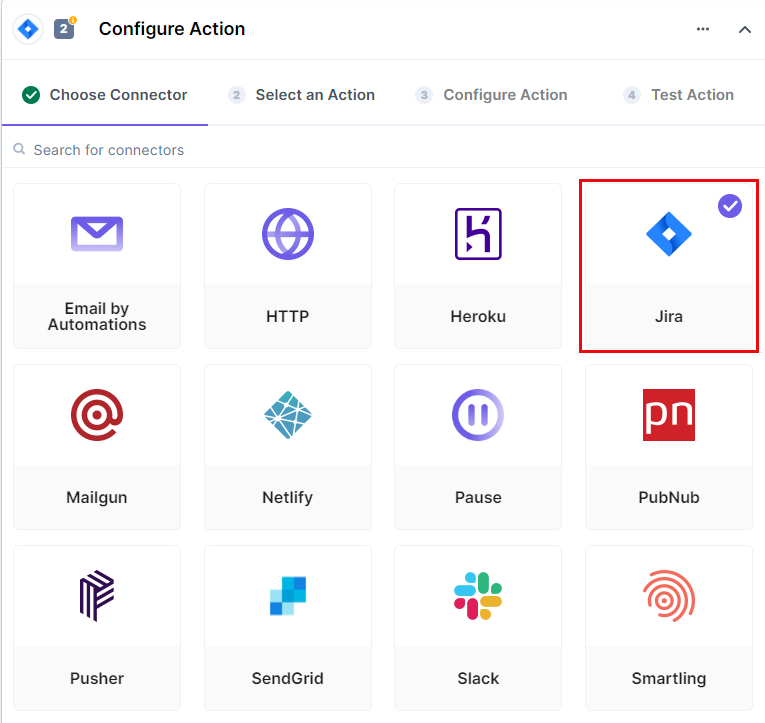
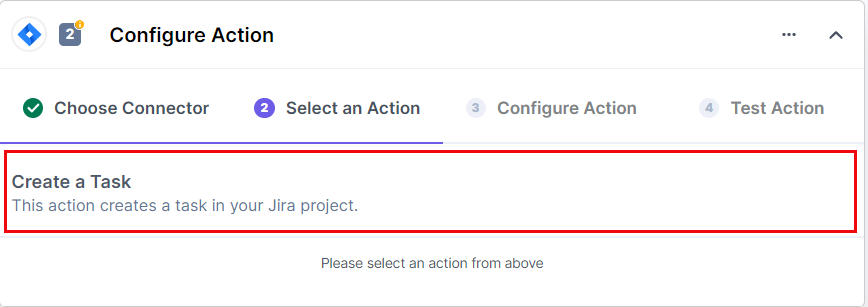
- Select the Create Task action.
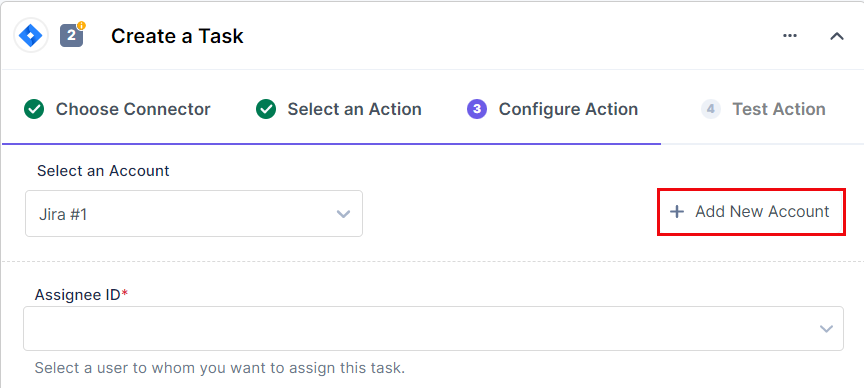
- In the Configure Action tab, click on + Add New Account to add your JIRA account.
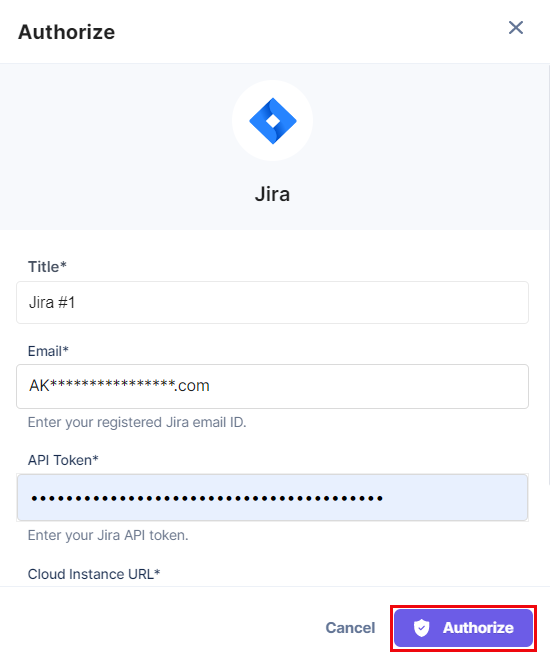
- In the Authorize pop-up window, provide details such as Title, Email, API Token and Cloud Instance URL.
To generate the API Token and Cloud Instance URL, log in to the JIRA dashboard and perform the following steps:
-
Log in to JIRA using your authorized email address and go to your Account Settings.
- In the Security section, click on Create and manage API tokens.
- Click on Create API token.
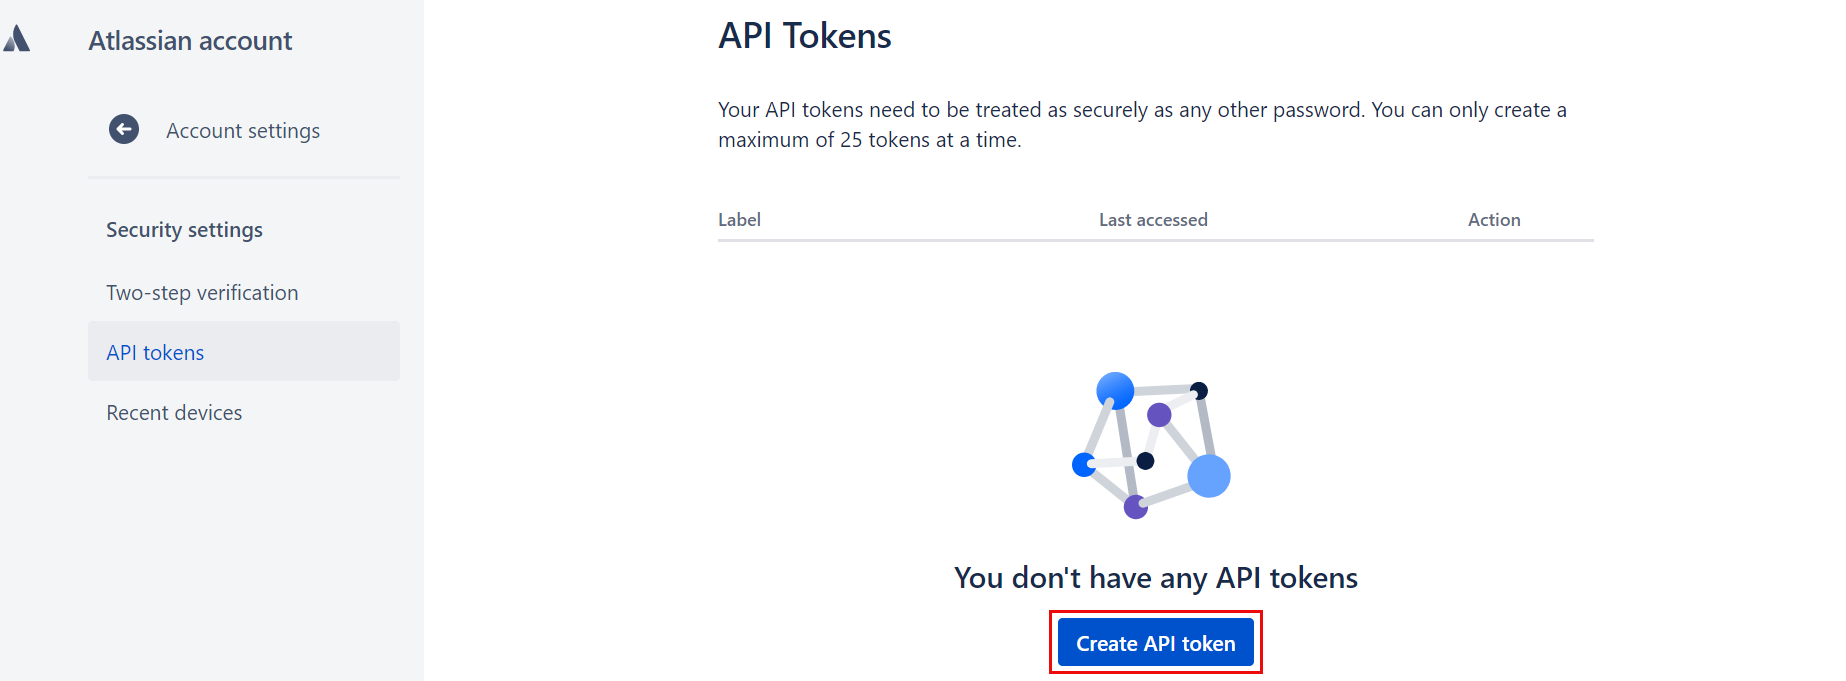
- Provide a Label for the token and click Create.
- Copy this token and save it somewhere as you won’t be available to view it once you close the modal.
Additional Resource: For more information on API Tokens, refer to the Manage API tokens for your Atlassian account document.
- Your Cloud Instance URL is the custom URL that you provide while creating a project, say https://domain_name.atlassian.net/.
Read more on Create a Project | Customize your project.
- Once done, click on Authorize.
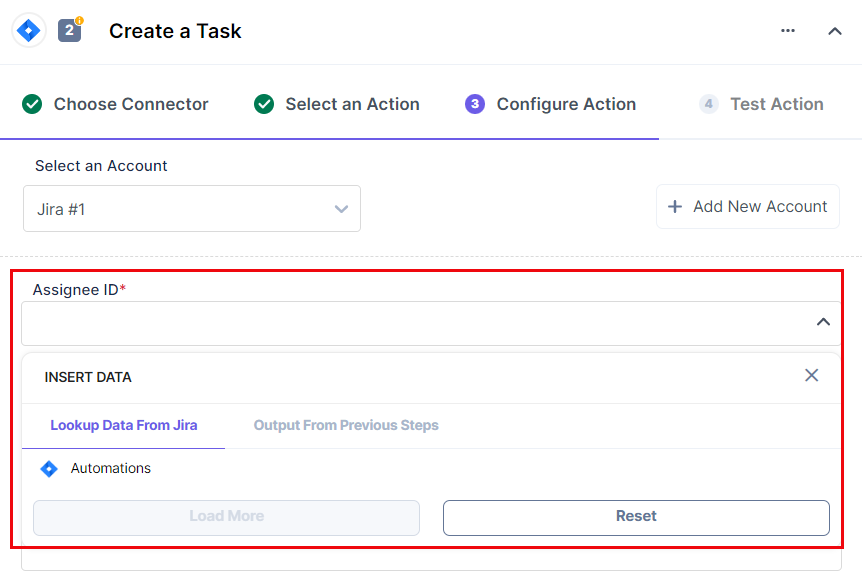
- Select the Assignee ID (of the user to whom we want to assign the ticket) from the LOOKUP list.
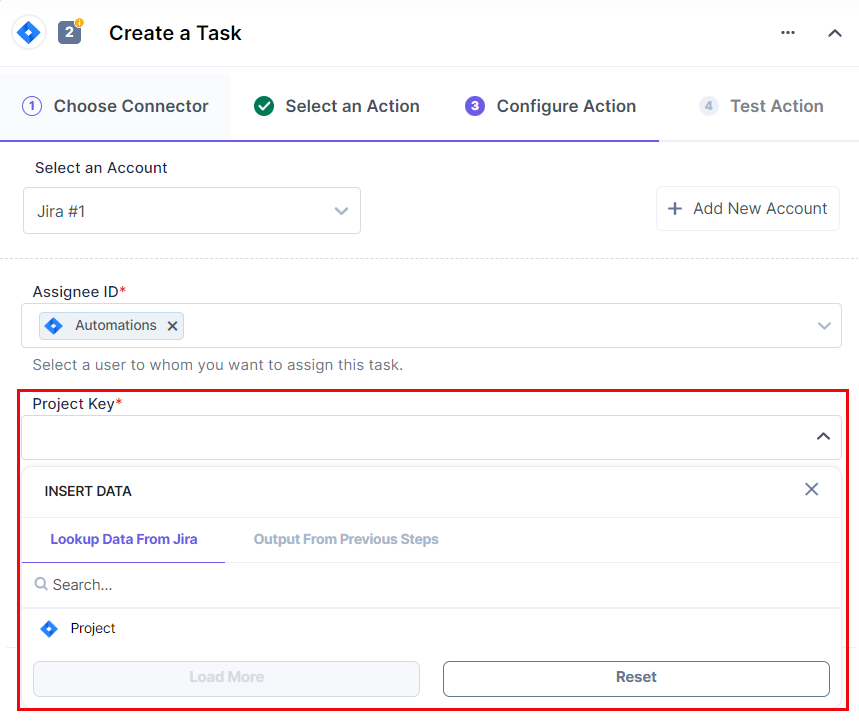
- Select Project Key (of the project in which I want to create the ticket) from the LOOKUP List.
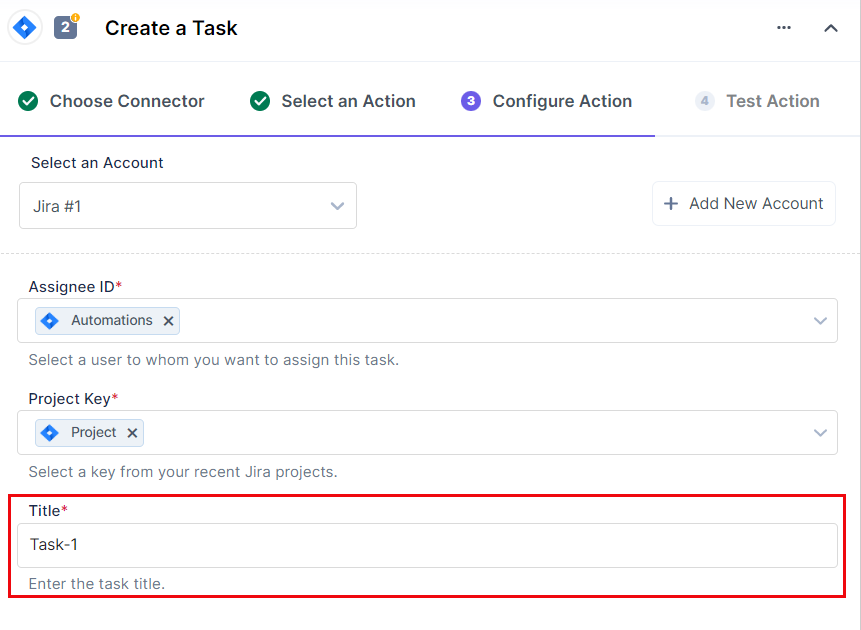
- Provide a suitable Title for the task.
- Click on the Show optional fields toggle button to display the Description and Labels fields.
- Provide a suitable Description for the task.

- Click on + Add Labels to give additional details about the task.

- Once done, click on Proceed.
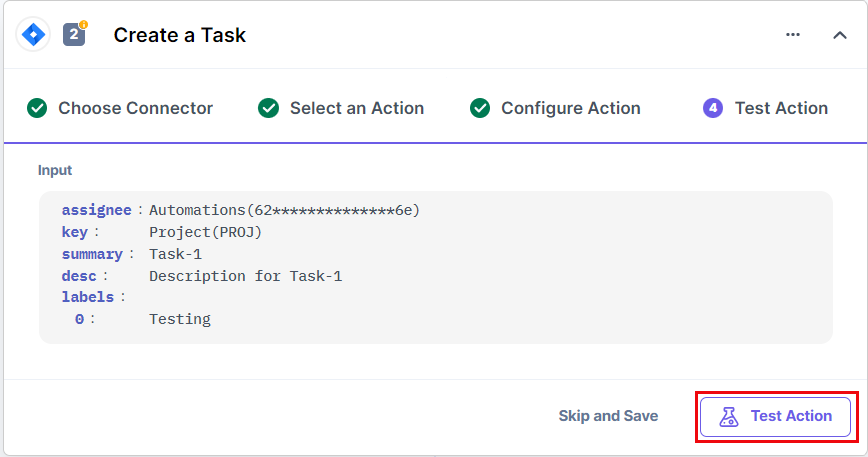
- If your configured values are correct, click on Test Action.
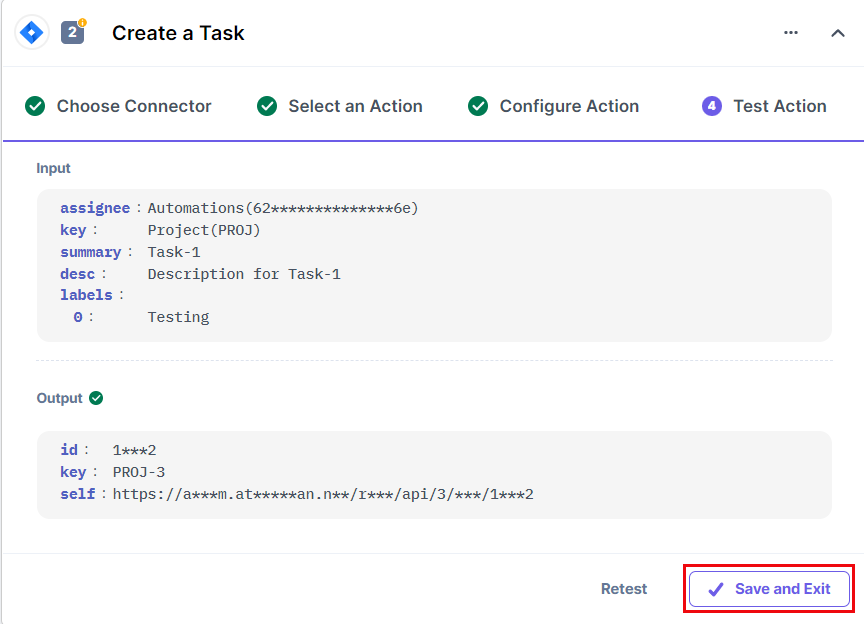
- Click on Save and Exit if you get a successful output.
Navigate to your JIRA Project. You should see that the ticket has been generated and is placed under Backlog.

This sets your JIRA action connector.


