The Contentstack trigger lets you add Contentstack-specific trigger events, such as the creation/updating/publishing/unpublishing/deletion/deployment, etc., of workflows, entries, releases, global fields, assets, and/or content types.
Set up Contentstack
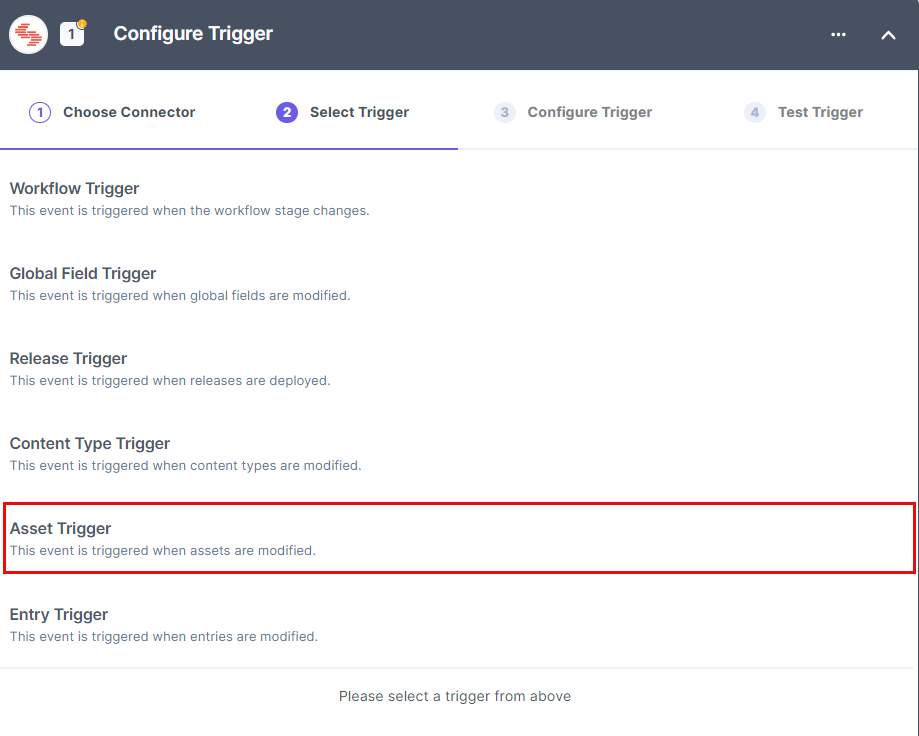
You will find the following trigger events for the Contentstack trigger:
Let’s look at each of them in detail.
Workflow Trigger
The Workflow Trigger event lets you trigger an automation when a workflow stage changes.
Let’s look at the steps to set up the trigger event.
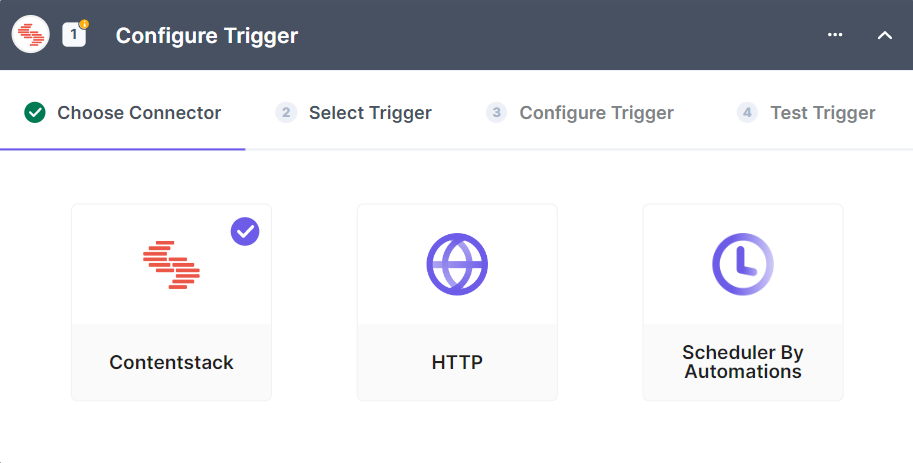
- In the Configure Trigger section, select the Contentstack connector.
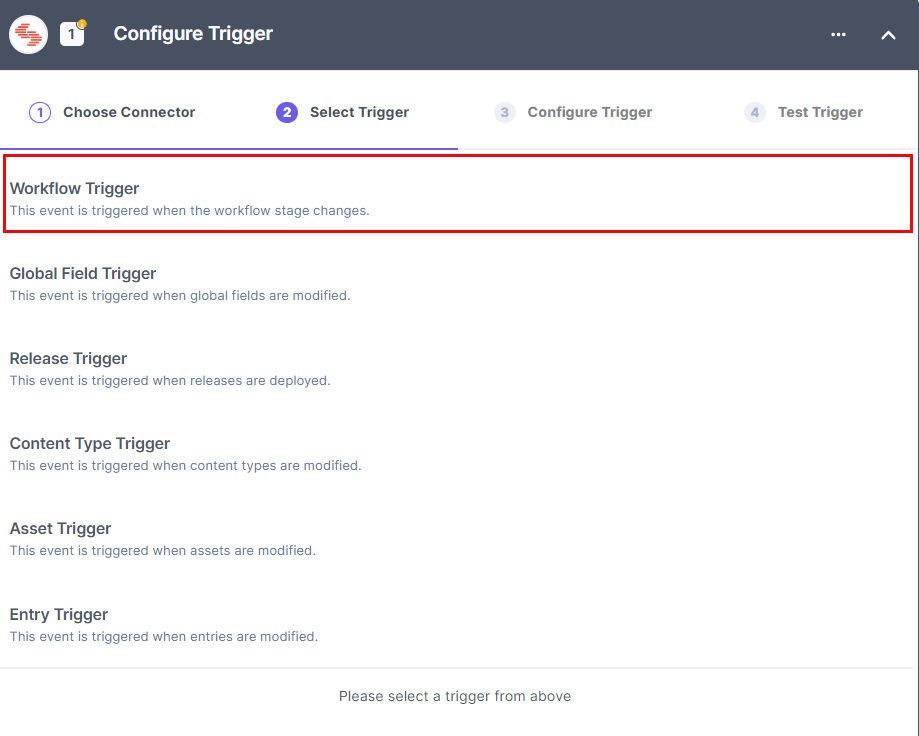
- Under Select a Trigger tab, select Workflow Trigger.
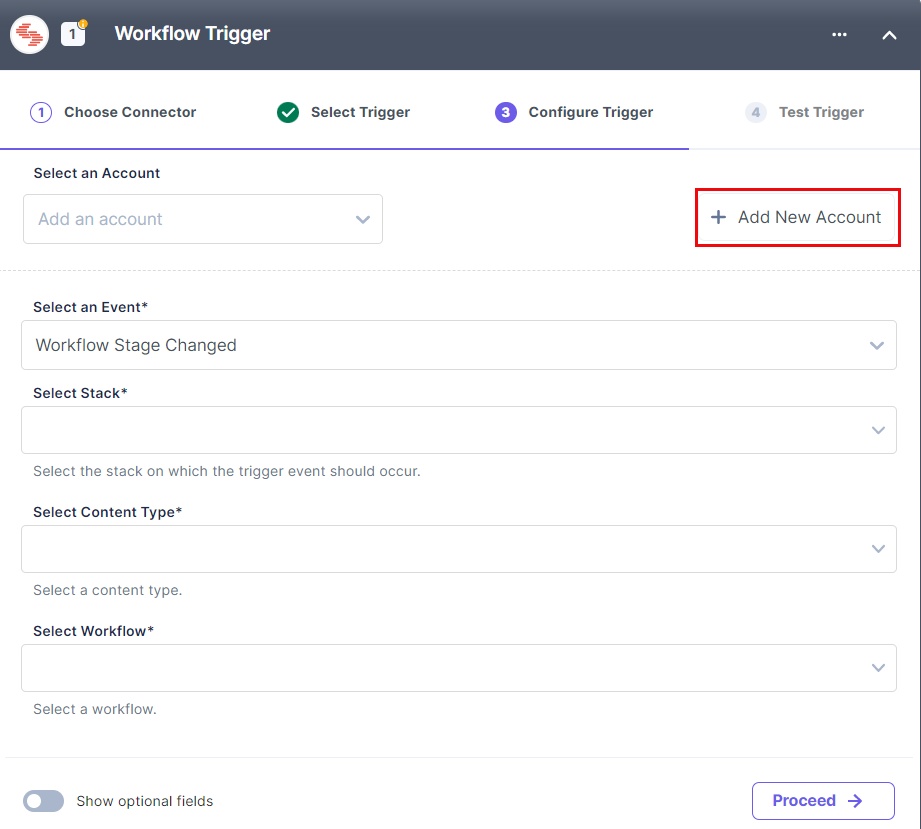
- In the Configure Trigger tab, click + Add New Account to add your Contentstack account.
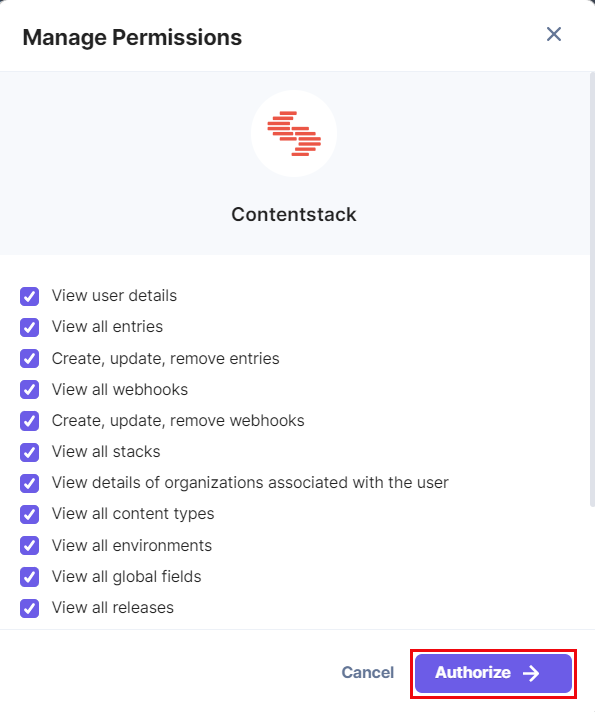
- A Permissions window opens. Provide the OAuth permissions for all the module-specific factors and click Authorize.
- Select the Organization where you want to apply the Automation.

- In the pop-up that appears, view the module-specific access rights provided to the app. Click Authorize to complete authorization.
.
Note: You need to scroll down to view all the permissions.
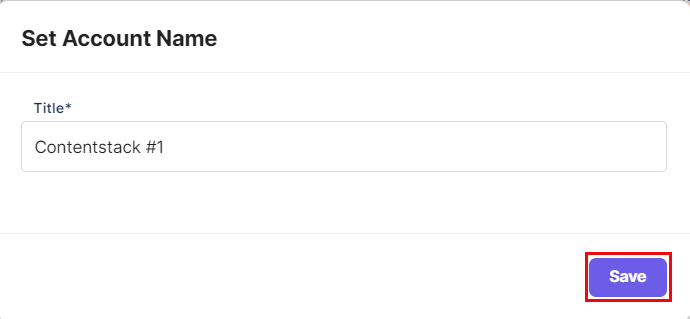
- Set the Account Name and click Save.
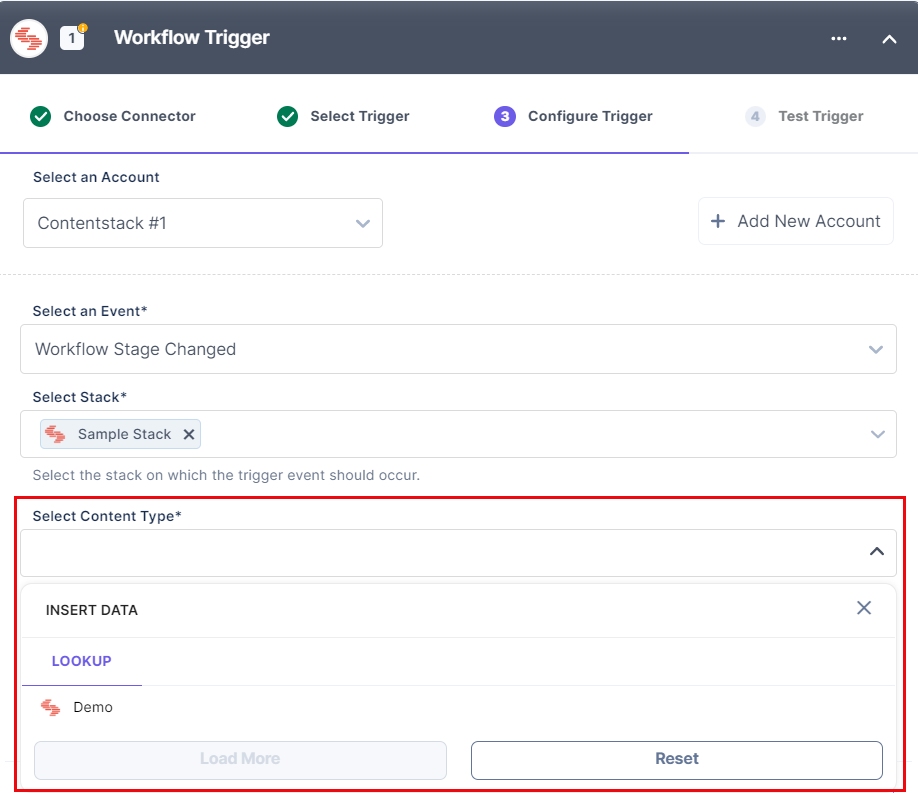
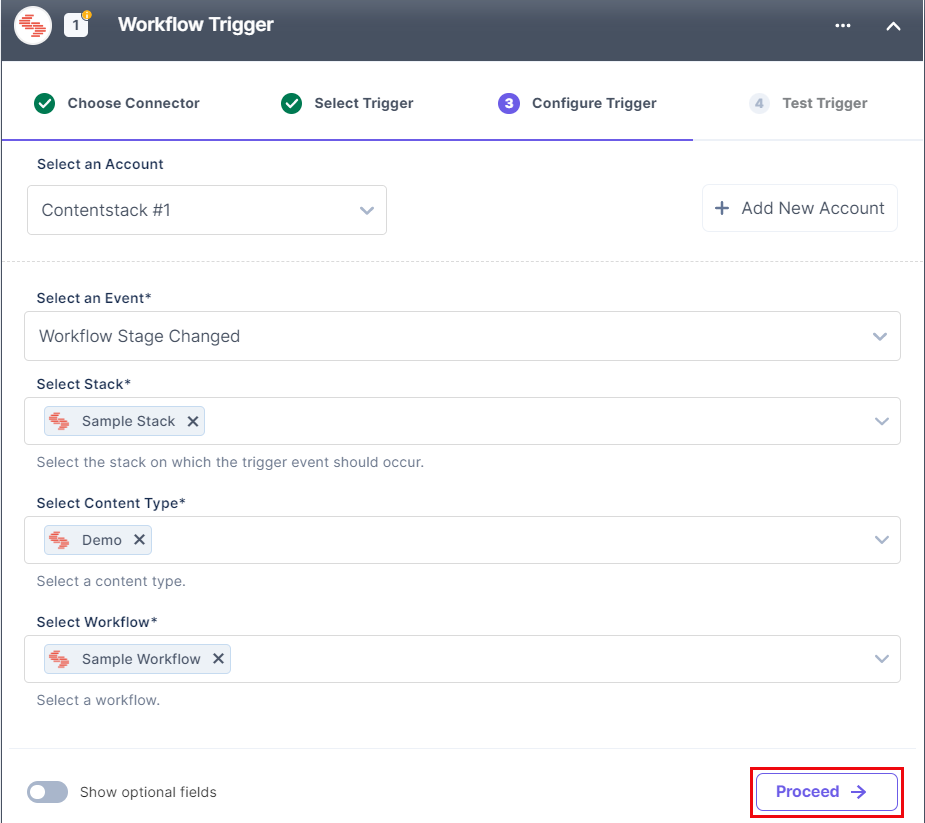
- Select the trigger event from the dropdown, i.e., Workflow Stage Changed.

- Select a Stack from the LOOKUP dropdown where you want to apply the Automation.

- Select a Content Type from the LOOKUP list.
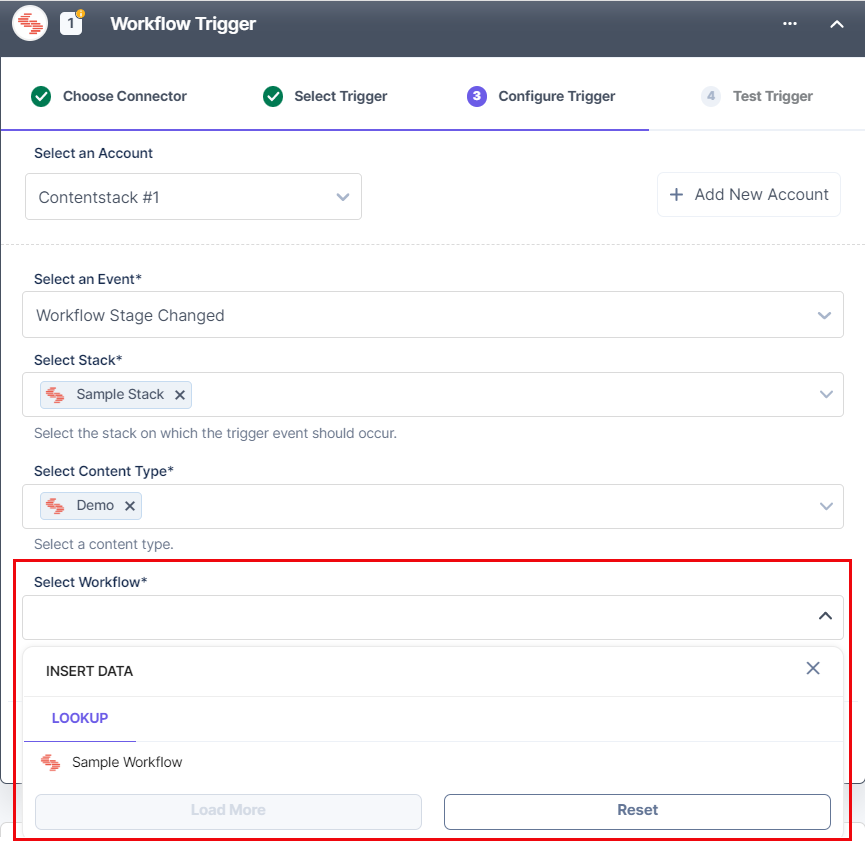
- Under Select Workflow, select your workflow from the LOOKUP list.
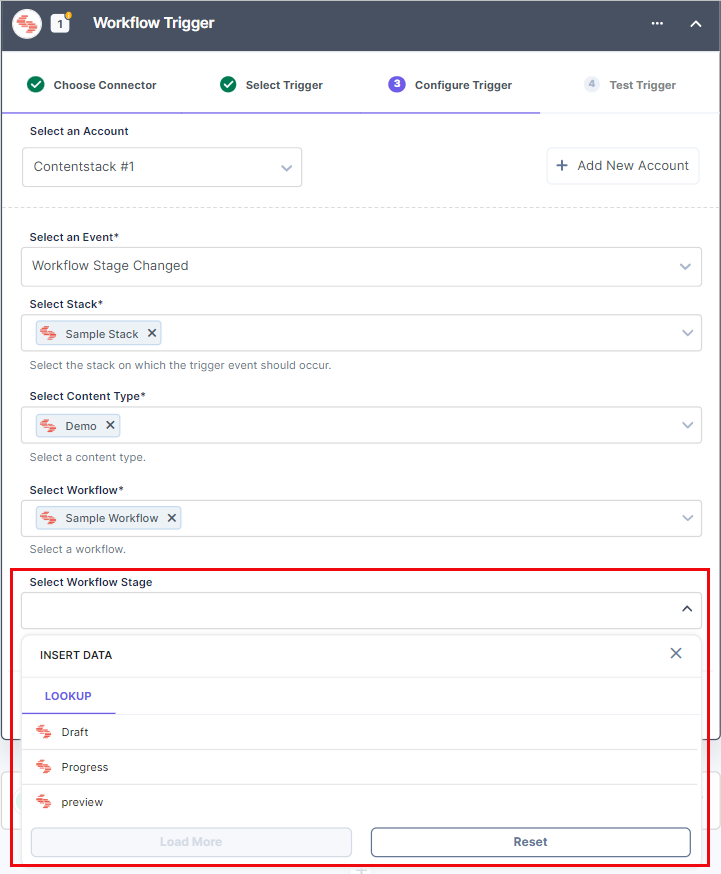
- Click the Show optional fields toggle if you want to select a specific workflow stage.
- Click Proceed.
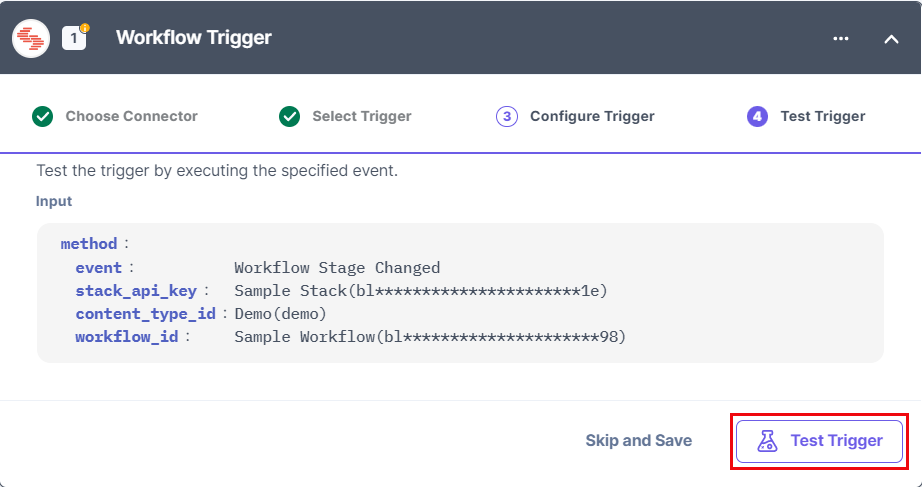
- Click Test Trigger to execute and test the trigger that you configured.
- If successful, you will see an output as follows. If it looks appropriate, click Save and Exit.
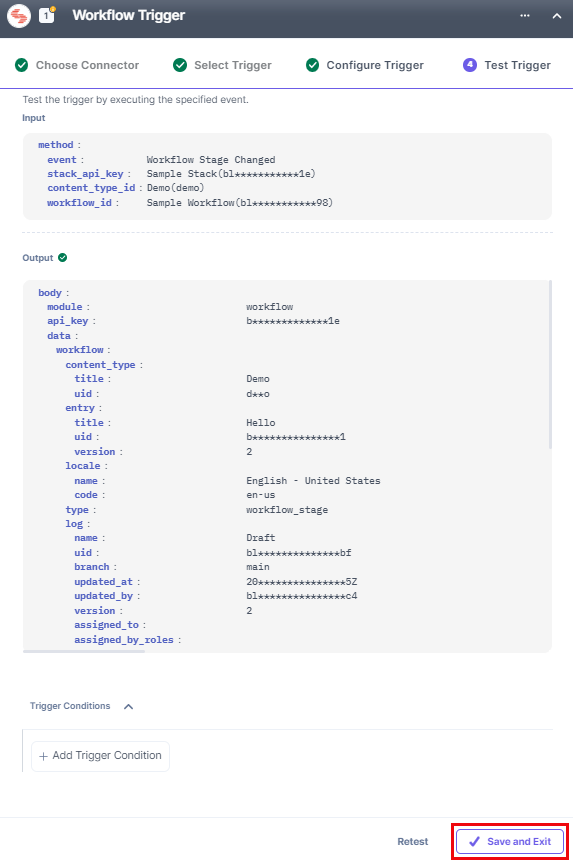
This sets your Workflow trigger.
Entry Trigger
The Entry Trigger event lets you trigger an automation when you create/update/publish/unpublish/delete entries.
Let’s look at the steps to set up the trigger event.
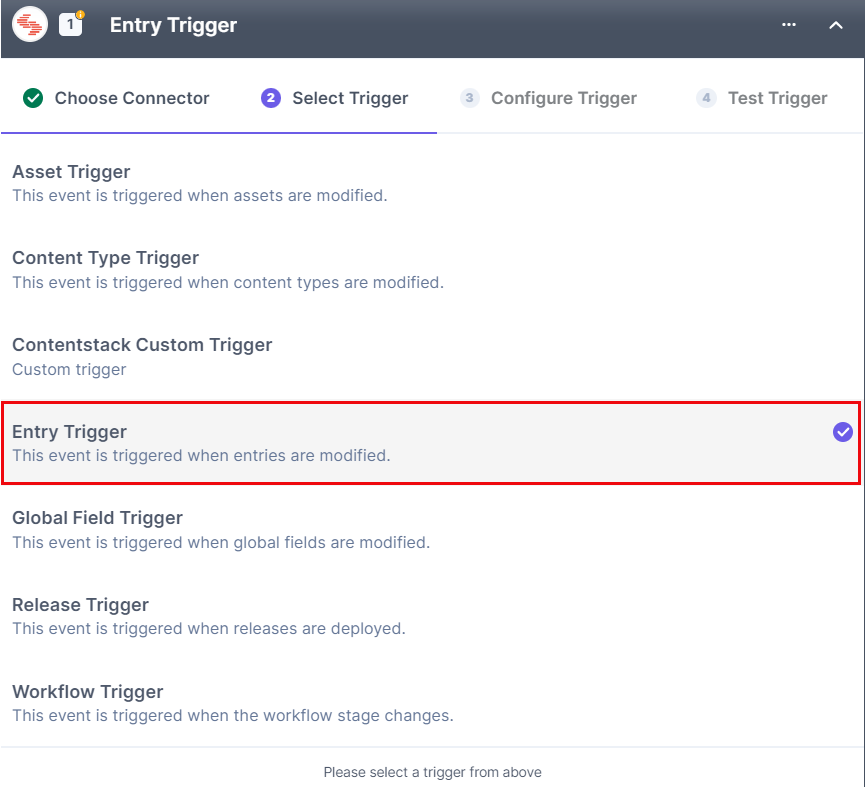
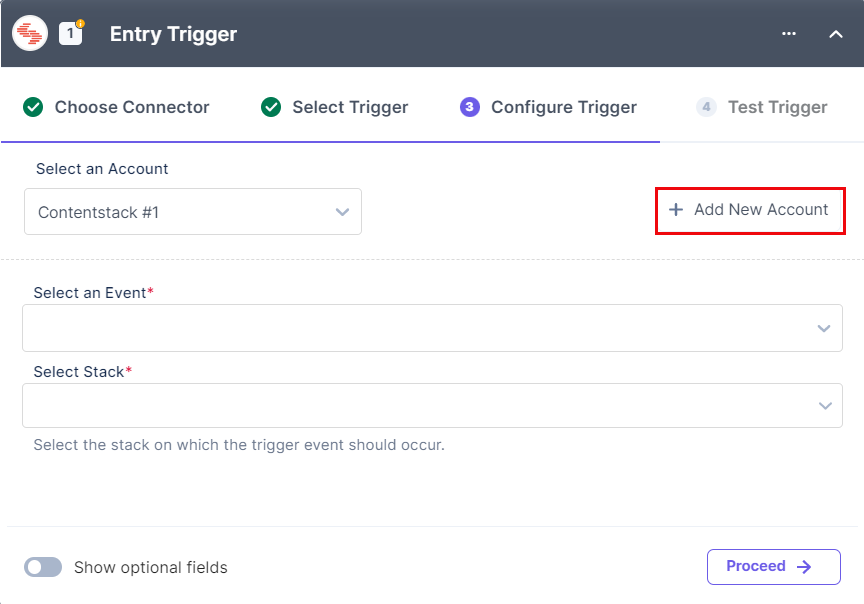
- Under Select a Trigger tab, select Entry Trigger.
- In the Configure Trigger tab, click + Add New Account to add your Contentstack account.
- A Permissions window opens. Provide the OAuth permissions for all the module-specific factors and click Authorize.

- Select the Organization where you want to apply the Automation.

- In the pop-up that appears, view the module-specific access rights provided to the app. Click Authorize to complete authorization.

Note: You need to scroll down to view all the permissions.
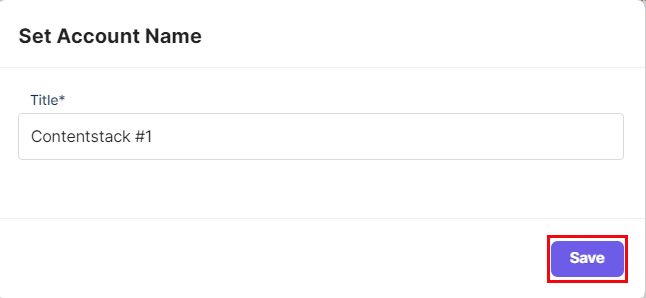
- Set the Account Name and click Save.
- Select the trigger event from the dropdown, i.e, All.
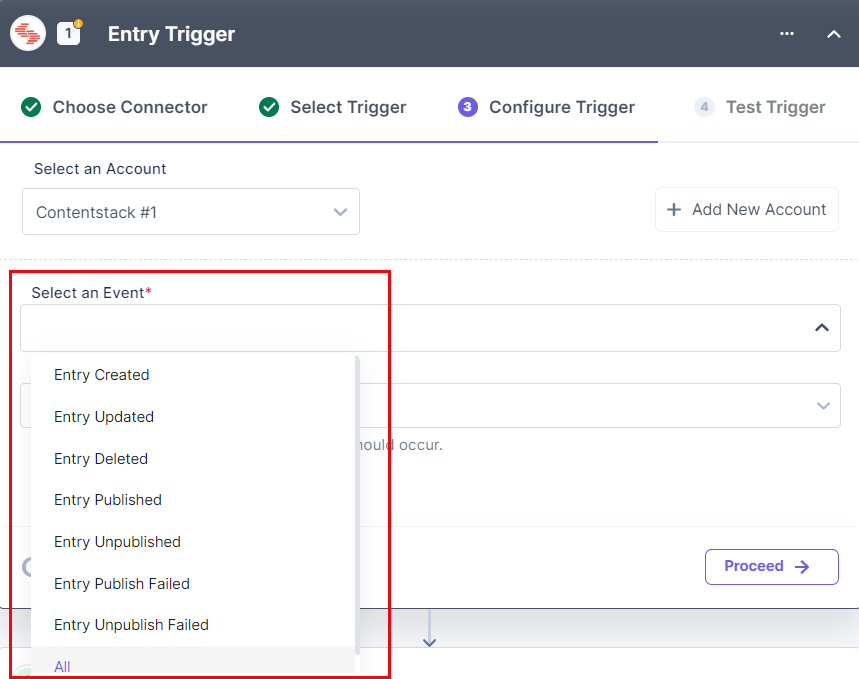
For Entries, you will find the following module-specific sub-events:
- Entry Created: Triggers when you create a new entry
- Entry Updated: Triggers when you update an entry
- Entry Deleted: Triggers when you delete an entry
- Entry Published: Triggers when you publish an entry
- Entry Unpublished: Triggers when you unpublish an entry
- Entry Publish Failed: Triggers when an entry publish activity fails
- Entry Unpublish Failed: Triggers when an entry unpublish activity fails
- ALL: Triggers when you perform any of the above activities on an entry
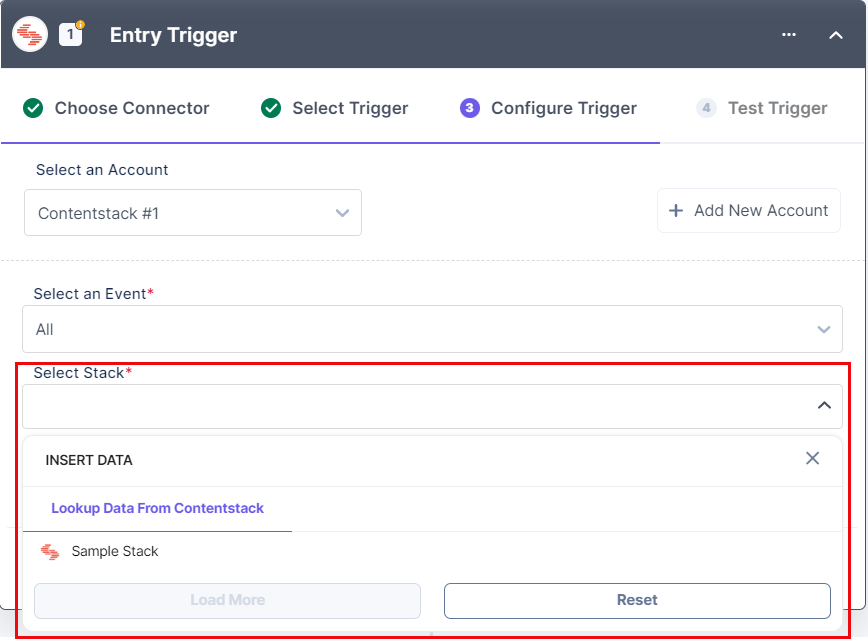
- Select a Stack to which the entry belongs from the Lookup dropdown.
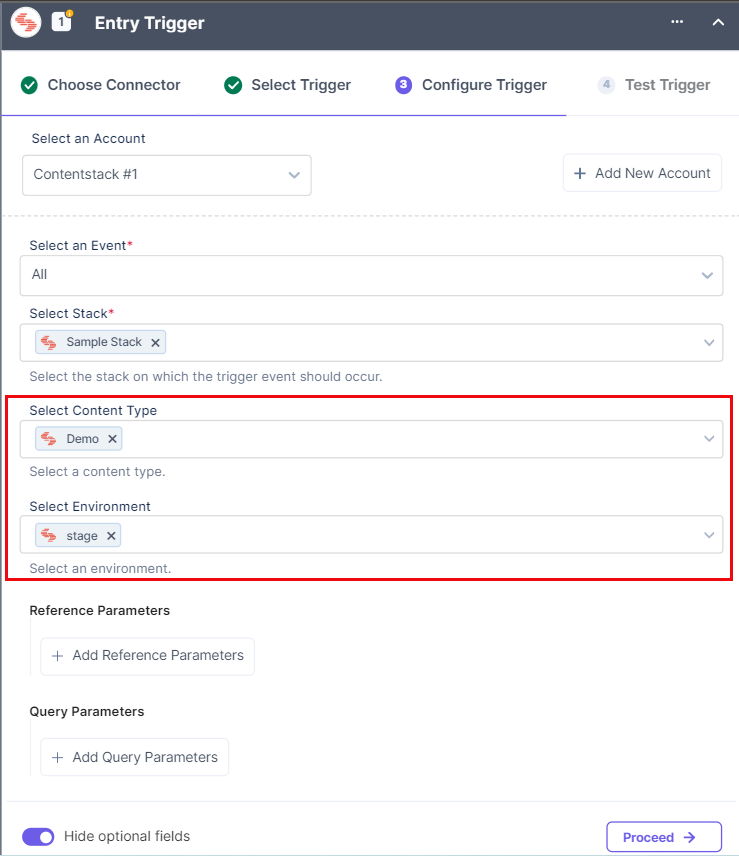
- [Optional] Enable the Show optional fields toggle button to display the Content Type, Environment and Parameters fields.
- Select the Content Type and Environment from the Lookup dropdown.
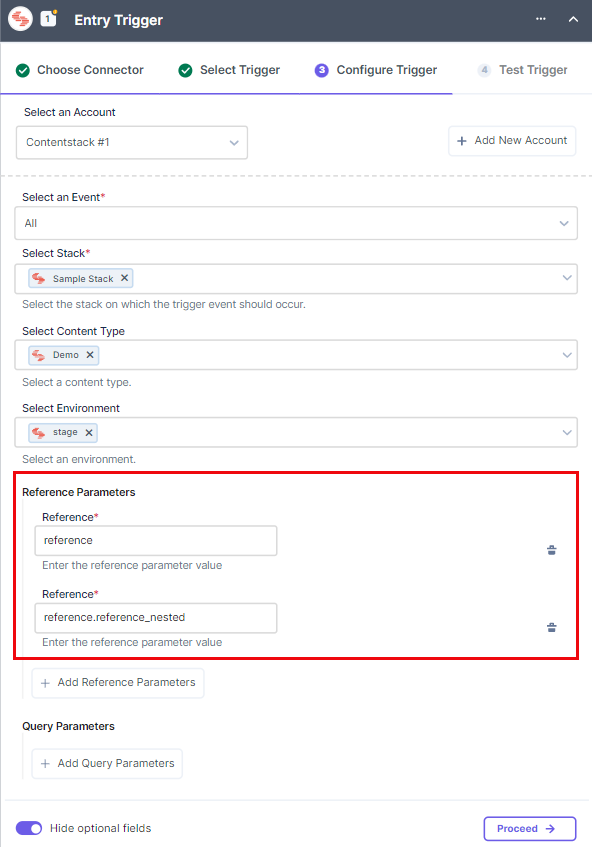
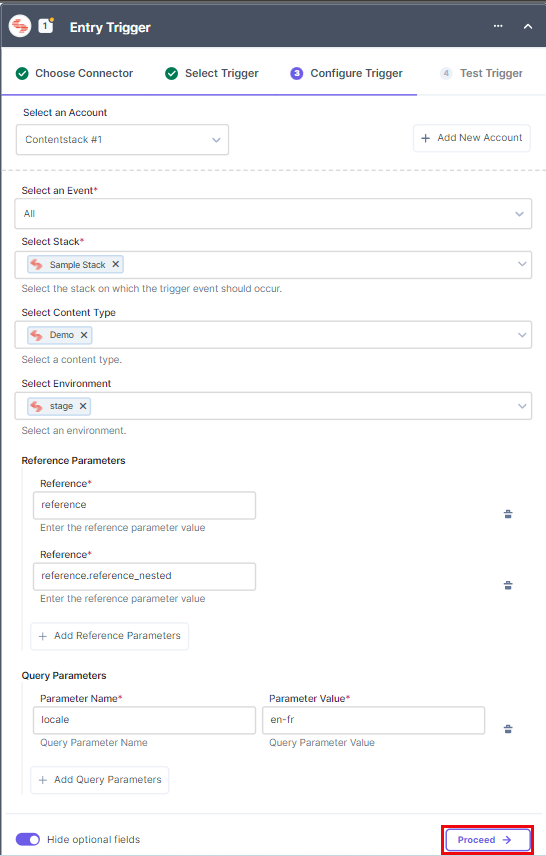
- Click the + Add Reference Parameters button to display the details of the referenced entry.
In the Reference Parameters Value field, provide the unique_id of the content type containing the reference field. The details of the referenced entry is shown in the payload or output.
Here is the syntax to display nested references:
parent_content_type_uid.referenced_content_type_uid
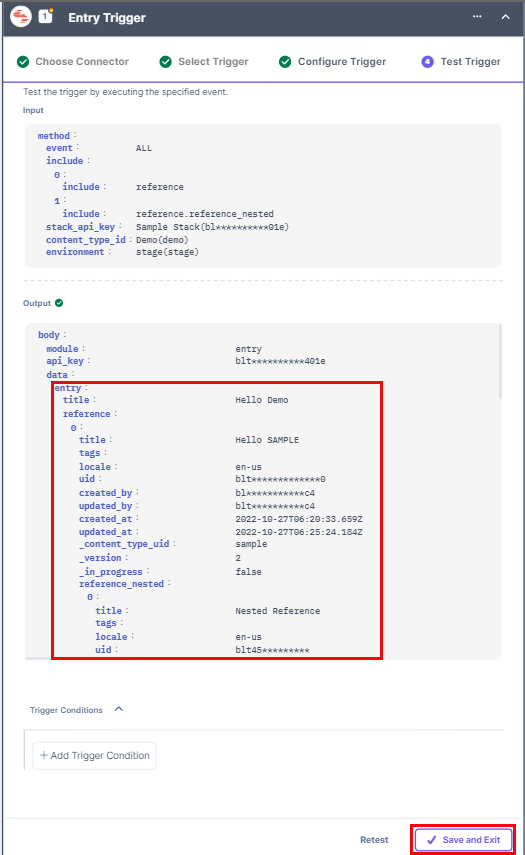
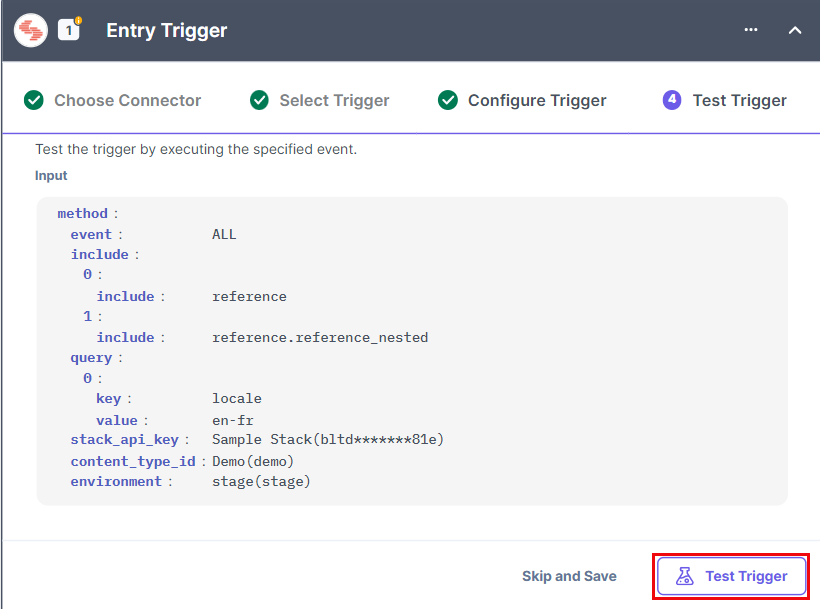
- Click Proceed and then click Test Trigger to see the output.
Following is the output without reference::
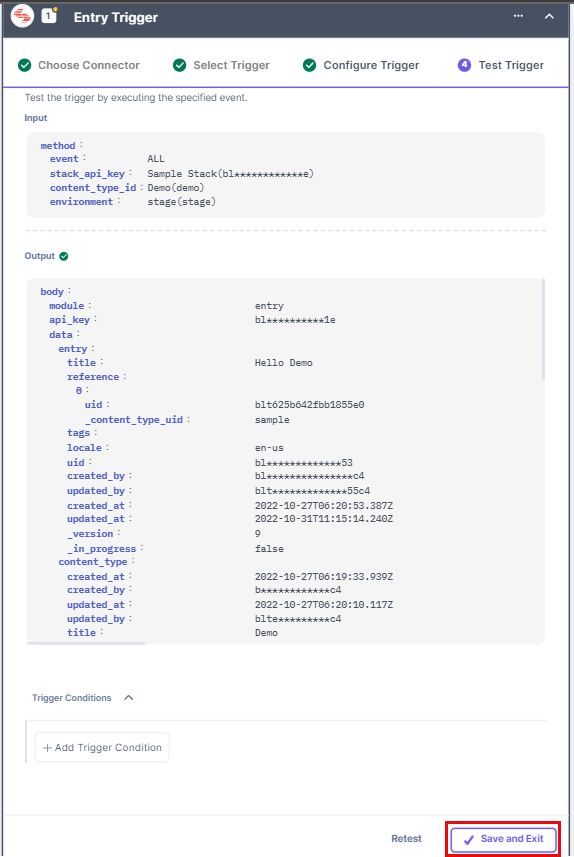
- Click the + Add Query Parameters button to fetch the entry based on different parameters such as Locale, Workflow, Version etc.
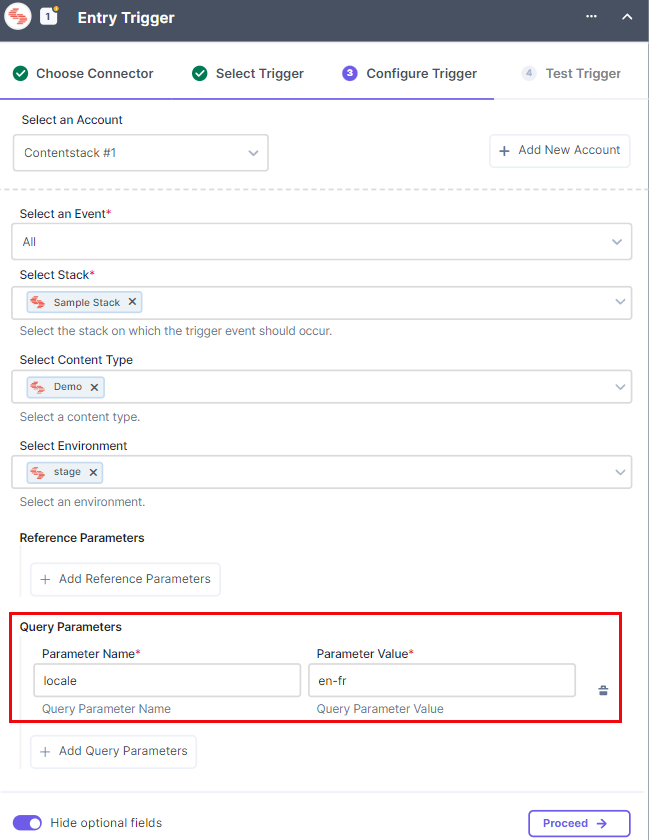
- You can fetch the details of the entry based on a query parameter and its value.
- Click Proceed.
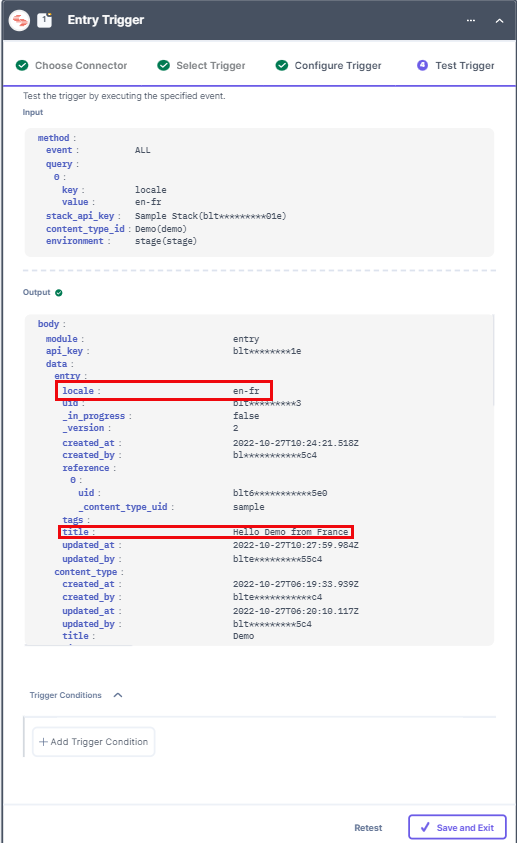
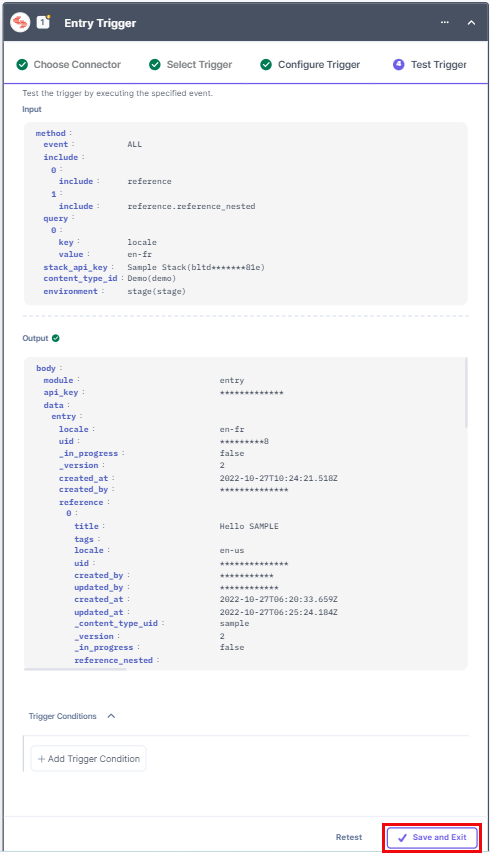
- Click Test Trigger to execute and test the trigger that you configured.
- If successful, you will see an output as follows. If it looks appropriate, click Save and Exit.
This sets your Entry trigger.
Release Trigger
The Release Trigger event lets you trigger an automation when you deploy a release in an environment.
Let’s look at the steps to set up the trigger event.
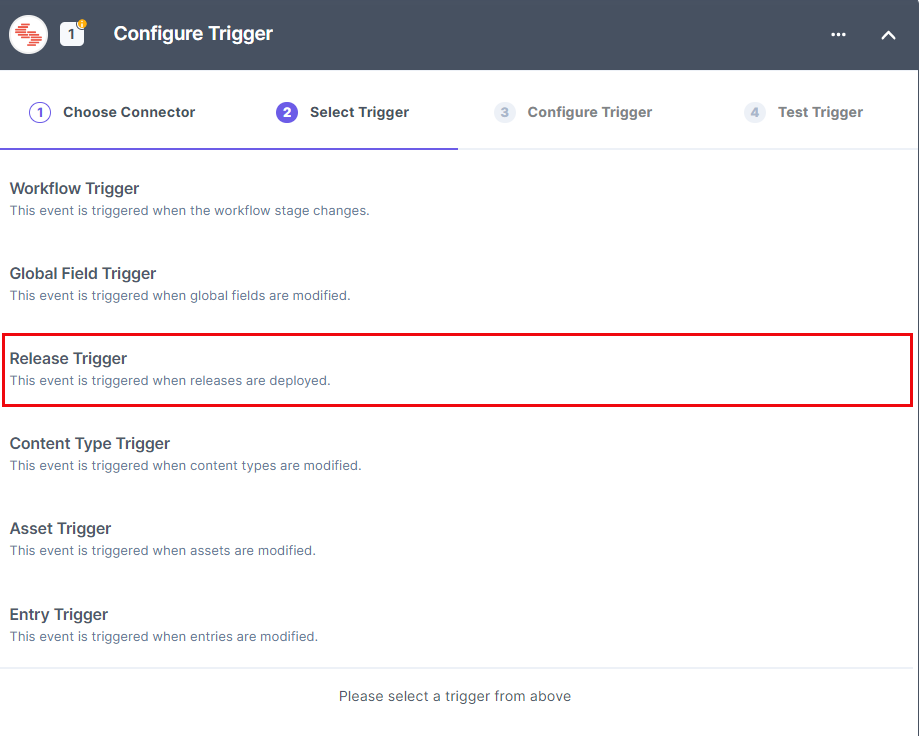
- Under Select a Trigger tab, select Release Trigger.
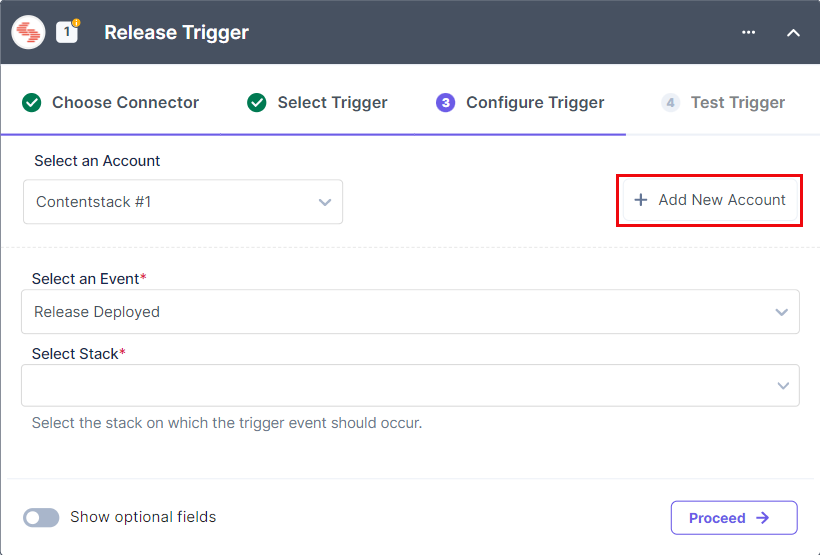
- In the Configure Trigger tab, click + Add New Account to add your Contentstack account.
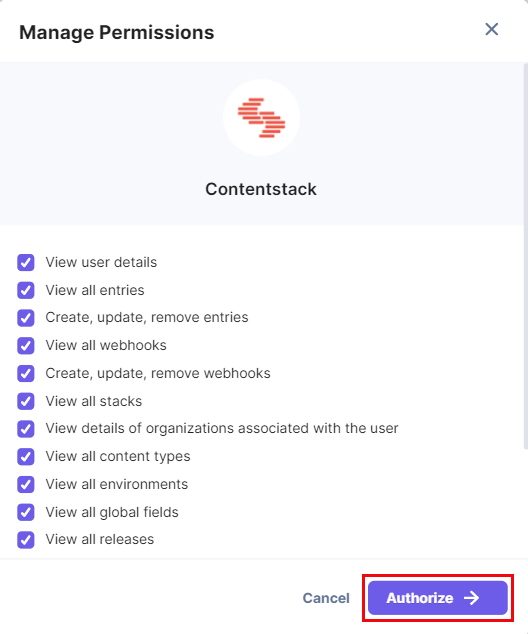
- A Permissions window opens. Provide the OAuth permissions for all the module-specific factors and click Authorize.
- Select the Organization where you want to apply the Automation.

- In the pop-up that appears, view the module-specific access rights provided to the app. Click Authorize to complete authorization.

Note: You need to scroll down to view all the permissions.
- Set the Account Name and click Save.

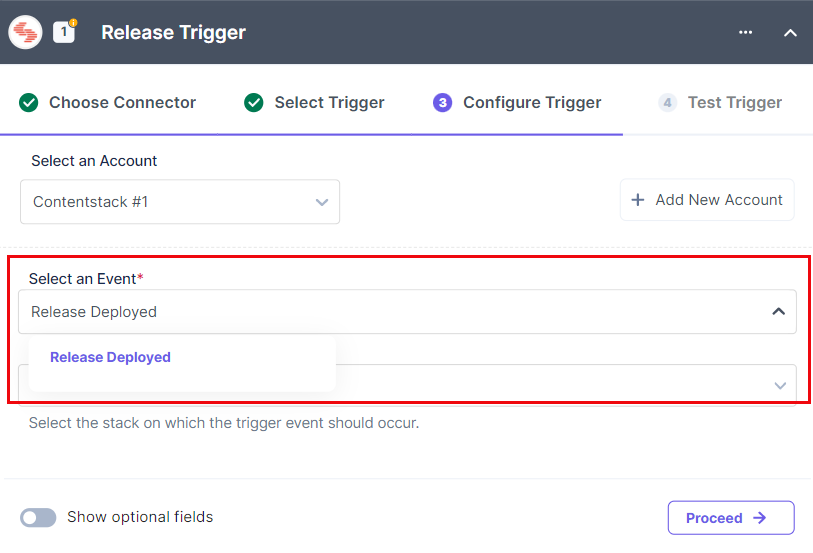
- Select the trigger event from the dropdown, i.e., Release Deployed.
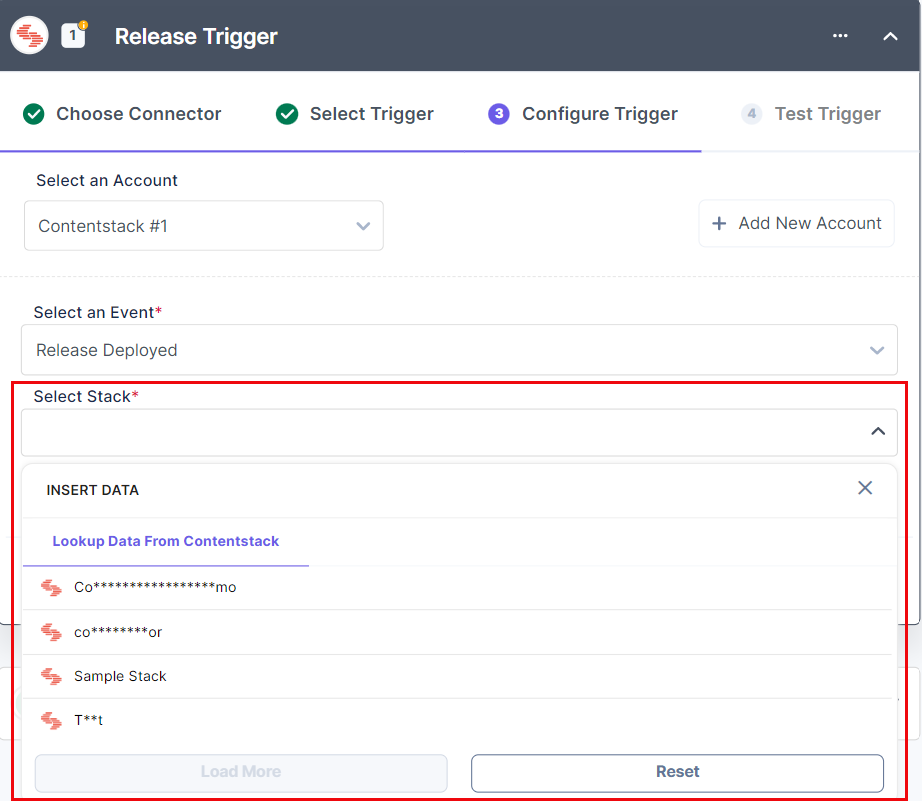
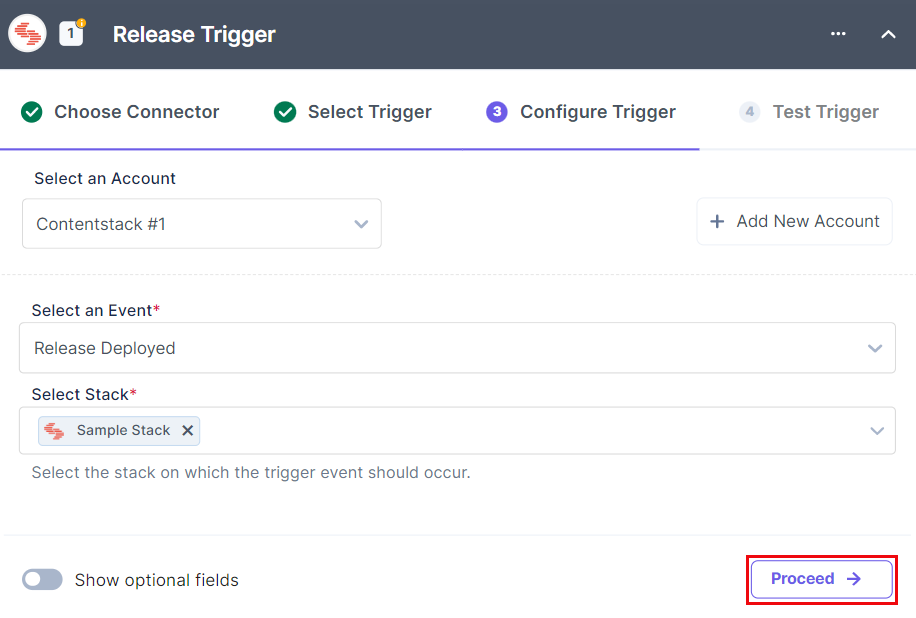
- Select a Stack from the LOOKUP dropdown. Click Show optional fields to select a specific release name and environment to which you want to deploy the release.
- Click Proceed.
- Click Test Trigger to execute and test the trigger that you configured.
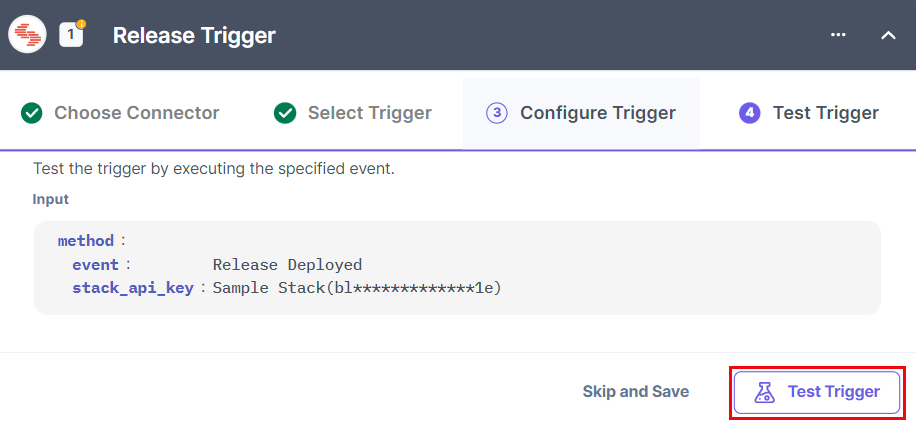
- If successful, you will see an output as follows. If it looks appropriate, click Save and Exit.
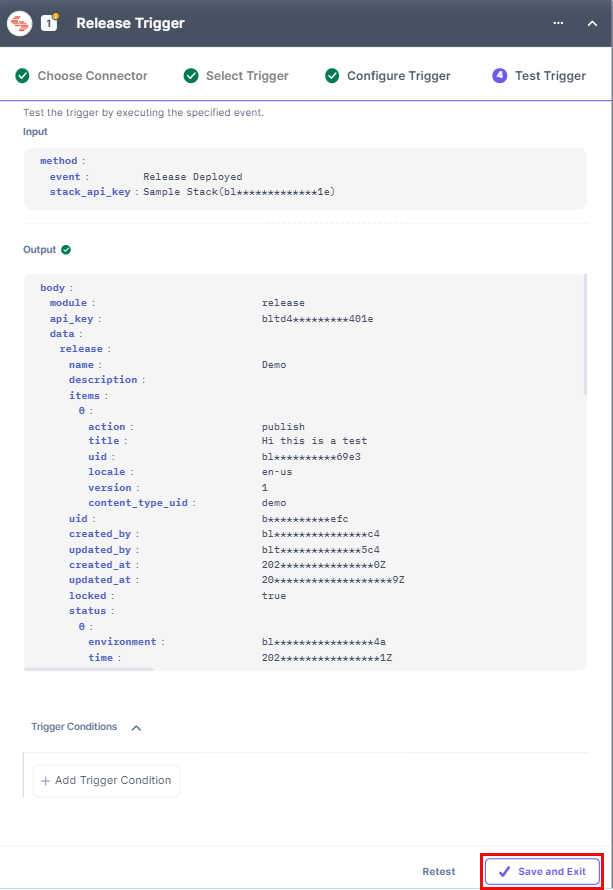
This sets your Release trigger.
Global Field Trigger
The Global Field Trigger event lets you trigger an automation when you create/update/delete global fields.
Let’s look at the steps to set up the trigger event.
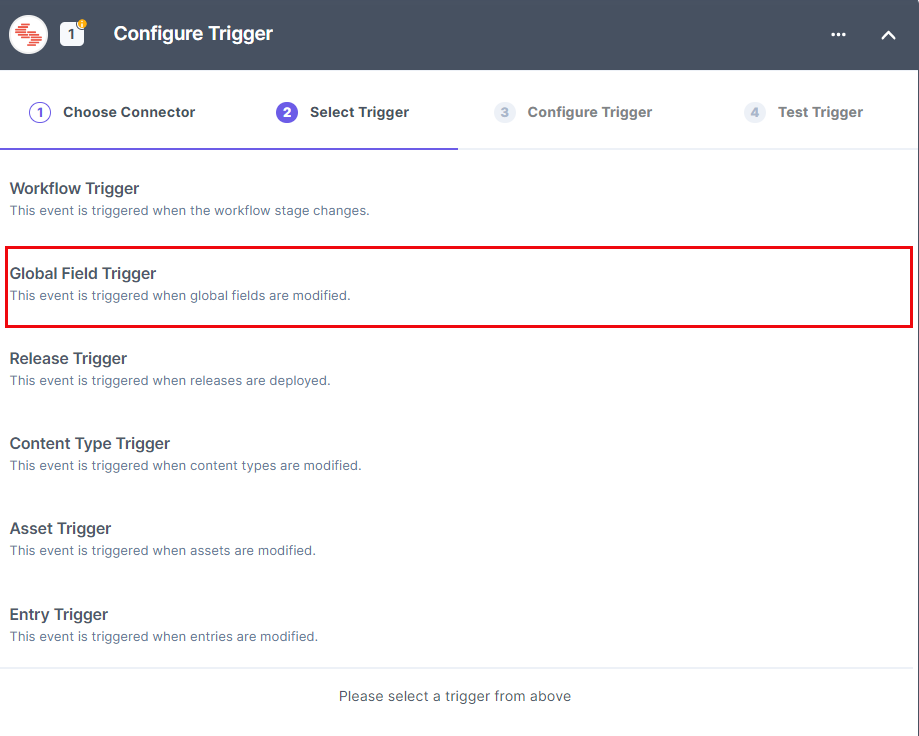
- Under Select a Trigger tab, select Global Field Trigger.
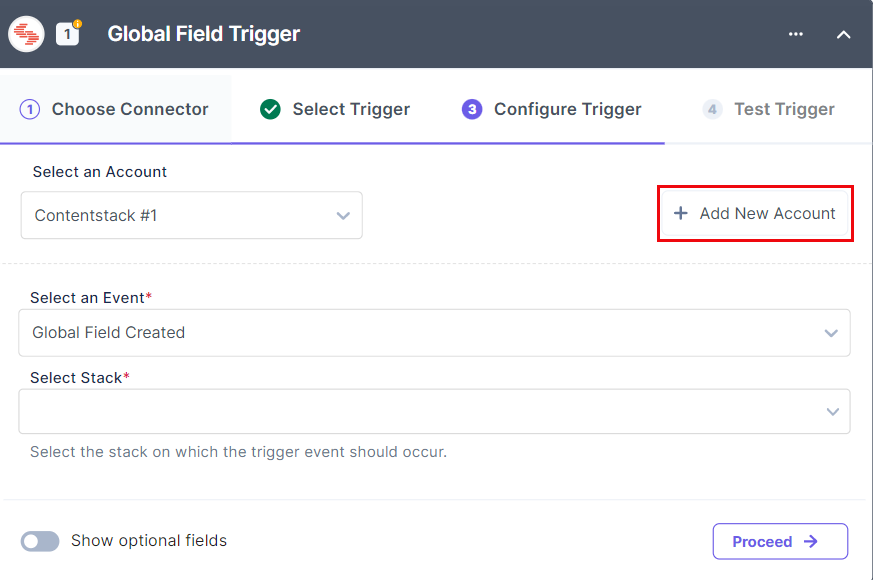
- In the Configure Trigger tab, click + Add New Account to add your Contentstack account.
- A Permissions window opens. Provide the OAuth permissions for all the module-specific factors and click Authorize.
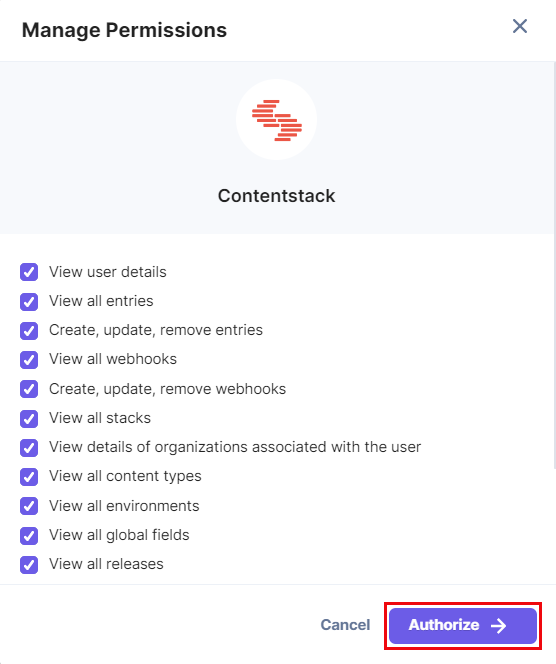
- Select the Organization where you want to apply the Automation.

- In the pop-up that appears, view the module-specific access rights provided to the app. Click Authorize to complete authorization.

Note: You need to scroll down to view all the permissions.
- Set the Account Name and click Save.

- Select the trigger event from the dropdown, i.e., Global Field Created.
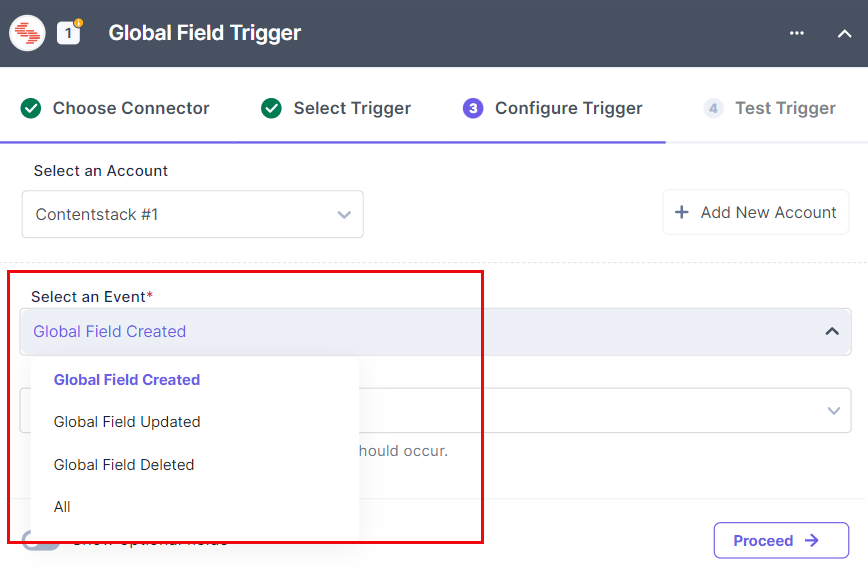
For Global Field, you will find the following events:
- Global Field Created: When you create a global field.
- Global Field Updated: When you update a global field.
- Global Field Deleted: When you delete a global field.
- ALL: When you perform any of the above activities on a global field.
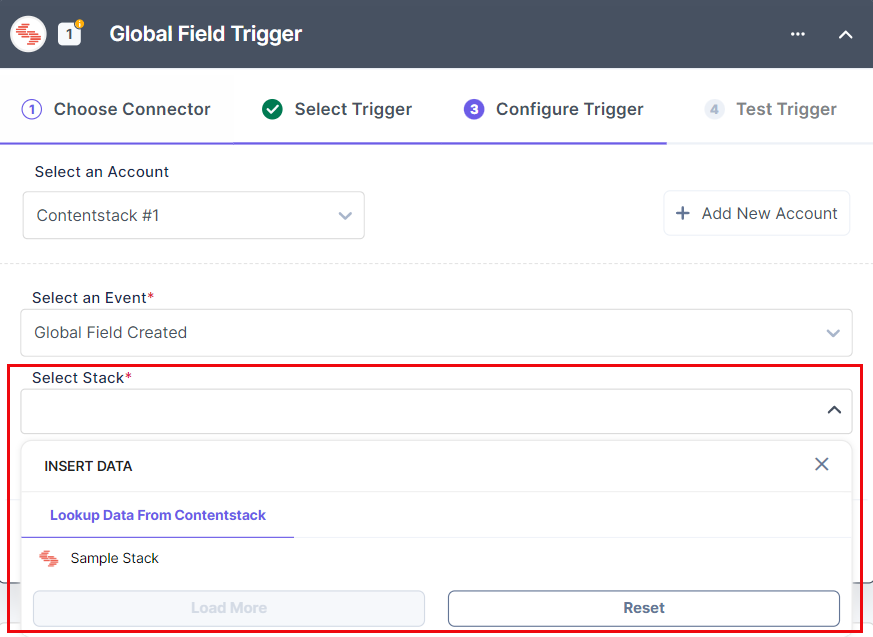
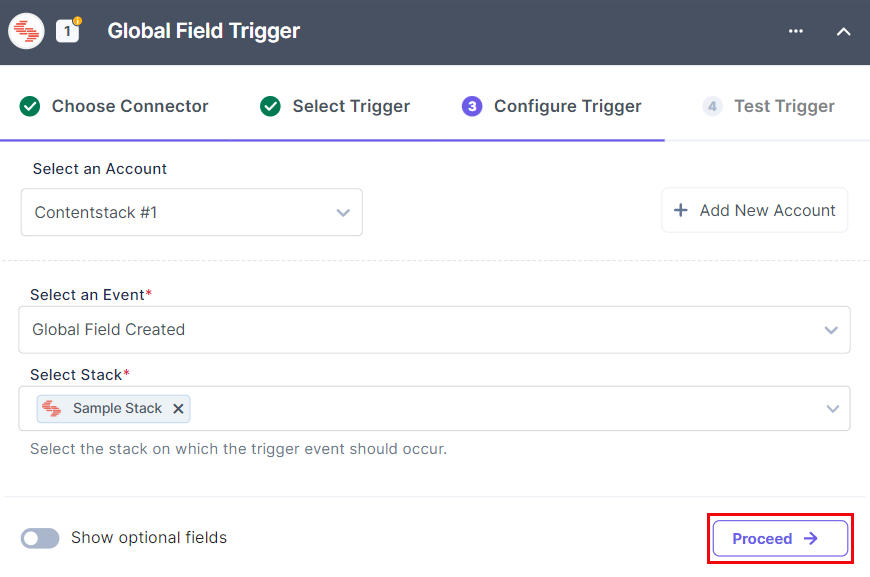
- Select a Stack from the LOOKUP dropdown . Click Show optional fields to select a specific global field.
- Click Proceed.
- Click Test Trigger to execute and test the trigger that you configured.
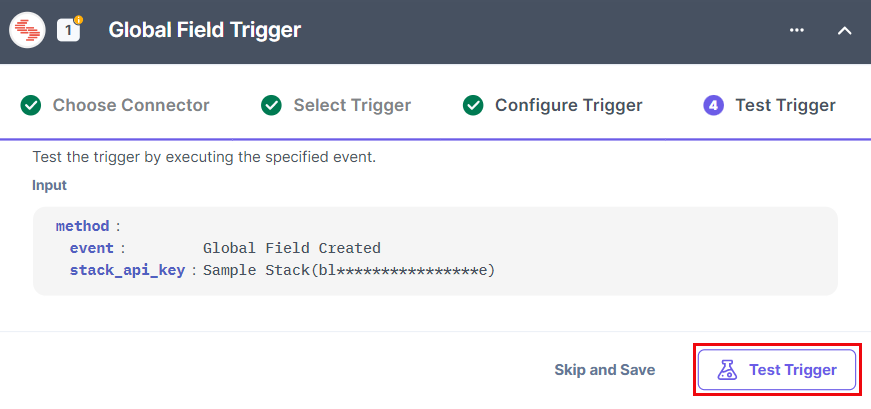
- If successful, you will see an output as follows. If it looks appropriate, click Save and Exit.

This sets your Global Field trigger.
Asset Trigger
The Asset Trigger event lets you trigger an automation when you create/update/publish/unpublish/delete assets.
Let’s look at the steps to set up the trigger event.
- Under Select a Trigger tab, select Asset Trigger.
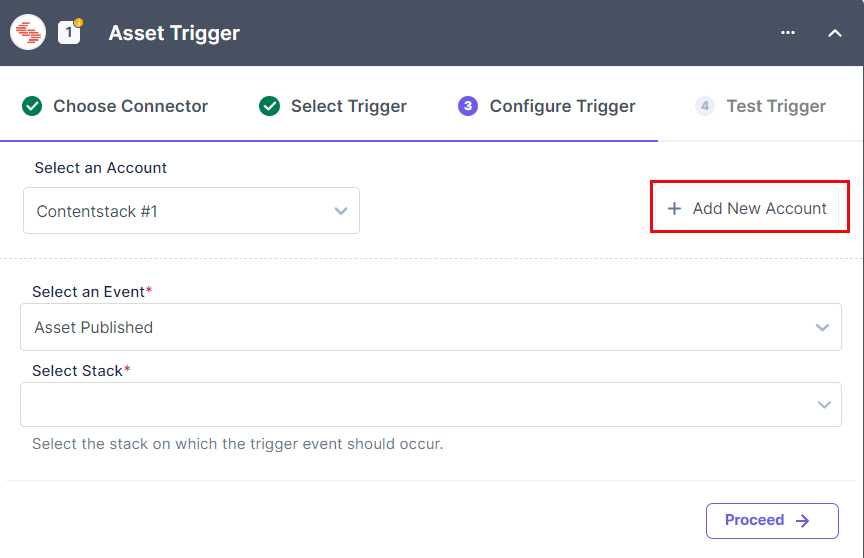
- In the Configure Trigger tab, click + Add New Account to add your Contentstack account.
- A Permissions window opens. Provide the OAuth permissions for all the module-specific factors and click Authorize.

- Select the Organization where you want to apply the Automation.

- In the pop-up that appears, view the module-specific access rights provided to the app. Click Authorize to complete authorization.

Note: You need to scroll down to view all the permissions.
- Set the Account Name and click Save.

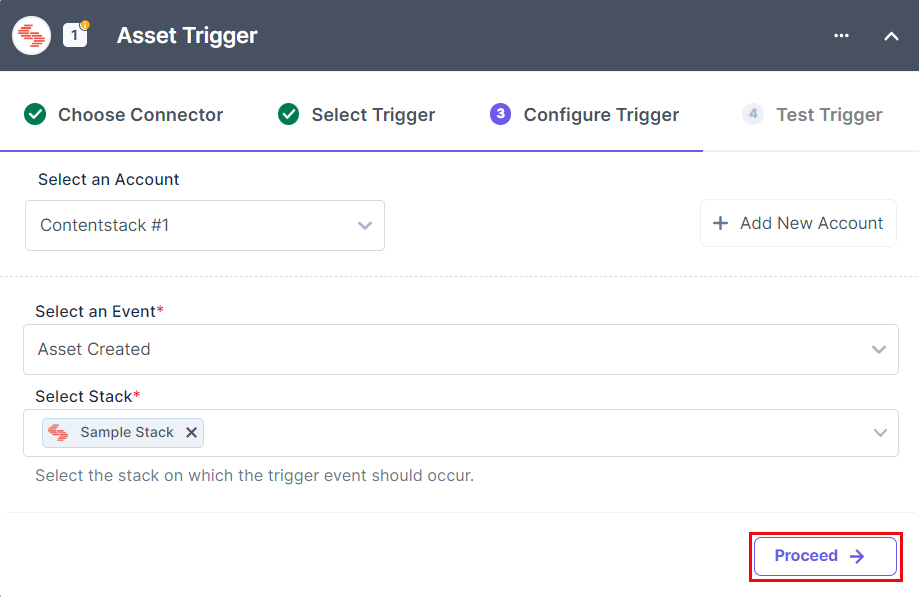
- Select the trigger event from the dropdown, i.e., Asset Created.
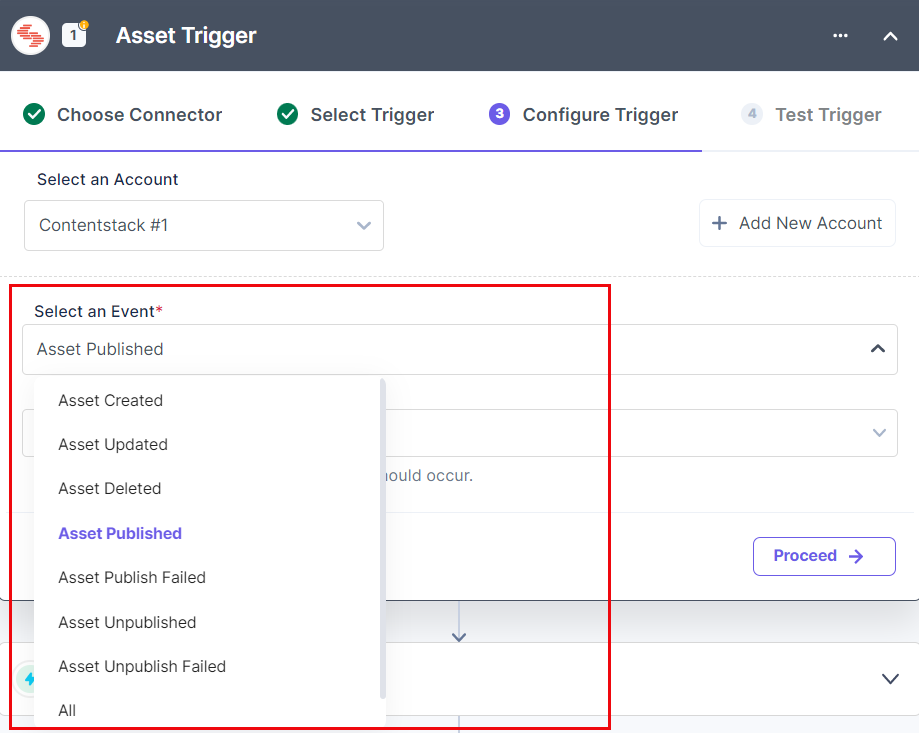
For Asset Trigger, you will find the following events:
- Asset Created: When you create a new asset in your stack.
- Asset Updated: When you update an asset.
- Asset Deleted: When you delete an asset.
- Asset Published: When you publish your assets to a publishing environment.
- Asset Publish Failed: When asset publishing fails due to error.
- Asset Unpublished: When you unpublish or remove your assets from a publishing environment.
- Asset Unpublish Failed: When the asset unpublishing activity fails.
- ALL: When you perform any of the above activities on an asset.
- Select a Stack from the LOOKUP dropdown.
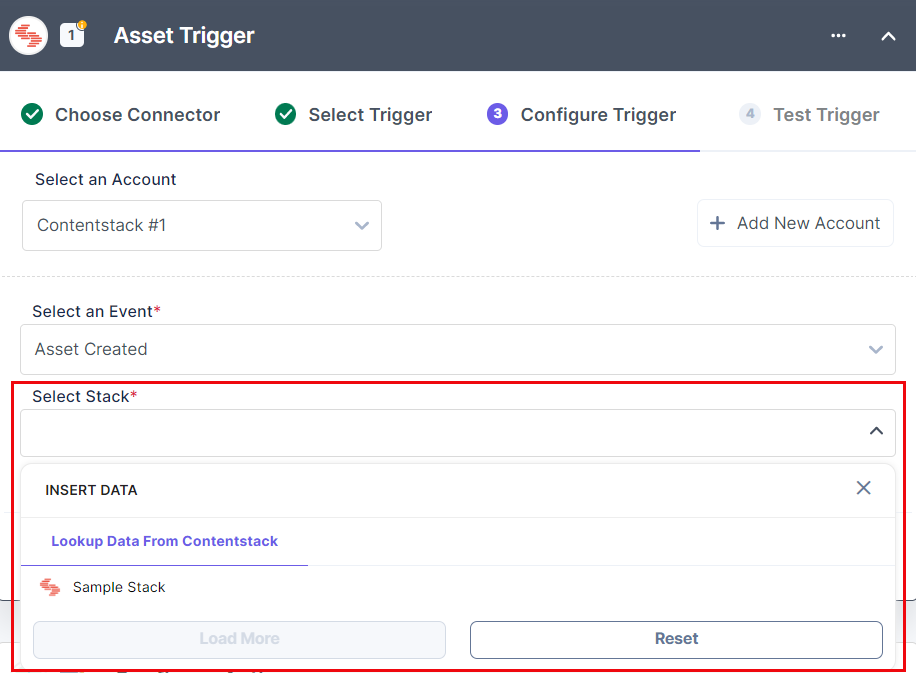
- Click Proceed.
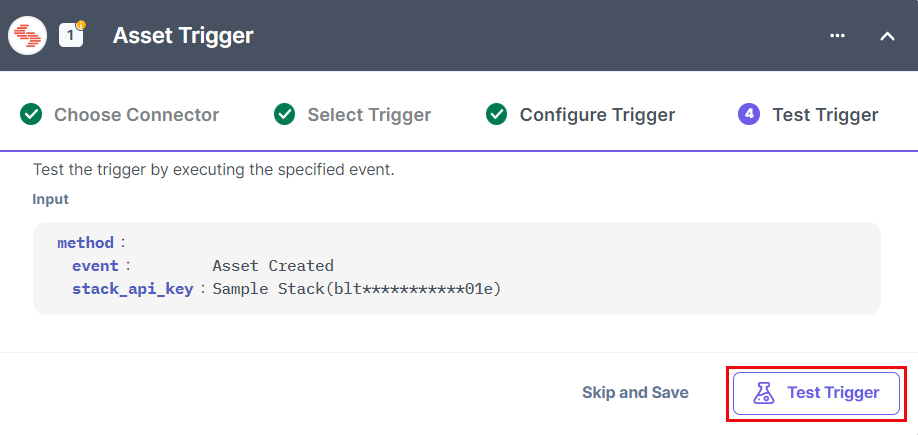
- Click Test Trigger to execute and test the trigger that you configured.
- If successful, you will see an output as follows. If it looks appropriate, click Save and Exit.
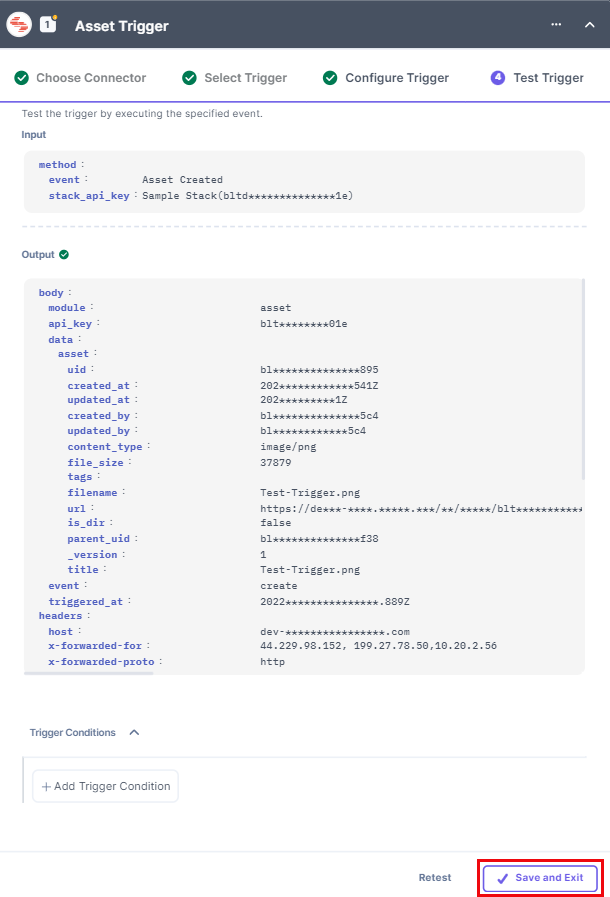
This sets your Asset Trigger.
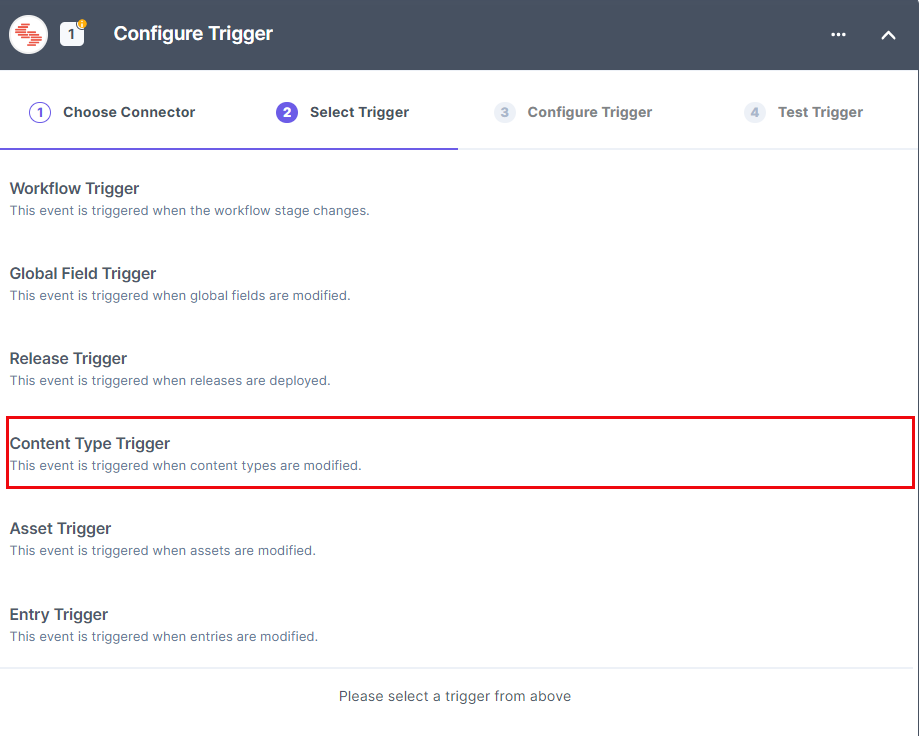
Content Type Trigger
The Content Type Trigger event lets you trigger an automation when you create/update/delete content types.
Let’s look at the steps to set up the trigger event.
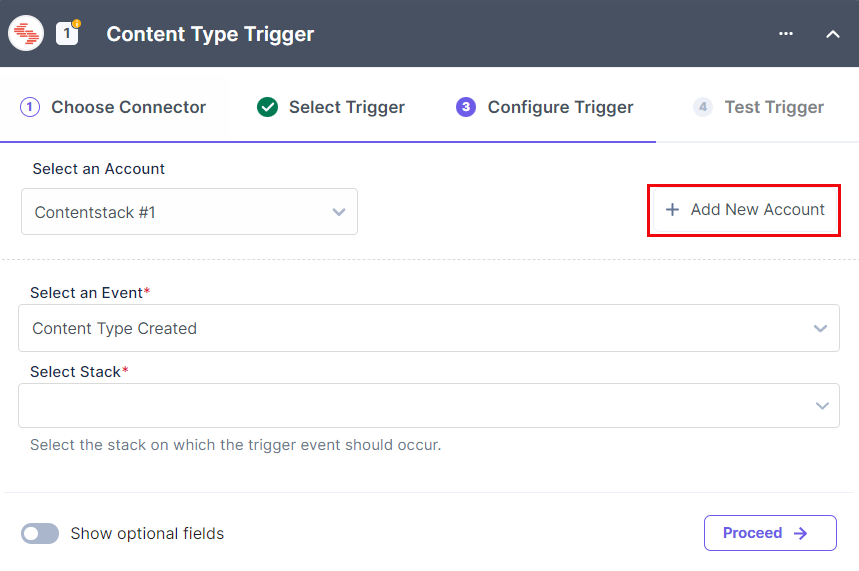
- Under Select a Trigger tab, select Content Type Trigger.
- In the Configure Trigger tab, click + Add New Account to add your Contentstack account.
- A Permissions window opens. Provide the OAuth permissions for all the module-specific factors and click Authorize.

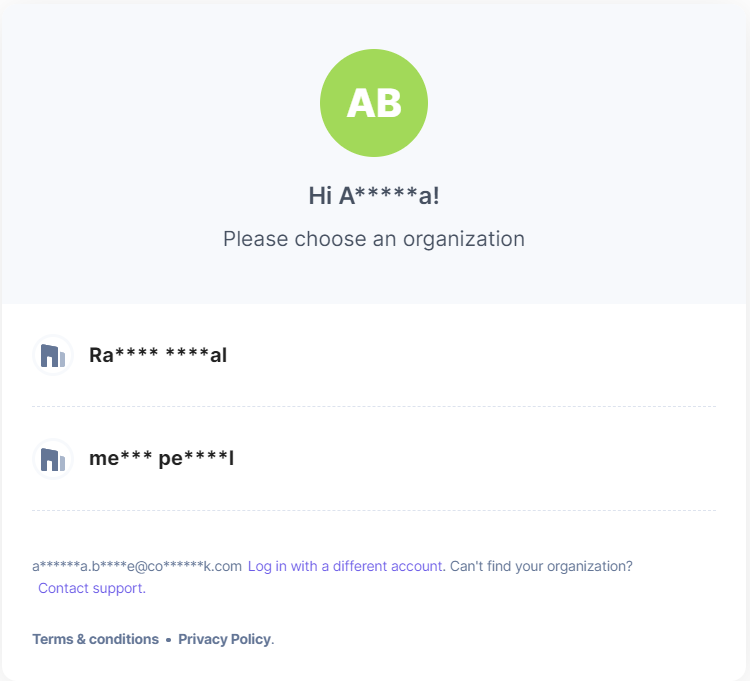
- Select the Organization where you want to apply the Automation.
- In the pop-up that appears, view the module-specific access rights provided to the app. Click Authorize to complete authorization.

Note: You need to scroll down to view all the permissions.
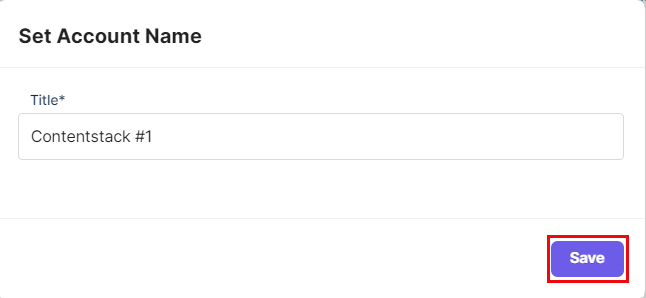
- Set the Account Name and click Save.
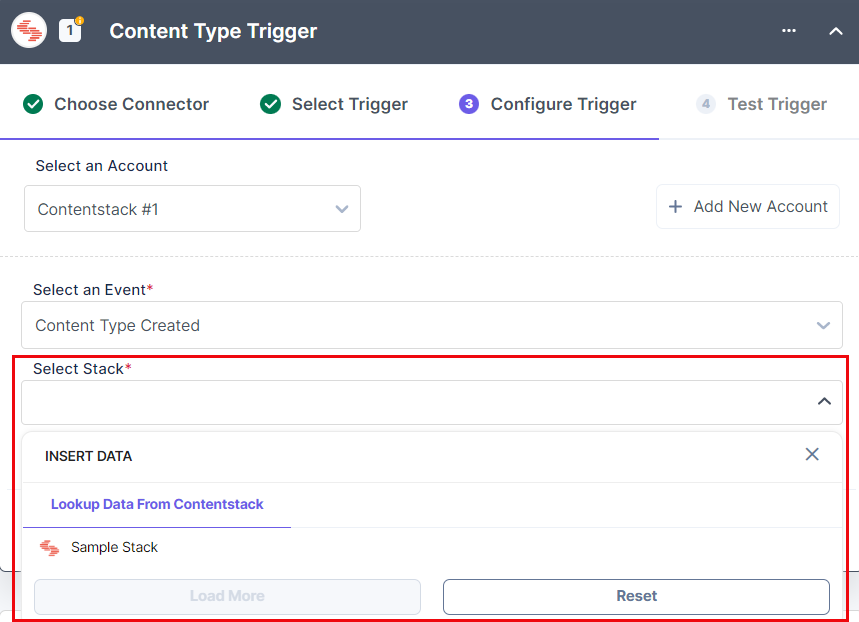
- Select the trigger event from the dropdown, i.e., Content Type Created.
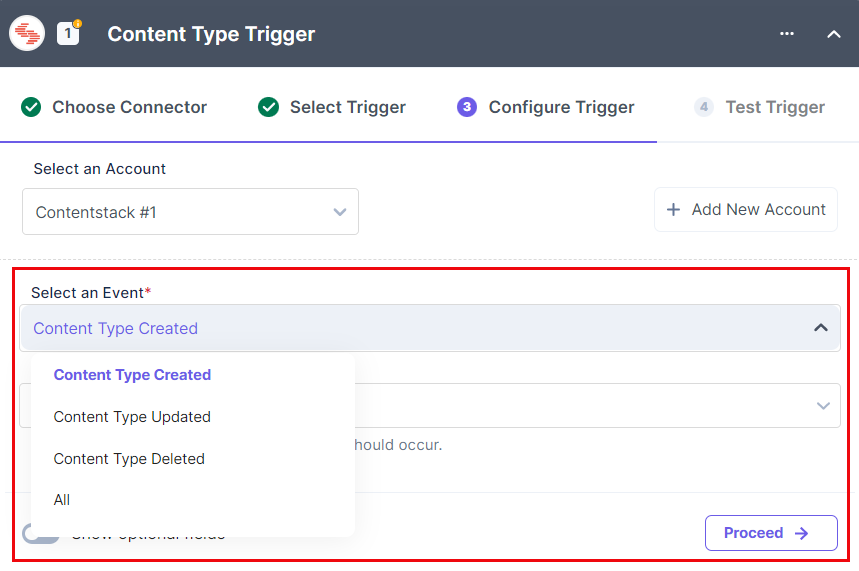
For Content Type Trigger, you will find the following events:
- Content Type Created: When you create a new content type.
- Content Type Updated: When you update a content type.
- Content Type Deleted: When you delete a content type.
- ALL: When you perform any of the above activities on a content type.
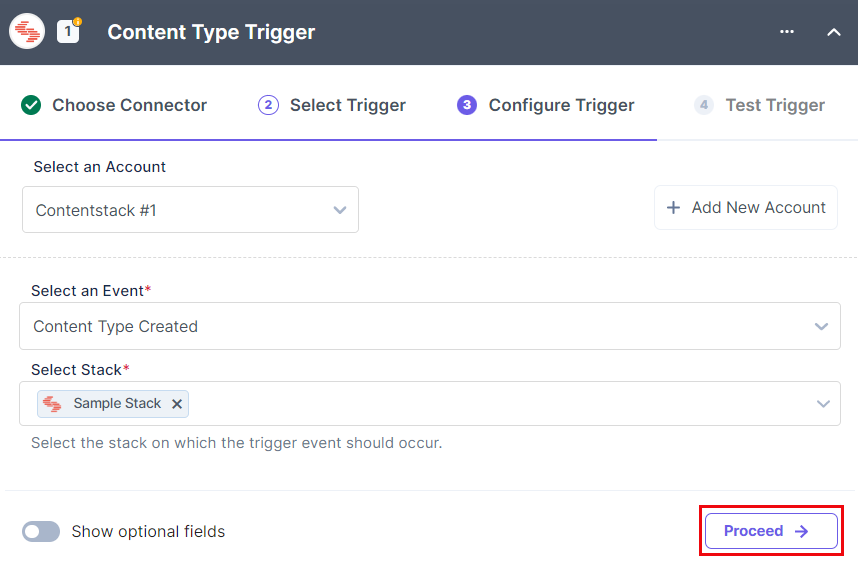
- Select a Stack from the LOOKUP dropdown. Click Show optional fields to select a specific content type.
- Click Proceed.
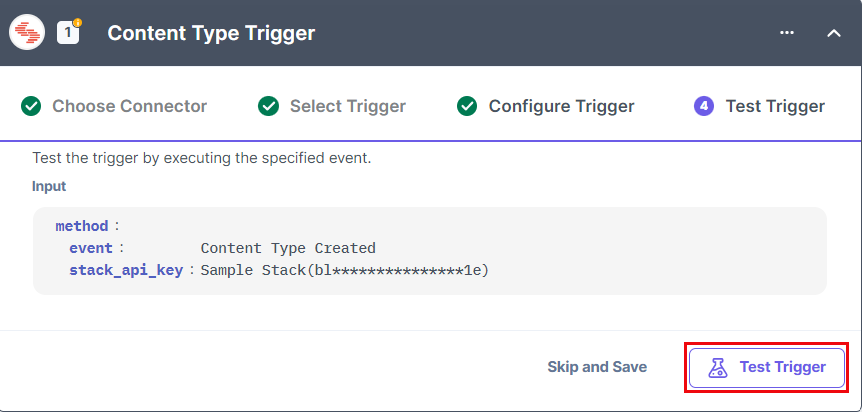
- Click Test Trigger to execute and test the trigger that you configured.
- If successful, you will see an output as follows. If it looks appropriate, click Save and Exit.
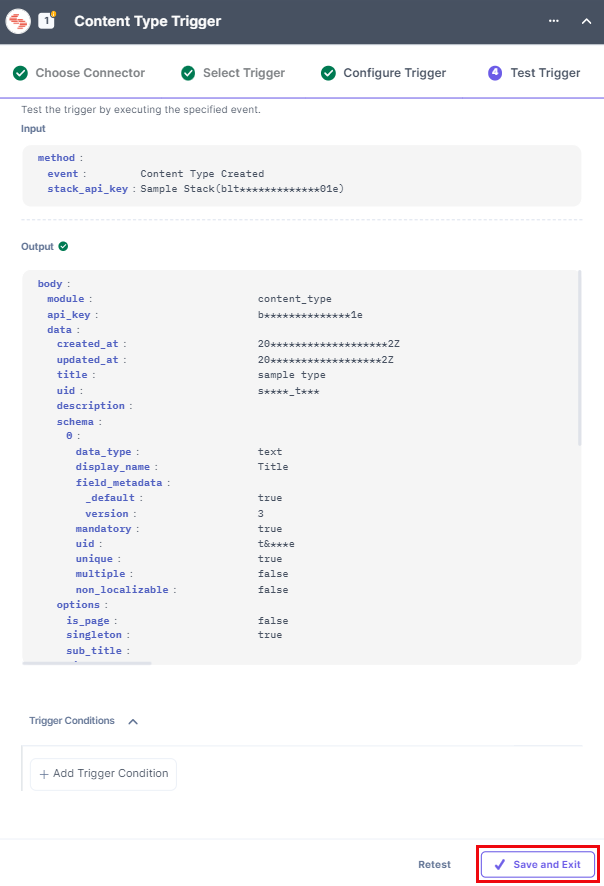
This sets your Content Type trigger.
