The "Info Panel" allows you to place important JSON Rich Text Editor content inside a colored panel to make it stand out.
This step-by-step guide explains how to add an "Info Panel" plugin for your JSON Rich Text Editors within content types in Contentstack.
- Add the “Info Panel” JSON RTE plugin to your stack
- Go to your stack and click the “Settings” icon on the left navigation panel.
- Select Extensions.
- Click on the + New Extension button, and select Use Prebuilt.
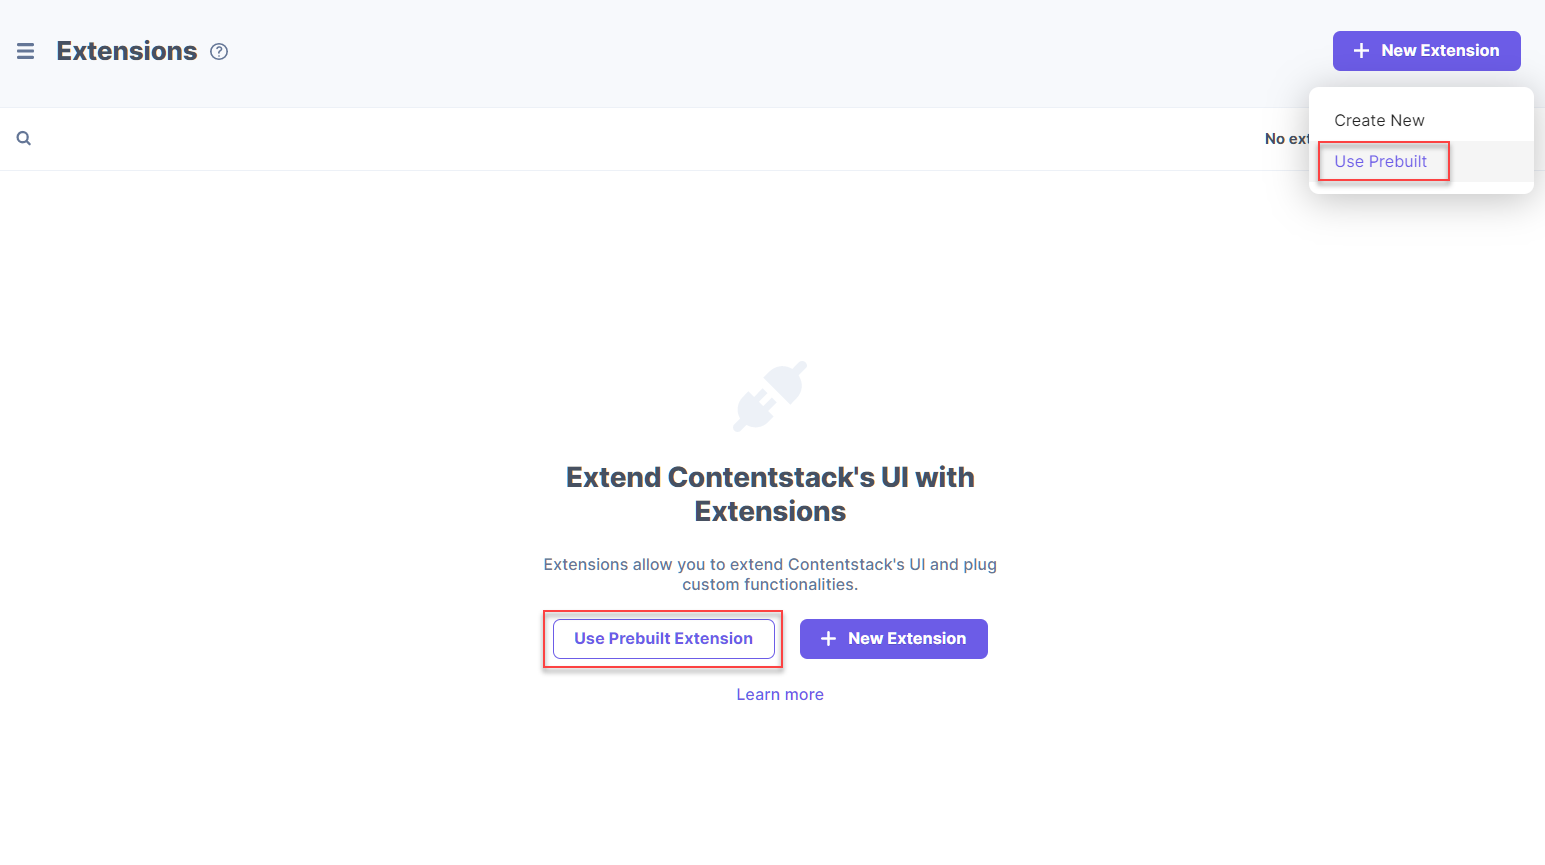
- In the following window, select JSON RTE Plugins from the drop-down menu.
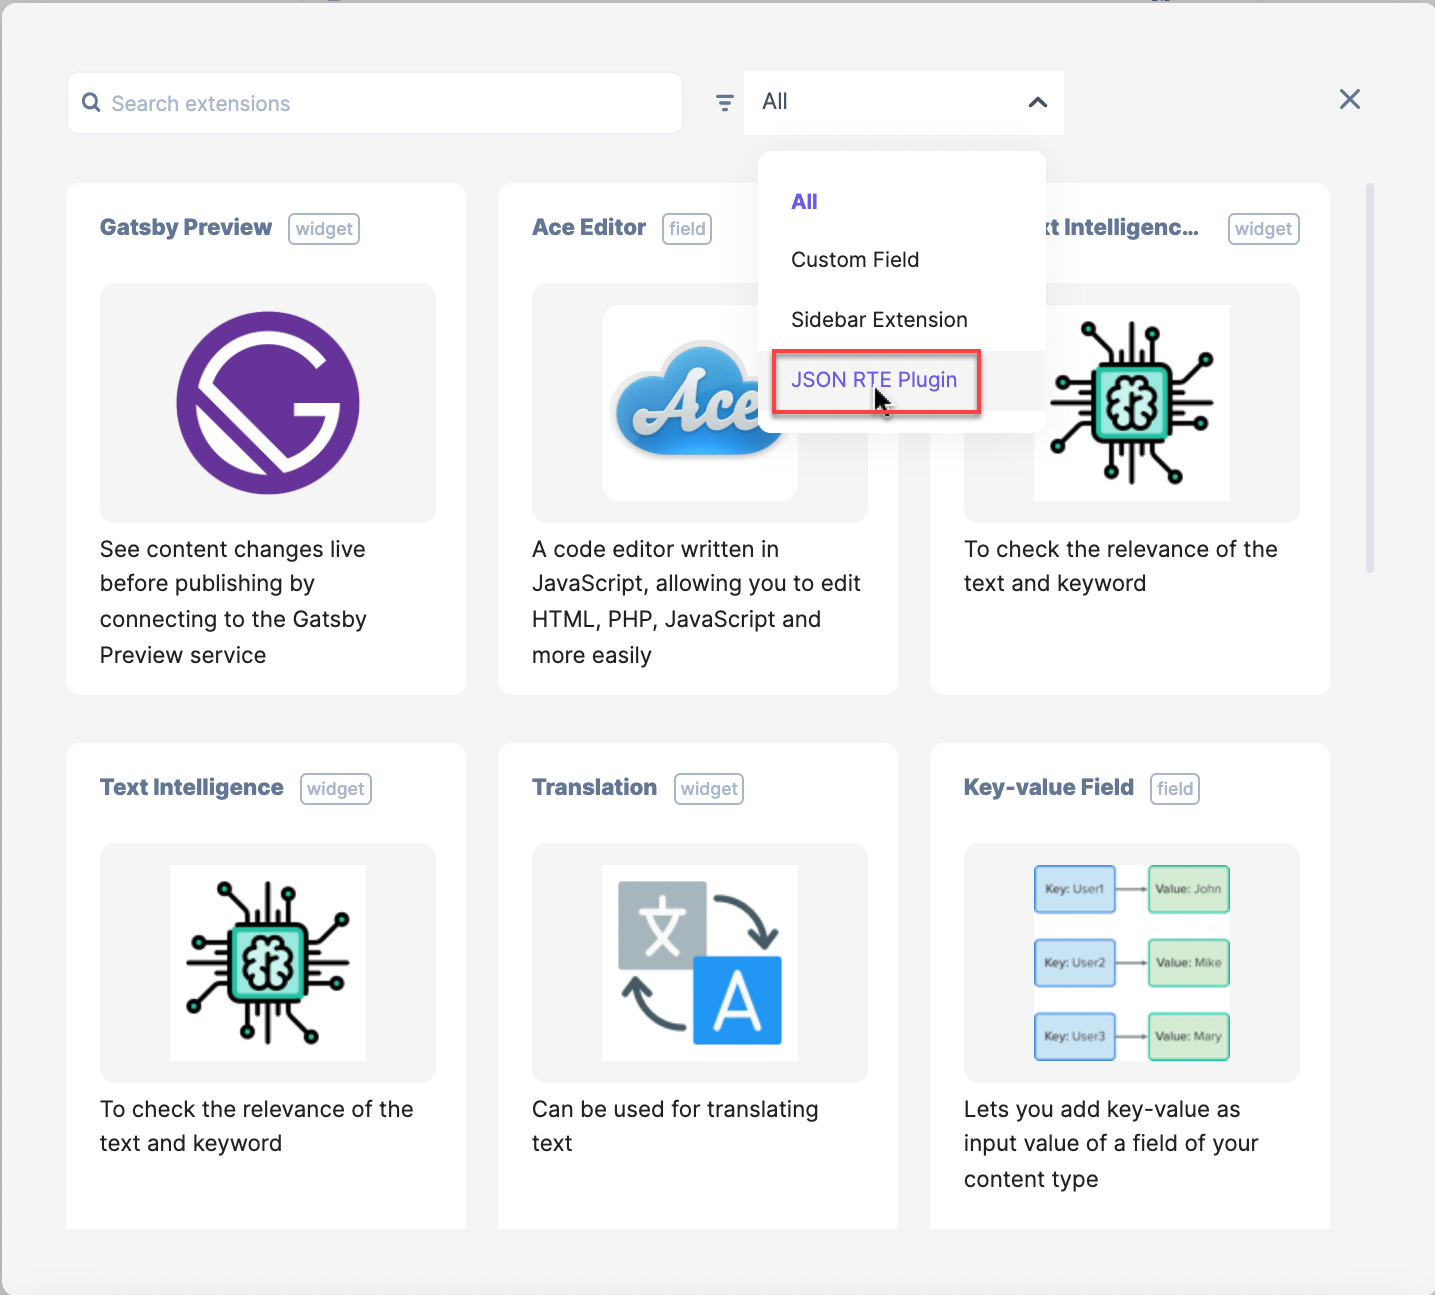
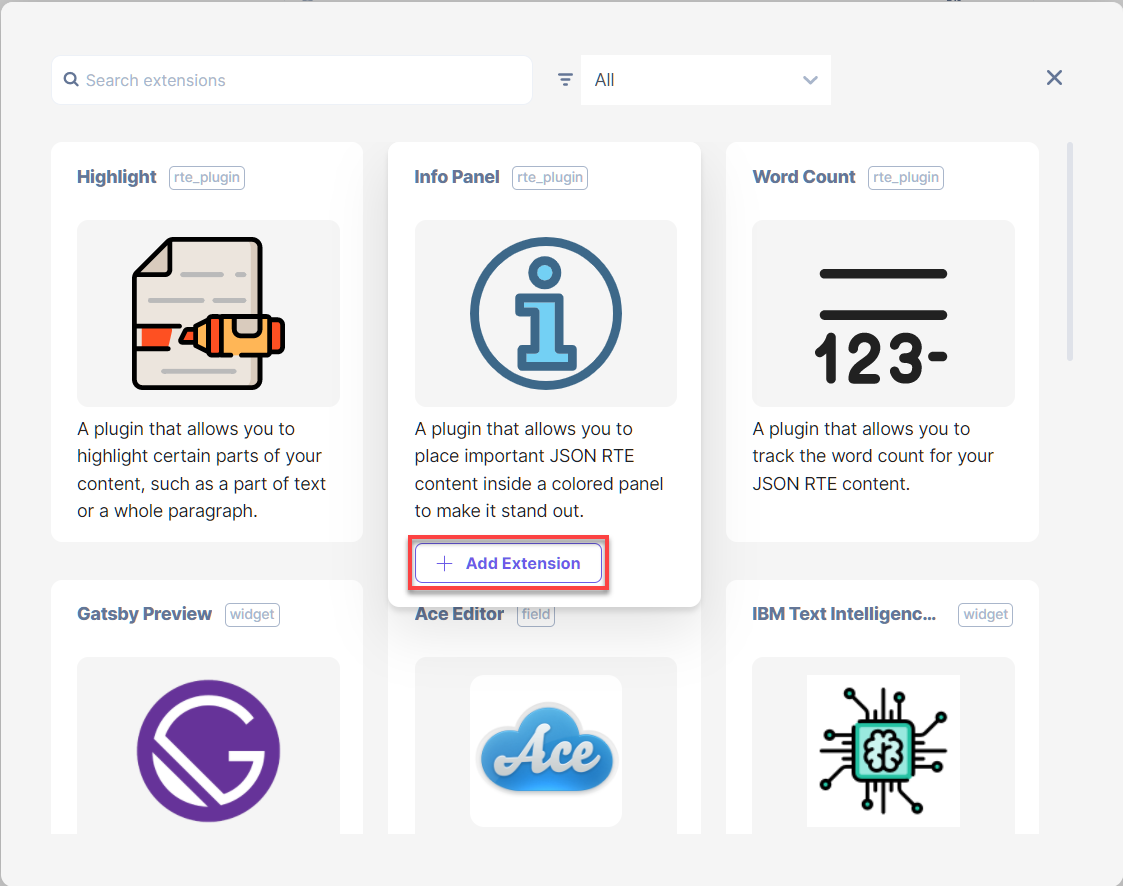
- Hover over Info Panel, and click on + Add Extension.
- On the configuration page, you will see the following options:
- Title (required): You will see a predefined title. You can use this title when adding the JSON RTE plugins to your JSON Rich Text Editor in your content type.
- External Hosting URL (required): You will see a predefined URL of the externally-hosted JSON RTE plugin code.
- Config Parameters (optional): You don't need to add config parameters to the prebuilt JSON RTE plugins. By default, the extensions are preconfigured and ready to use.
- Finally, Save this plugin.
- Use your JSON RTE plugin
To use the "Info Panel" plugin in your JSON Rich Text Editor within a content type, perform the following steps:
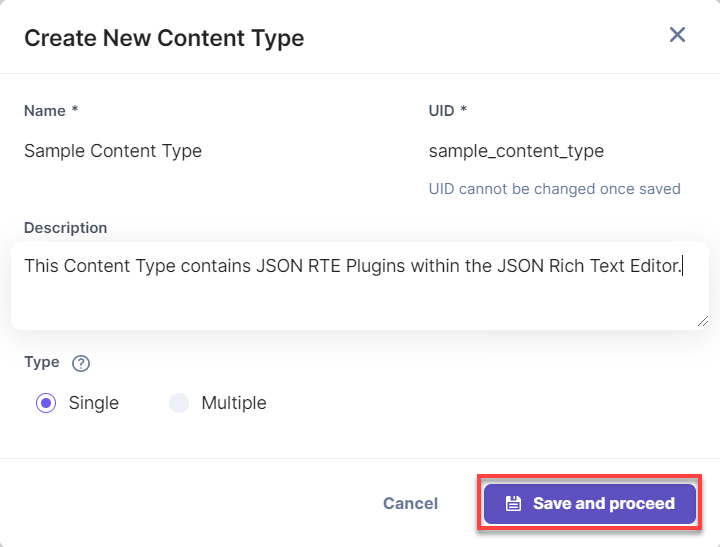
- Go to your stack, click the “Content Models” icon on the left navigation panel, and click on the + New Content Type button.
- Create a content type by adding relevant details as displayed below:
- In the Content Type Builder page, add the JSON Rich Text Editor field in your content type by clicking on the “Insert a field” link represented by a + sign.
- Under Select Plugin(s), select the Info Panel plugin from the popup window that appears.
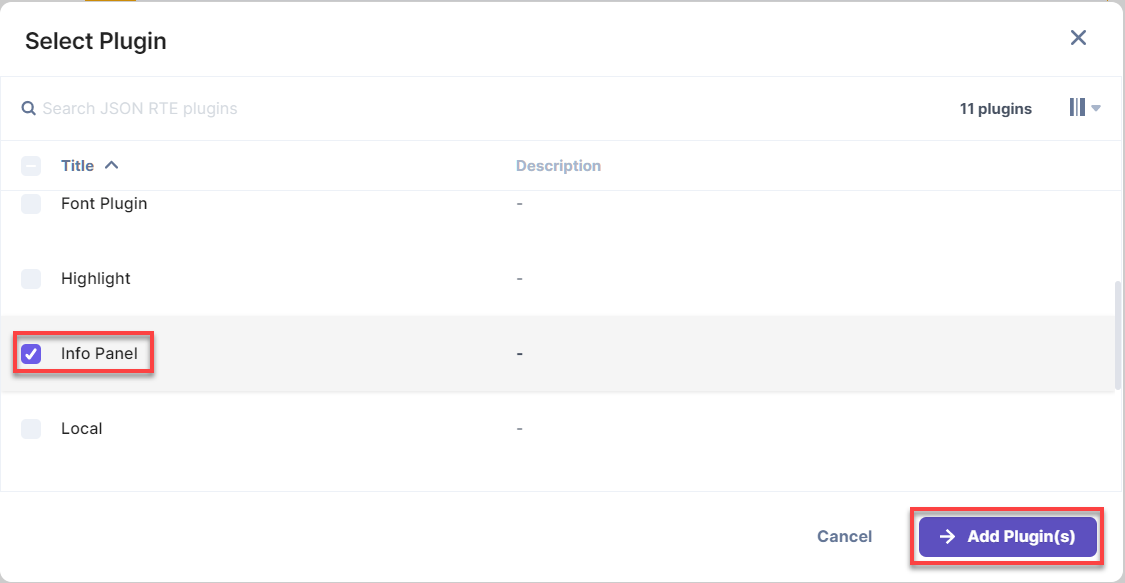
- After adding the plugin, click on either Save or Save and Close to save your changes.
- To use the Info Panel plugin, create an entry for this content type, and you will see this plugin within the JSON Rich Text Editor on your entry page as shown below:


