After creating a release, you can start adding items (entries and/or assets) to it.
To add an item to a release, log in to your Contentstack account, and perform the following steps:
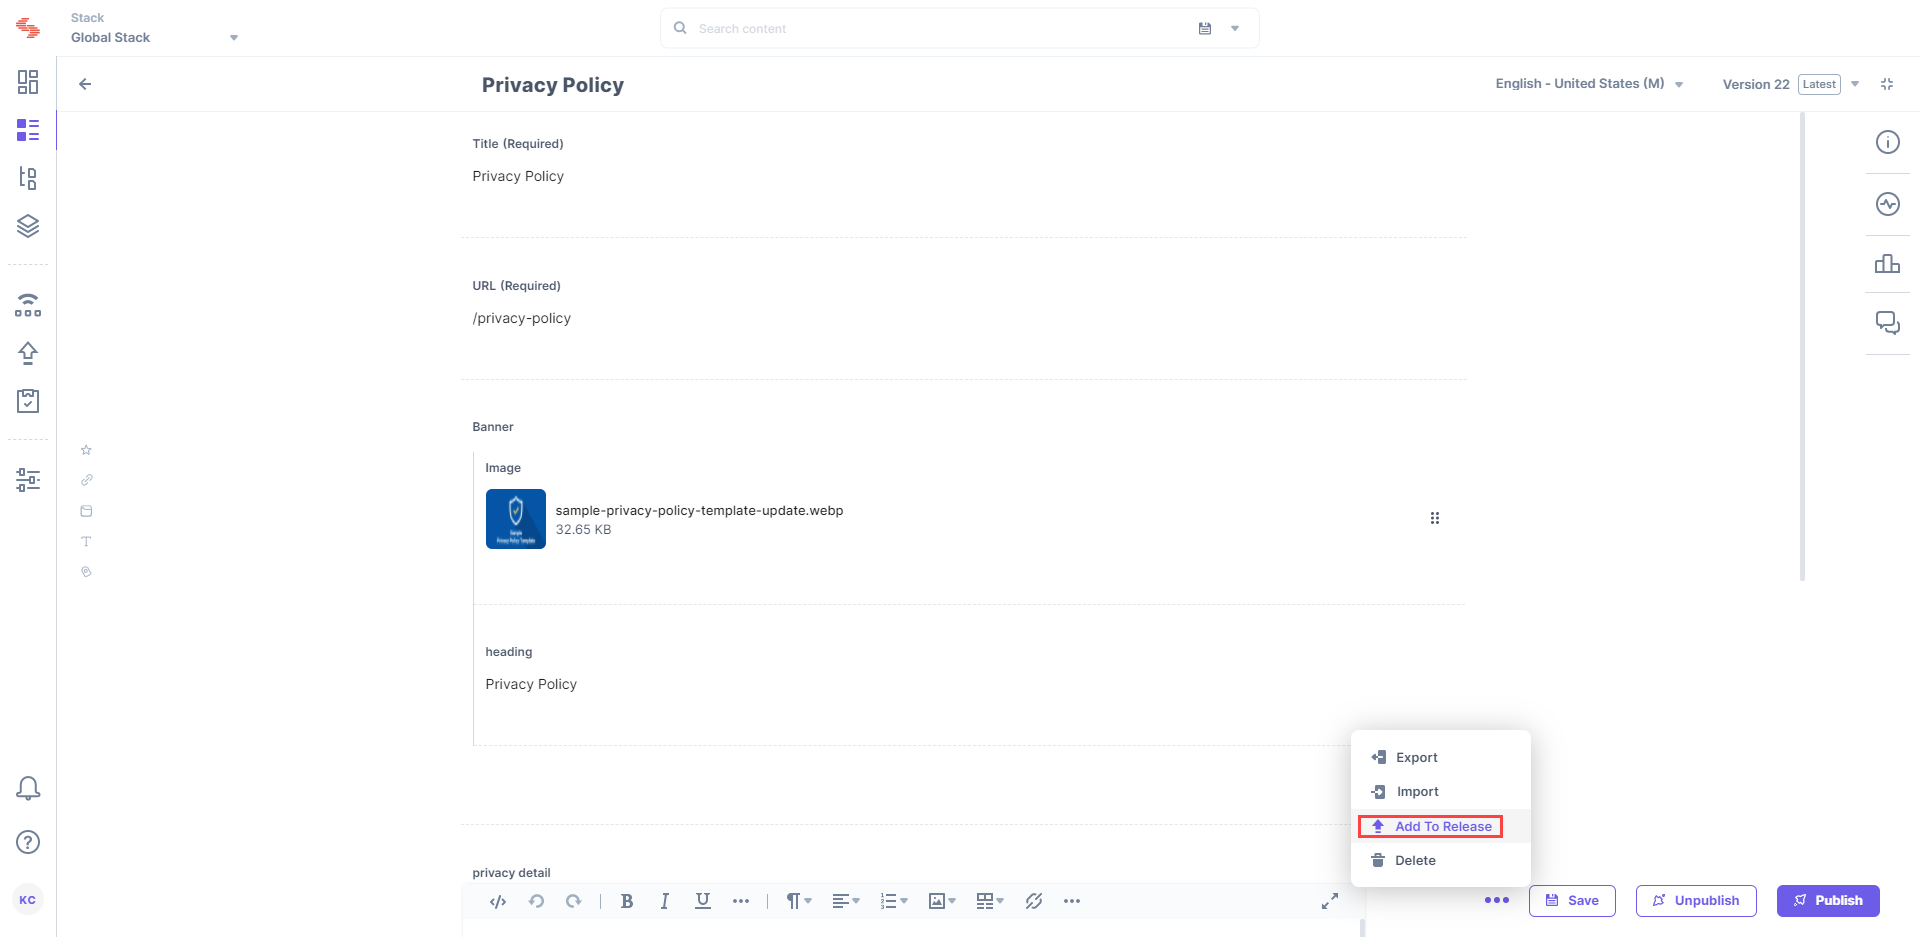
- Go to your stack and open the entry or asset that you want to add to a release.
- Click on the “More options” button (three horizontal dots) located on the top right corner of the page, and select the Add to Release option.
- In the Add to release window, you will get following options:
- Create new release: Allows you to create a new release by specifying a suitable name and description for it. After entering the details, click Add. This action will create a new release, and add the item to it.
- Choose existing release: Allows you to select an existing release from the menu. You need to select a release from the list, and click Add For Publishing or Add For Unpublishing depending on your requirement. The item will be added to the list.
Note: You can add a maximum 200 items (entries/assets) to a Release. But at a time, you can select and add only 10 items (entries/assets).
After successfully adding items to a release, you can deploy the release to an environment.
API Reference
Here are the links to the API requests related to this action:
