The Social Sharing custom widget extension allows you to share a piece of content (entry) such as title, URL, and body, on social media websites such as Facebook, Twitter, and LinkedIn directly from Contentstack.
When you create or edit an entry in your content type, you can use this custom widget to post the URL or the title of your entry on the selected social media website.
How Does the Extension Work
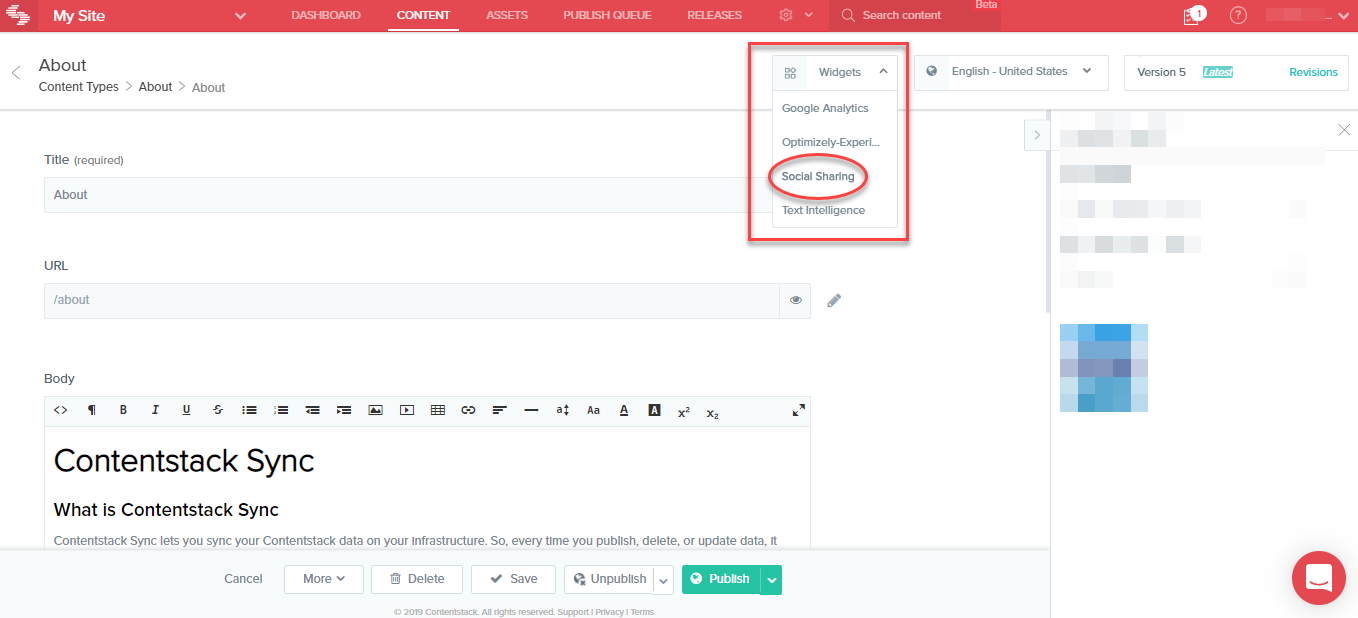
This widget uses the URL of your entry and the publishing environment. So when you select the Social Sharing widget from the Widget dropdown, it picks up the URL of your publishing environment (such as production or development) along with the URL of the entry and creates a new URL which can be shared on social media websites.
Note: On Facebook and LinkedIn, you can only post the URL that is generated by the widget. On Twitter, you can share the title, the generated URL, and certain text from the body of your entry. The maximum character limit on Twitter is 280.
This step-by-step guide explains how to create a Social Sharing widget extension in Contentstack.
- Log in to your Contentstack account.
- Click on the Settings icon and select Extensions.
- Click on + Add Extension and select Create new.
- On the Select Extension Type screen, select Custom Widget.
- On the Create New Extension page, enter the following details:
- Title: Enter a name for your extension, for example, Social Sharing.
- Hosting method: Select Hosted by Contentstack. When you select Hosted by Contentstack, the Extension source code field becomes visible.
- External source code: In this field, you need to enter the extension code. If Extensions are part of your plan, contact our Support team to get the code for the extension.
The support team will provide you with the source code (src file). Copy the code from the index.html file located in the root folder and paste it in the "Extension source code" field. - Scope: Select the content type for which you want to use this extension. The default value is All Content Types. You can select multiple content types.
- Click on Save to save your settings.
Use the Extension
- Click on the content type for which you have enabled the custom widget.
- Click on an entry. You will see the Widgets dropdown at the top. Click on it and select Social Sharing.

- The selected widget expands on the sidebar displaying the list of options that you can choose from.
- Select URL: You need to select the URL of the environment such as production, development, or whichever that you have set up.
- Select Field To Share: From this dropdown, select the field which you want to share on the available social media platforms. For example, on Twitter, you need to specify the fields such as Title, URL, or Body. On LinkedIn and Facebook, only the URL can be shared.
- Finally, select the social media platform on which you want to share your content. For our example, click on the Twitter option.
If you select Twitter, the following screen will pop-up. You can see that the Body of the entry is published along with the URL generated by the widget.
