Was this article helpful?
Thanks for your feedback
The Optimizely Experiments extension integrates your existing Optimizely Experiments with Contenstack’s UI and allows you to retrieve and display the Experiment details into your entry page. Additionally, this extension enables you to start and pause Optimizely experiments directly from the sidebar and view their variations, traffic distributions, and Audiences.
Warning: The Optimizely Experiments custom widget will run only for the Optimizely X Web version.
This step-by-step guide explains how to create an Optimizely Experiments extension in Contentstack. The steps to be performed are as follows:
To use this extension, you will need the ID of your Optimizely project. If you haven’t created any projects, refer to the Create a new project page to create one.
On successful creation of your project, you will see your project ID in the URL.
Note: The project ID is the part after "projects/" in the URL. For example, in “https://app.optimizely.com/v2/projects/11111111111,” the number "11111111111" is the project ID.
Save this ID as you will need it in Step 4 when configuring your Optimizely extension.
Start by creating an Experiment in Optimizely. You can add variations, audiences, and other such parameters to your experiment. You can also choose or add Audiences to the experiment.
To create an Experiment in Optimizely, you can follow the steps given in the Six steps to create an experiment in Optimizely Web documentation.
In order to use Optimizely resources within Contentstack, you will need to authenticate by providing your access token. You can create new tokens by following the steps given in this guide.
Note down this token since you will need it while configuring the Optimizely extension in Step 4.
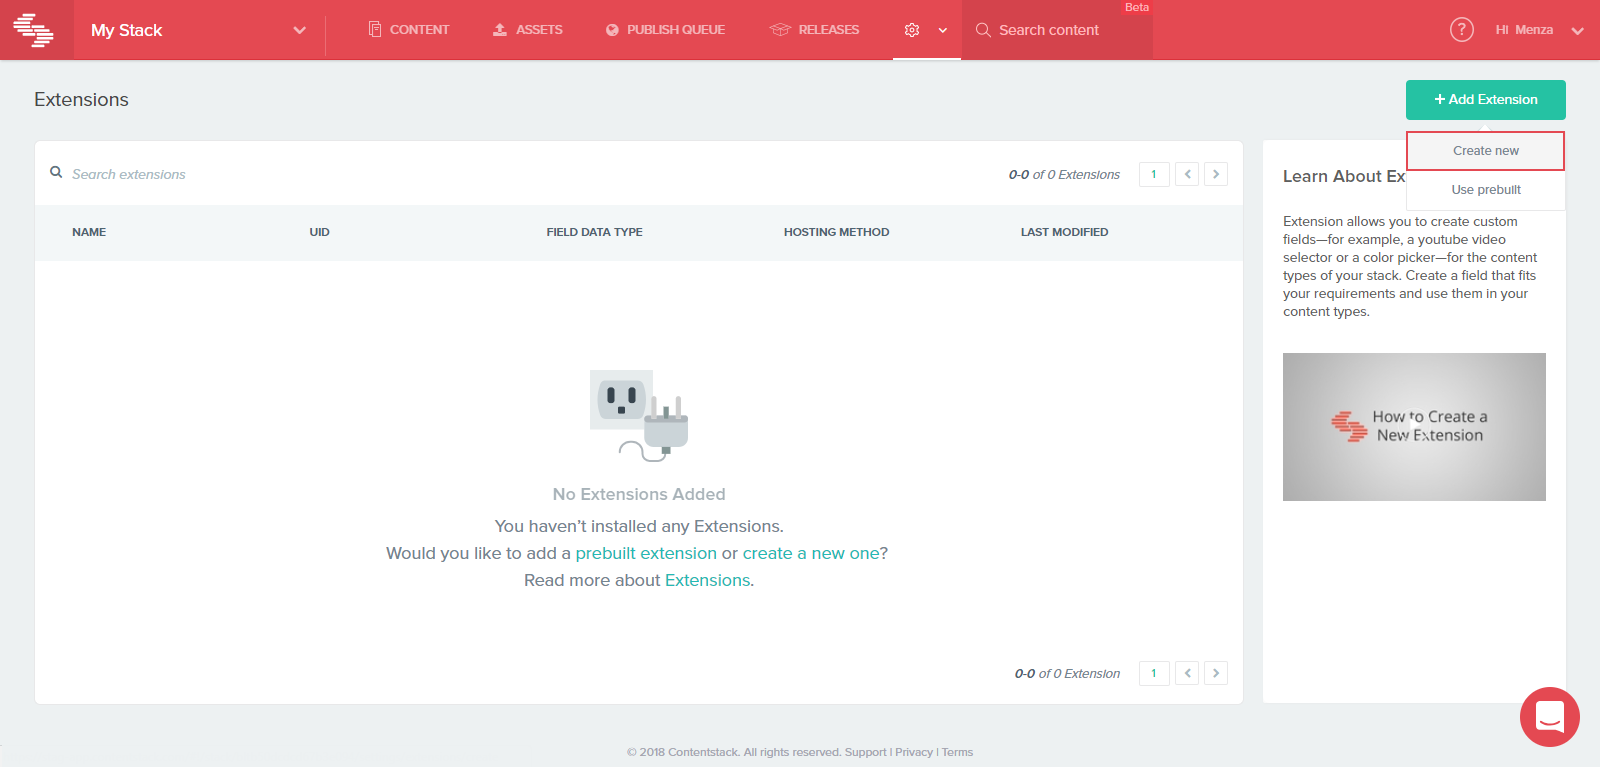
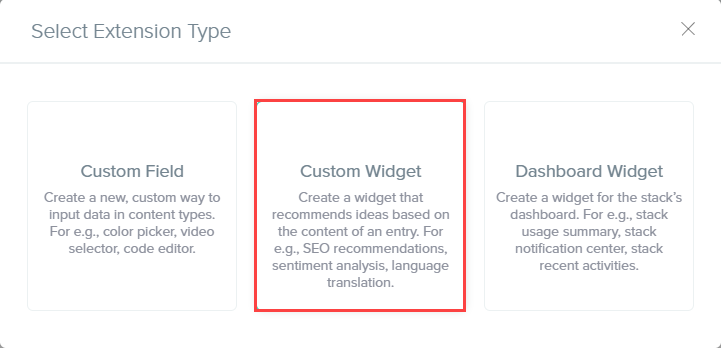
{
    "access_token": "1:pl1abaBAbabaBabAb_aBa1BaBAb11ab4AbA1AB_A1Bab-ABabaBA",
    "project_id": "11111111111"
}
Scope - You can choose to incorporate this widget in either All Content Types or Specific Content Types. Selecting the latter option displays a list of content types from which you can select the required ones.Now, let’s understand how you can start using your custom widget extension in your entries.
Once you have added this custom widget, you can use it in entries of selected content type(s). Let’s look at the steps involved in using this custom widget.
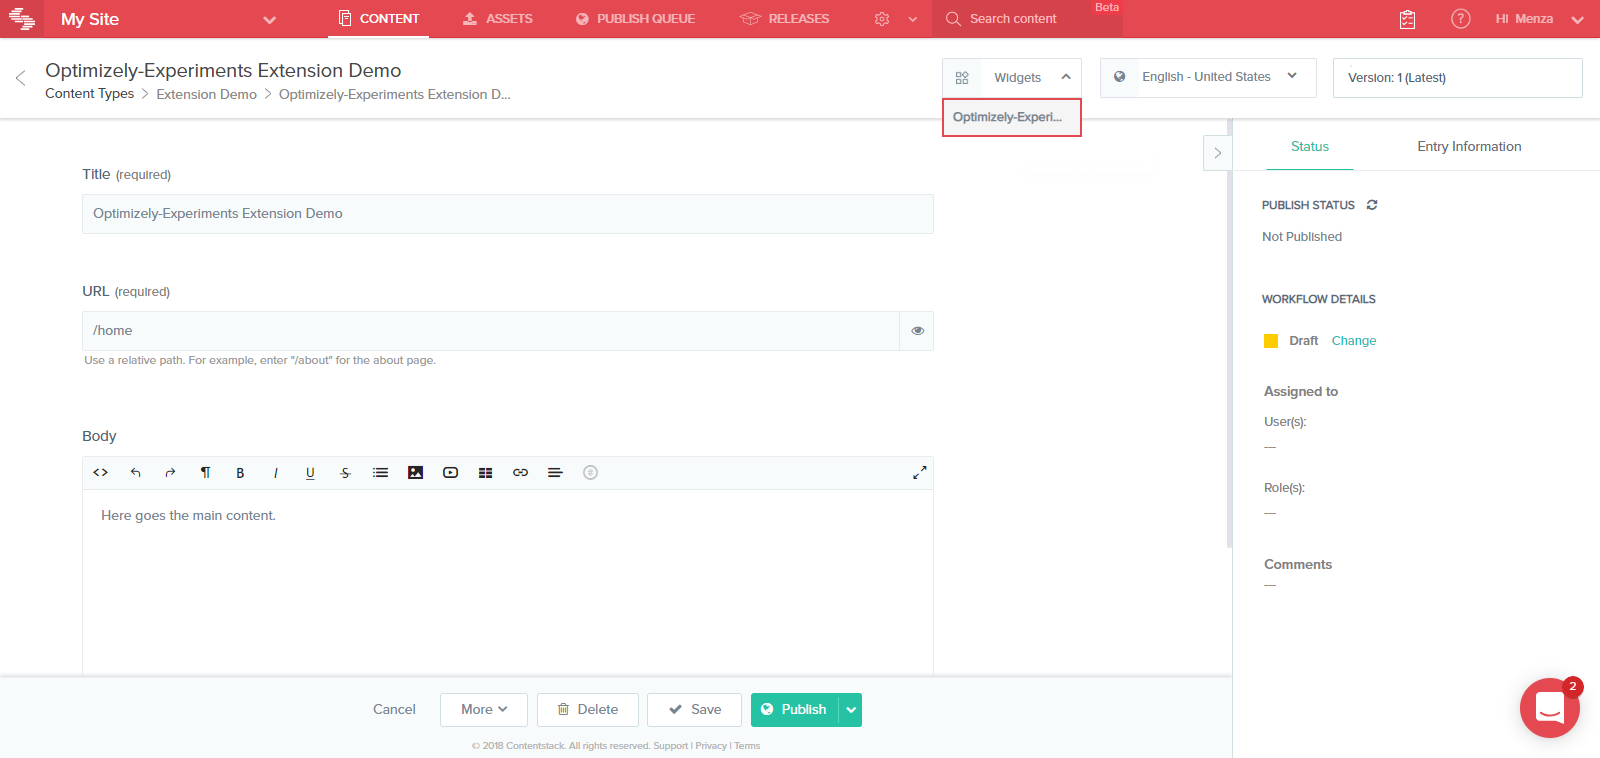
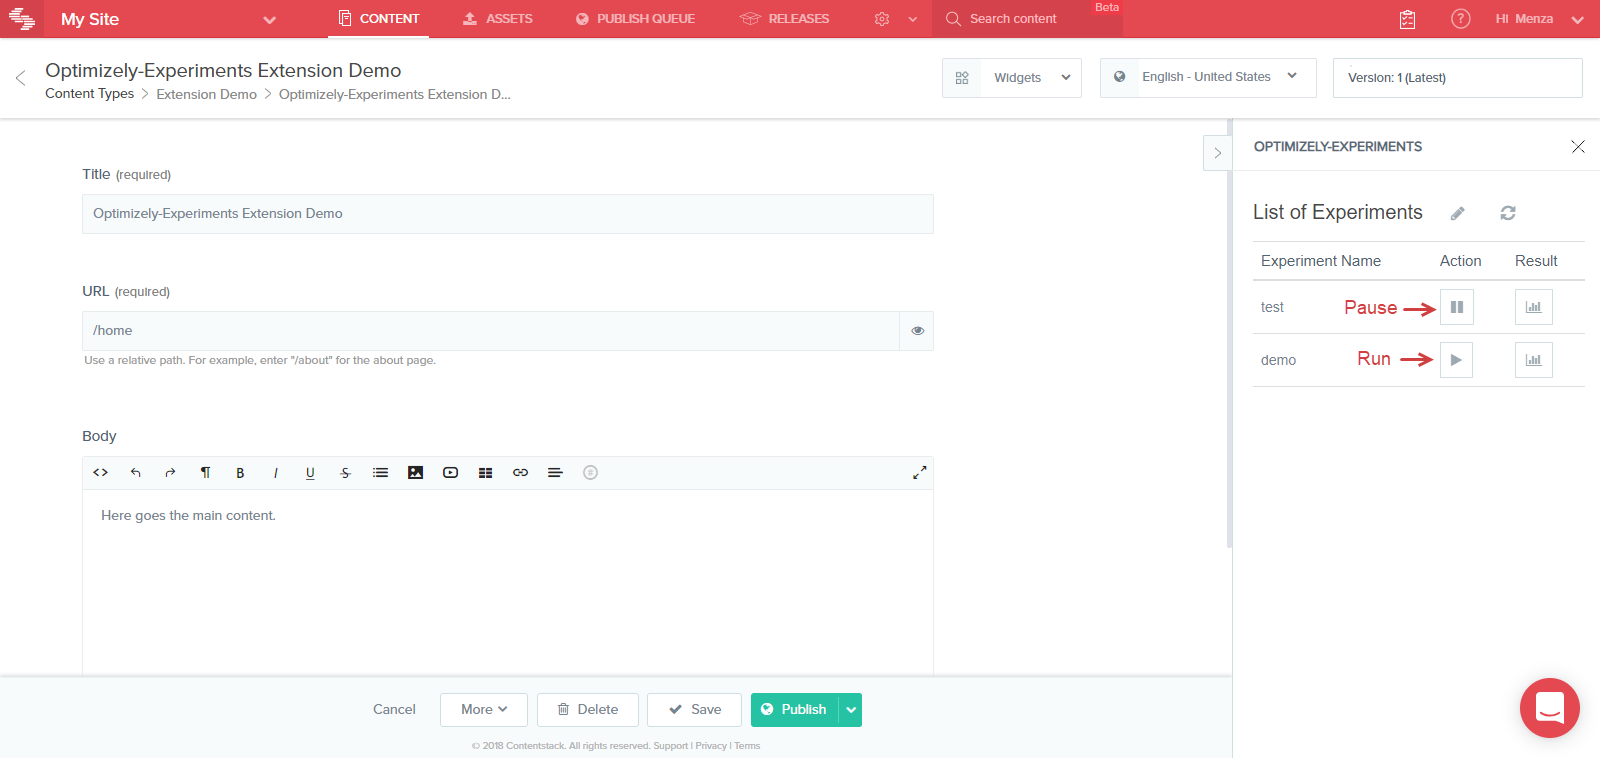
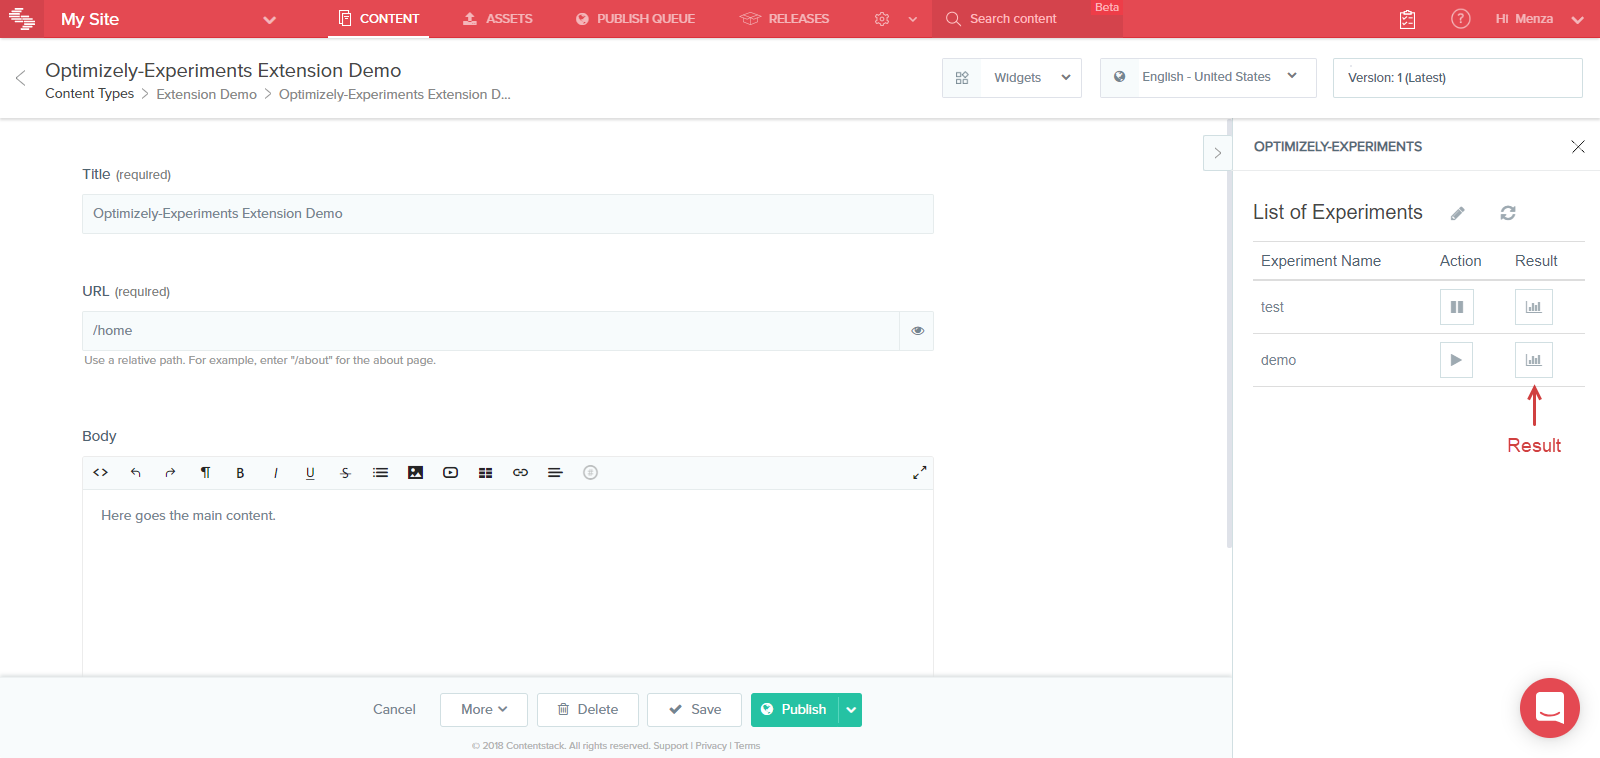
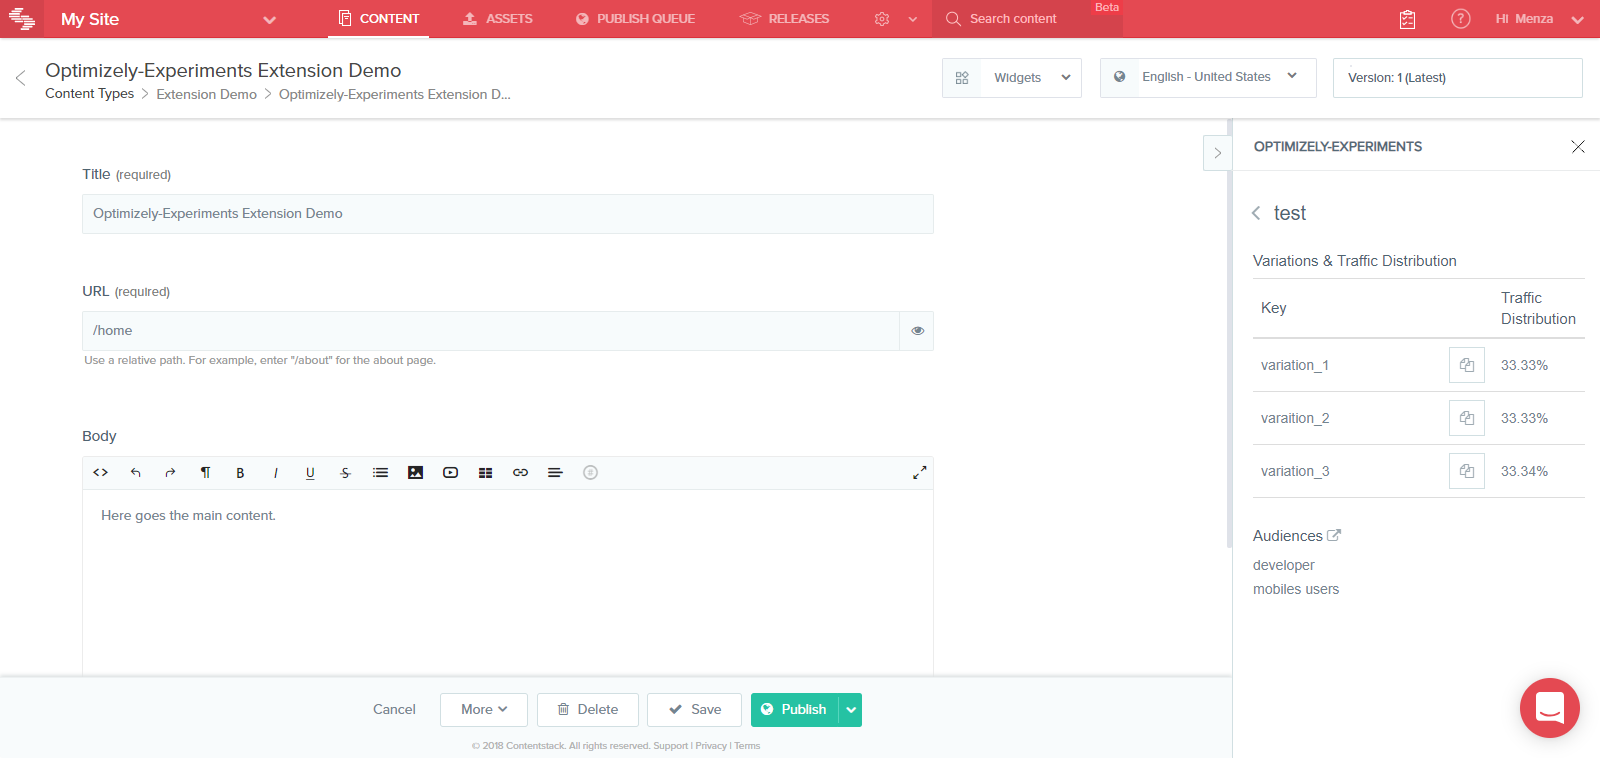
Once done using the widget, click on the close (x) button.
Was this article helpful?
Thanks for your feedback