SendGrid is a communication platform used for sending transactional and marketing emails.
Set Up SendGrid
Perform the following steps to set up the SendGrid action connector:
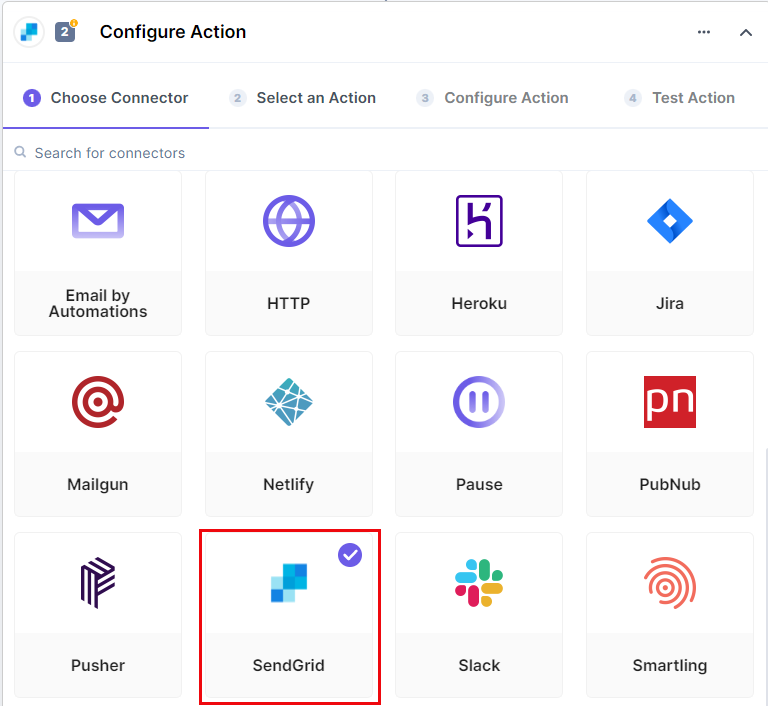
- In the Configure Action section, select the Sendgrid connector.
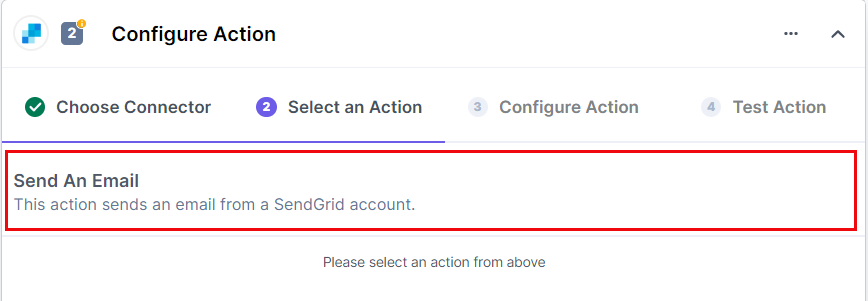
- Select the Send An Email action event.
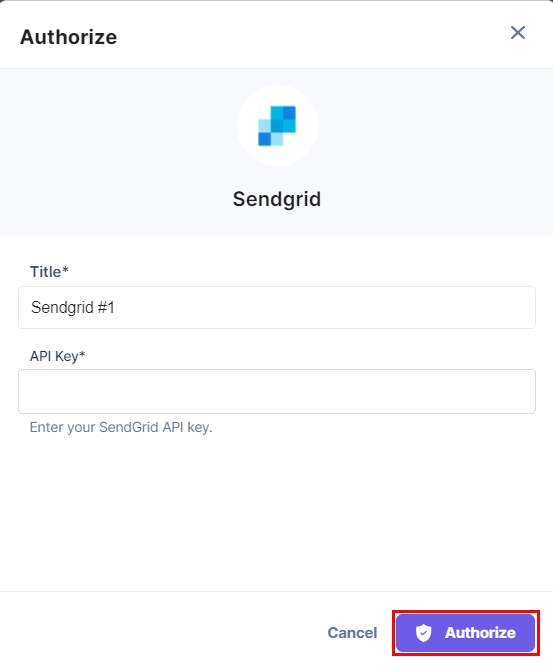
- Click the + Add New Account button to set up your SendGrid account (see screenshot in next step).
- In the Authorize modal, enter a Title for your connection and your SendGrid account API Key. Then click Authorize. For more information, refer to the How to create an API key document.
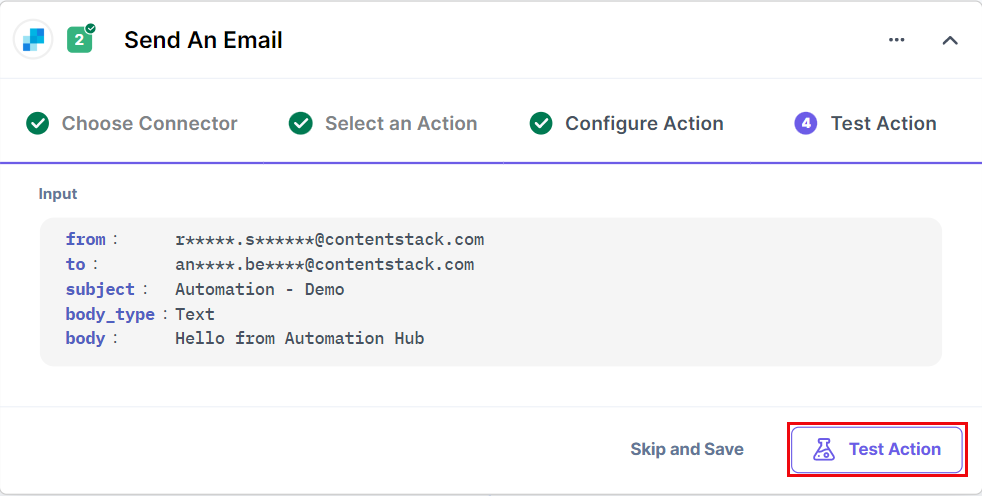
- On the Configure Action page, enter the From and To email address, the Subject line, the Body Type, and the Body of the email.
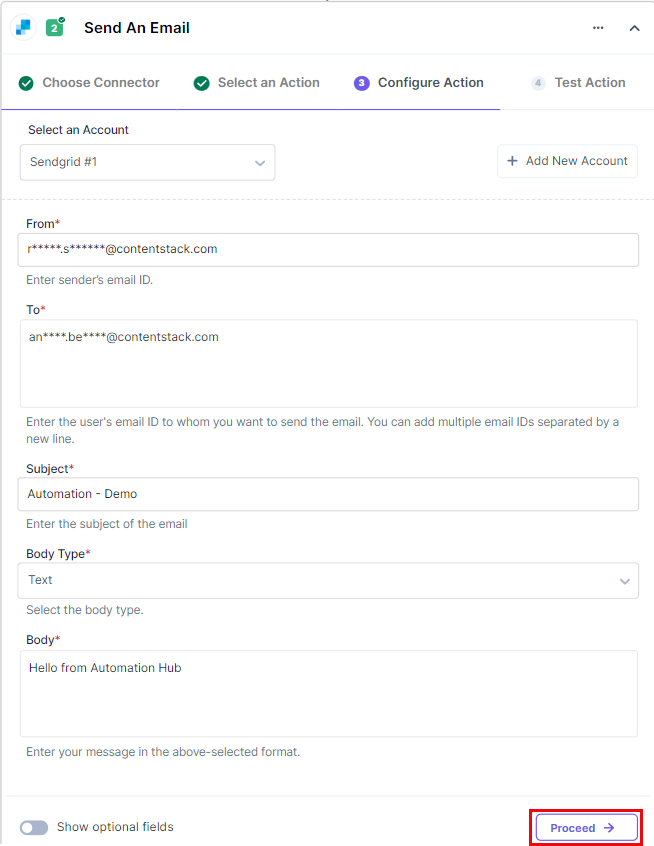
- Click on the Show optional fields toggle switch to view and enter the “CC” and “BCC” email addresses.
- Click Proceed after entering the details (above screenshot).
- Check if the details are correct. If yes, click on Test Action.
- Once set, click on Save and Exit.
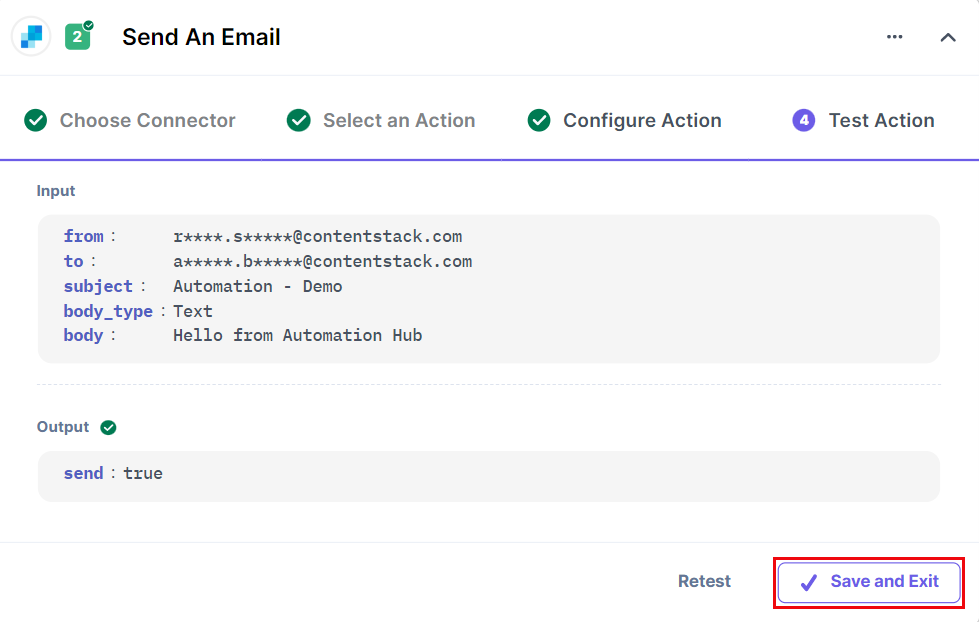
You can check the email in the receiver’s email account to verify the action.
This sets up the SendGrid action connector.
