The Mailgun action connector lets you send emails using your own Mailgun account.
Set Up Mailgun
Perform the following steps to set up the Mailgun action connector:
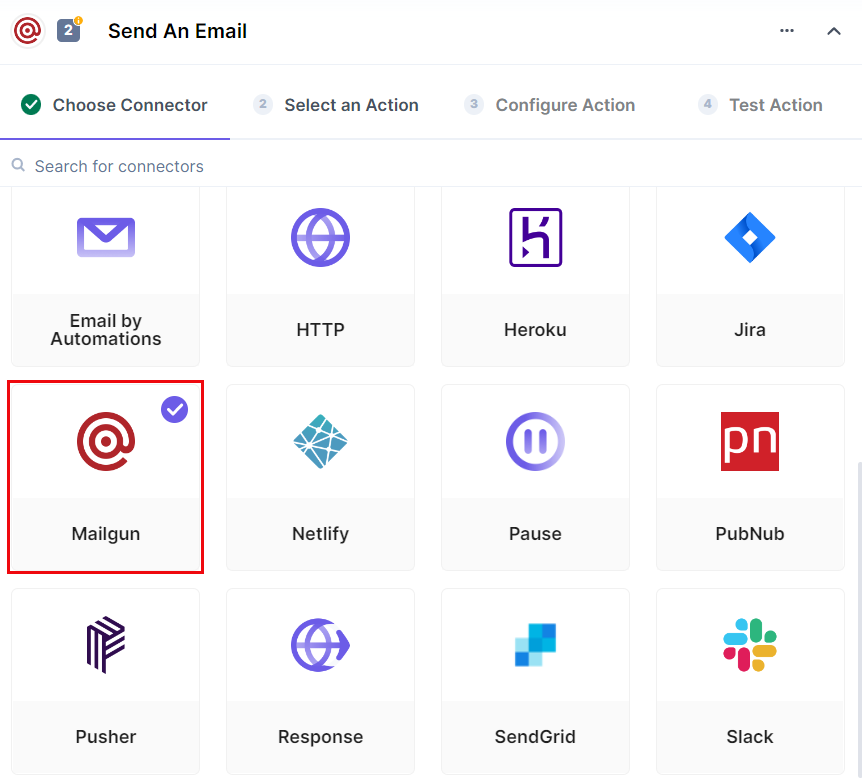
- In the Configure Action section, select the Mailgun connector.
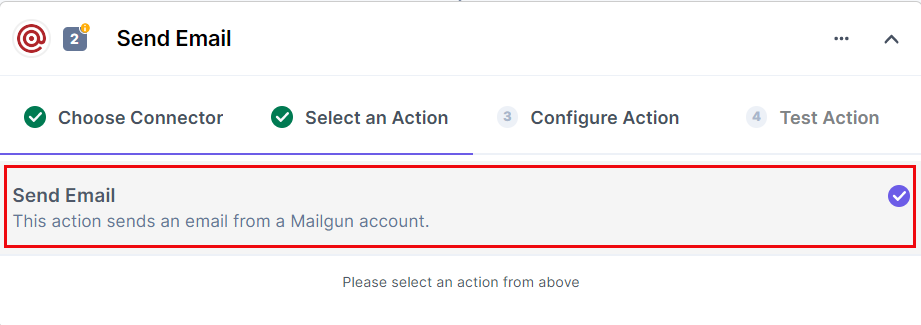
- Select the Send Email action.
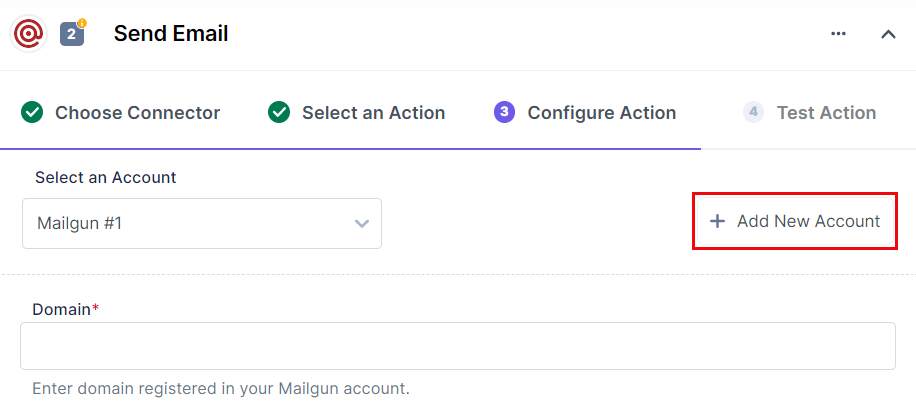
- Click the + Add New Account button to connect to your Mailgun account.
- In the Authorize modal, enter your Account API Key and click on Authorize.
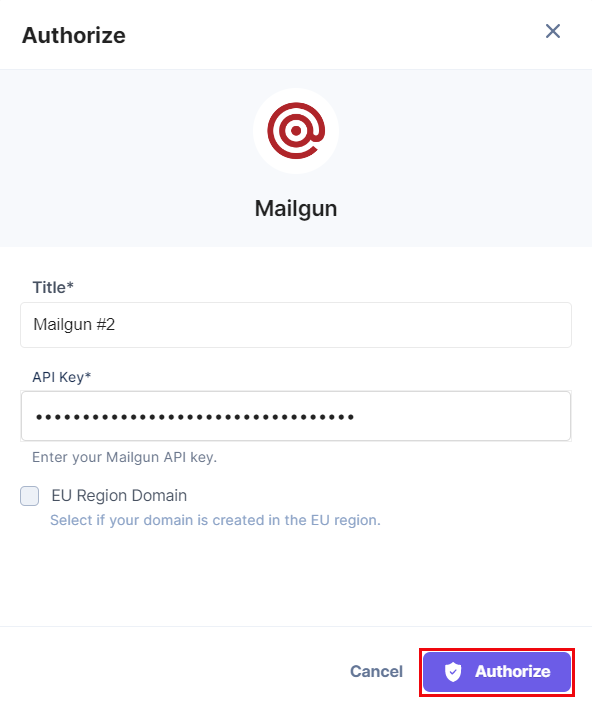
To get your Mailgun account API Key, open Mailgun, log in and click on your user profile, and click on API Keys. Under the API security tab, you will see the following details. We will use the Private API Key:
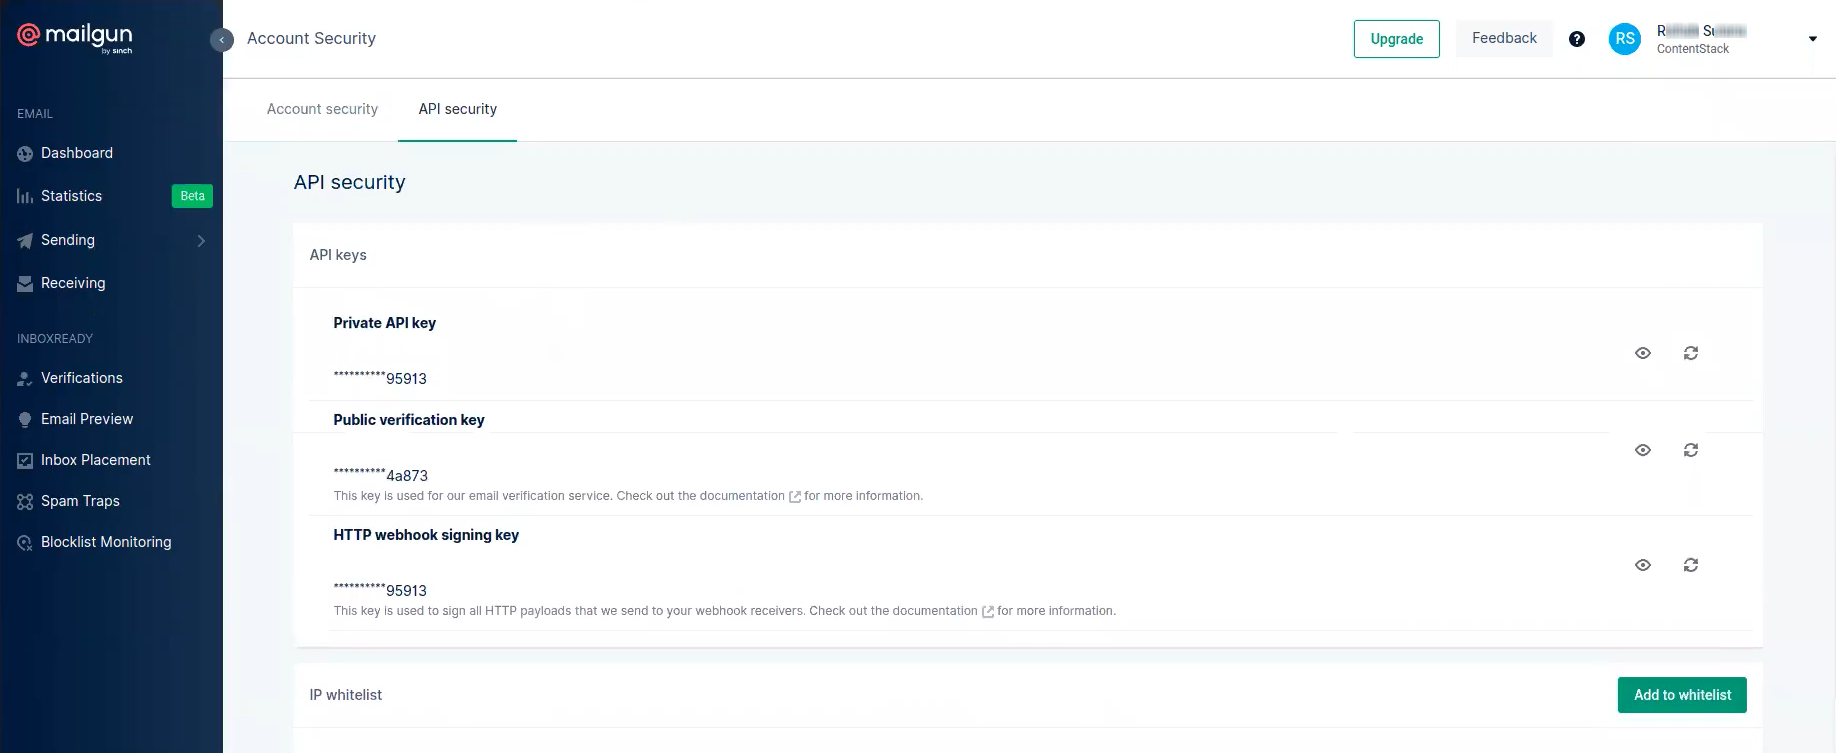
Additional Resource: For more information, refer to the Mailgun - Where Can I Find My API Key and SMTP Credentials? document.
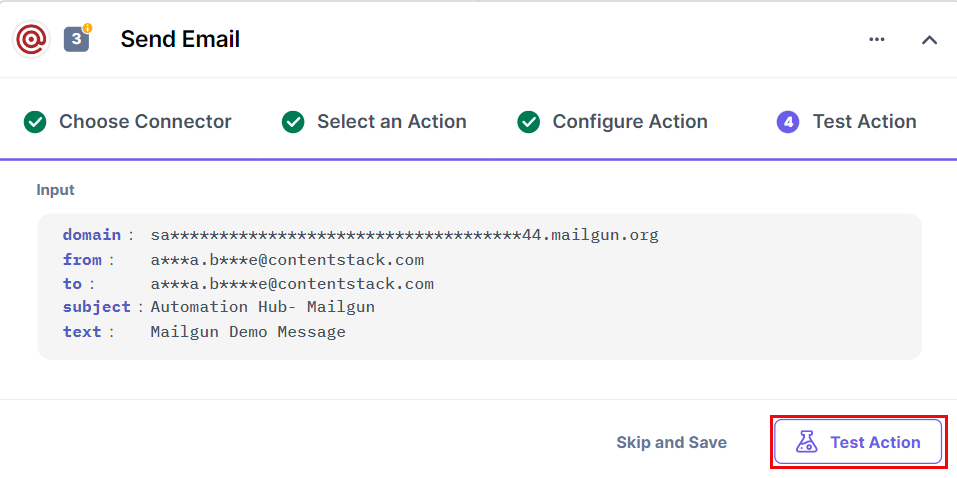
- Enter the Domain (registered domain in Mailgun account), From (sender email ID), To (receiver email ID; you can add multiple email IDs separated by a comma), Subject (subject of the email), and Message (message body to be sent in the email). Once done, click on Proceed.

- Click on Test Action to send the email using the Mailgun account. Check the output.
- Once set, click on Save and Exit.
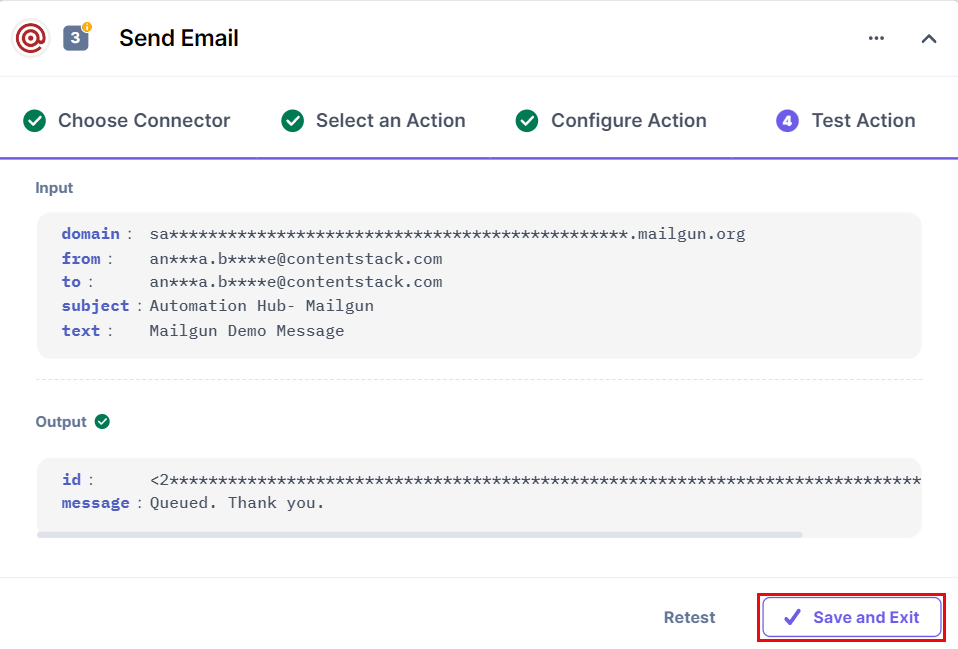
You can check the email in the receiver’s email account sent by your Mailgun email address.

This sets up the Mailgun action connector.


